
This or That? All About You!
It’s time for another round of This or That! ☕✨
My friend Barb may not be a crafter (she’ll be the first to tell you that glue and glitter aren’t her thing), but she’s always game to help me pick colors, patterns, and a general card layout. I take her ideas back to the craft table, sprinkle in some creativity, and before long—two cards are born. Then comes the fun part… you get to decide which one takes the win! So grab your coffee, settle in, and let’s see which design speaks to you today.

Ok… so let’s break down the creation of these 2 cards, the process in which they came to be.
When we first sat down in the craft room, favorite coffee mug in hand, I had absolutely no idea what I was designing at that moment. I knew I was going to be using the “You Stamp & Dies from SSS, that was it, the only clue I had.
The next step was a piece of white cardstock paper for a base panel for the card front.
Ok, now what?
Often when there is no preplanned masterpiece brewing in my mind, I tend to pick up crafty items that are around my desk area - I look at them. I touch them. I envision their usefulness.
At this point Barb is looking at me with that puzzled face where I can tell she is questioning exactly what am I doing?! And rightfully so…
I know it’s definitely weird, however it’s a process. Does anyone else do this?
Do you envision what your craft products are capable of in order to come up with a viable plan for your greeting card design? Everyone’s creative process works differently and I would be curious to know what puts your crafty thoughts in motion. ( Let me know in the comments below).
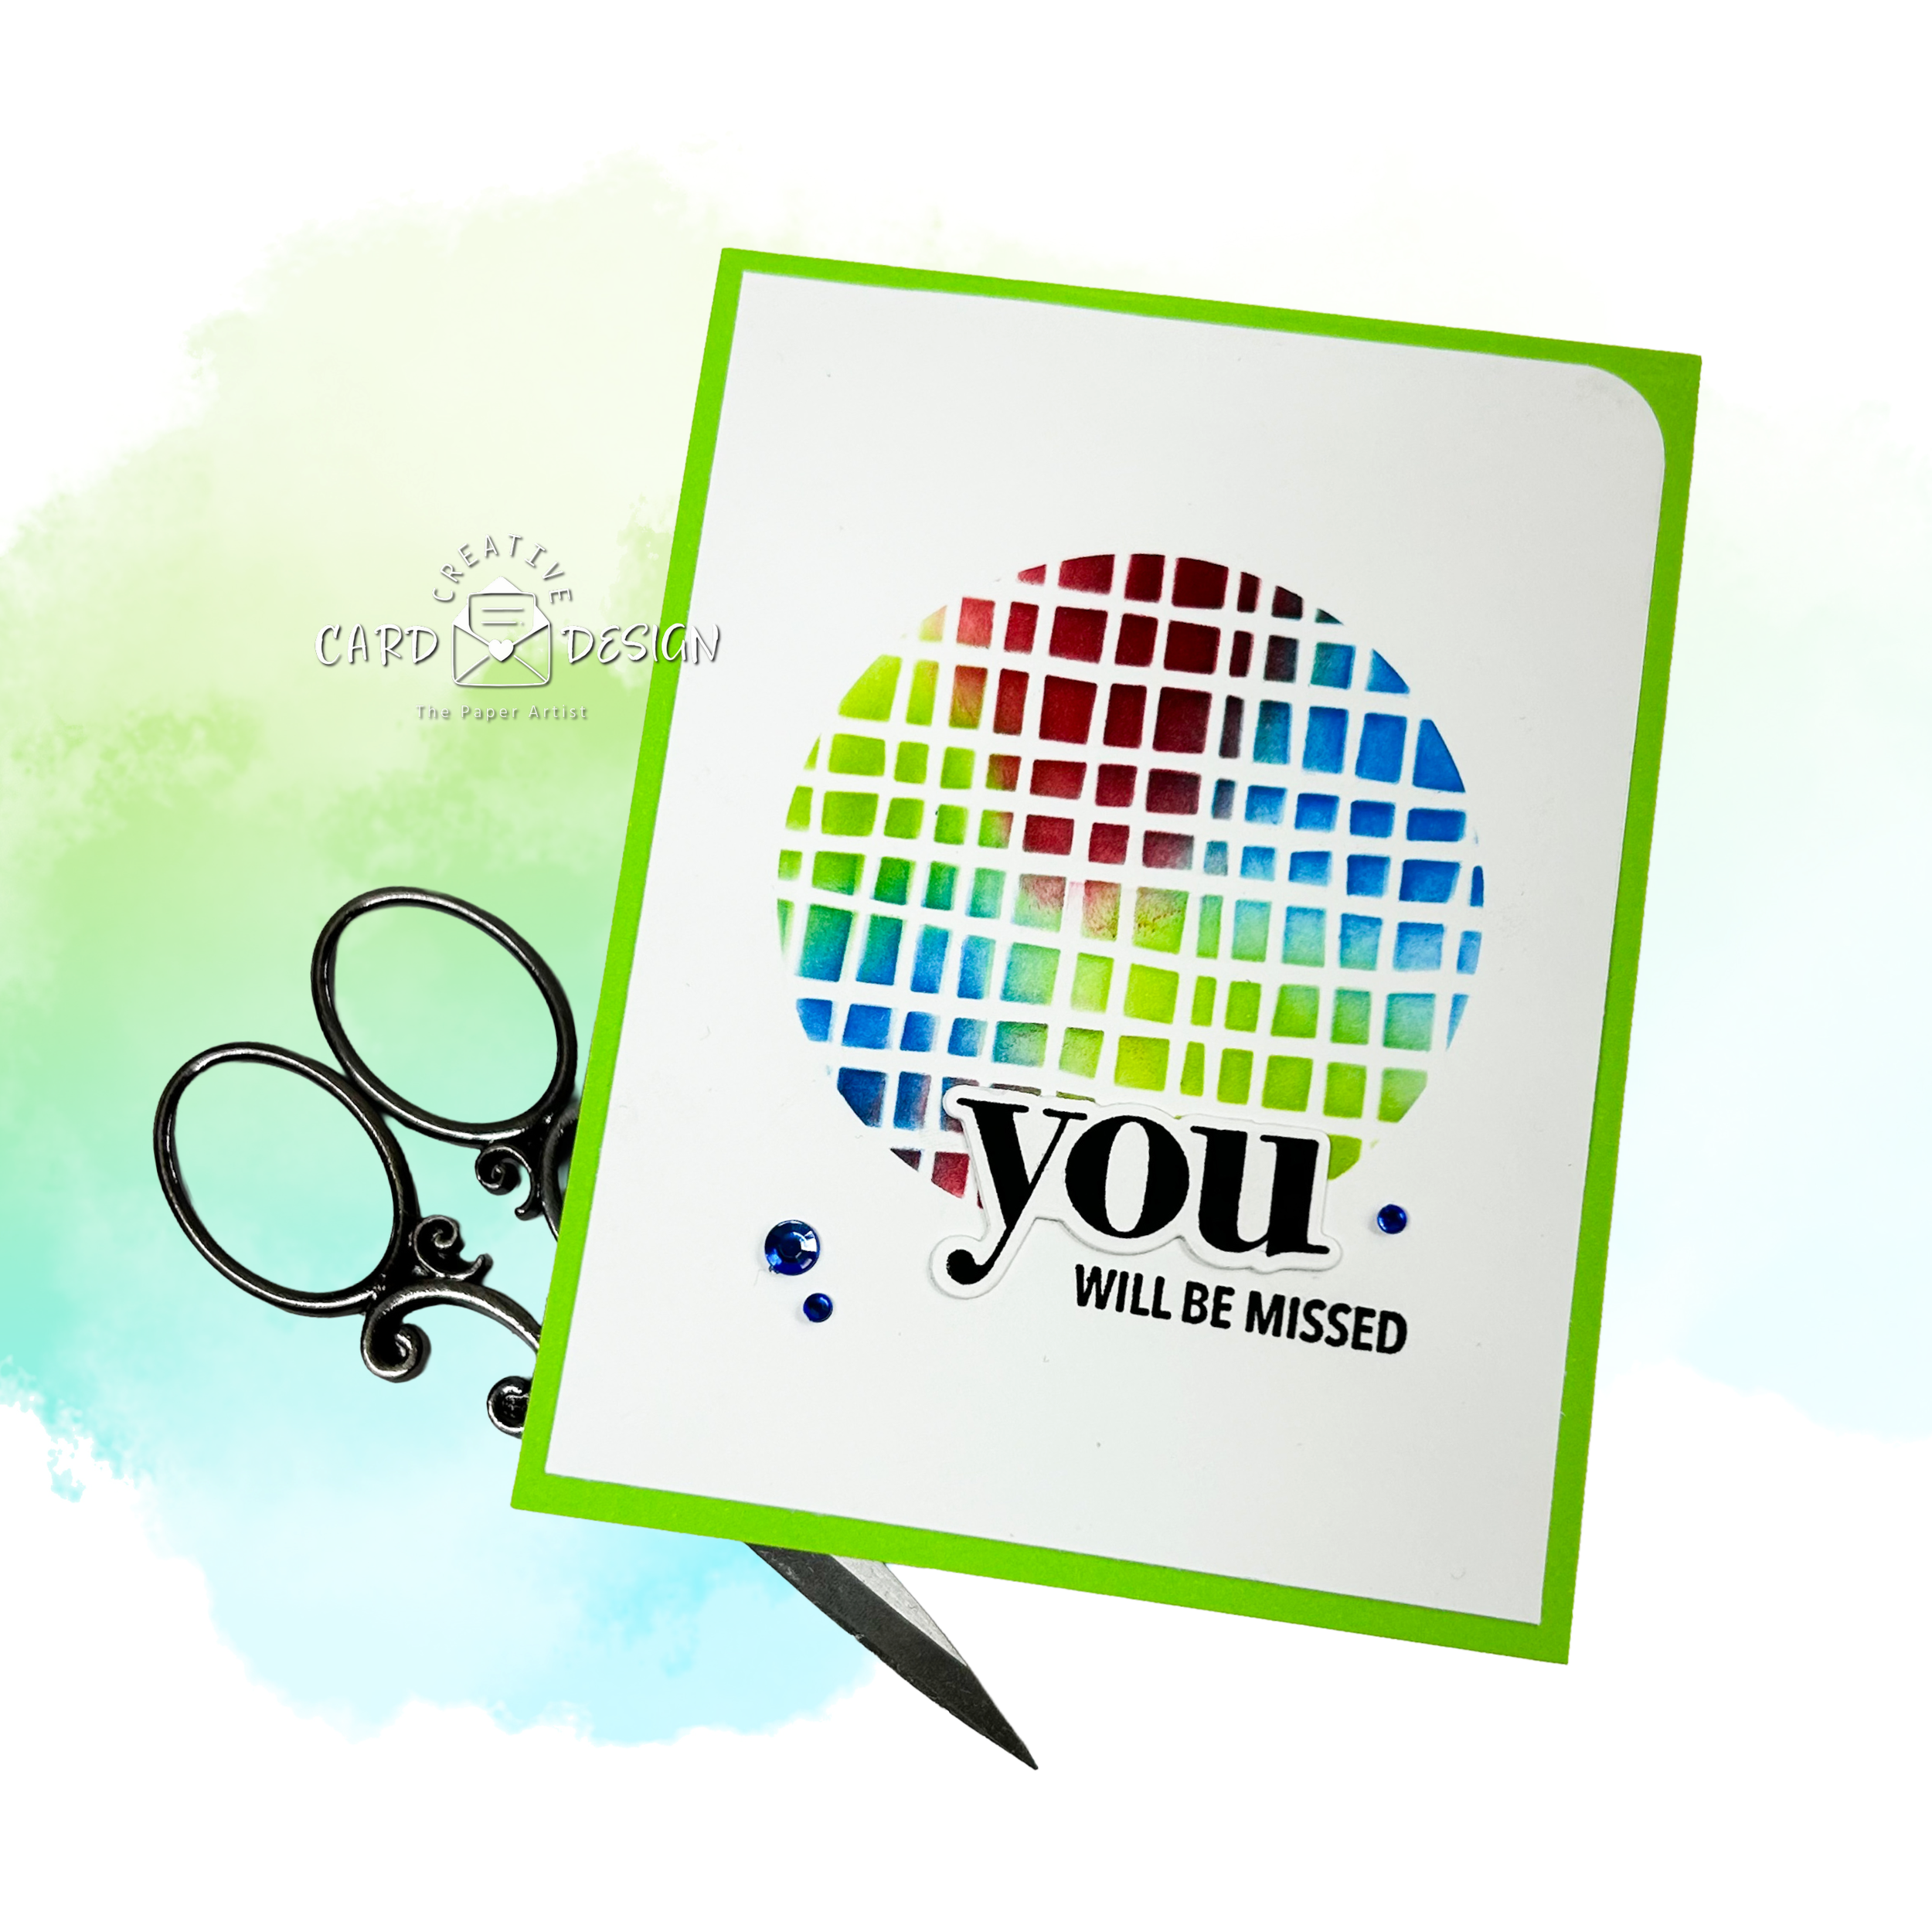
Barb was fascinated with the color behind this mesh type design!
This card was definitely her pick!
Stencils were one of the first items that I picked up, you know to complete my telepathic relationship with. Stencils are always a great to start creating with since they provide texture, fun and ultimately color.
Next I reached for a piece of plain old copy paper, not to ponder for any creative ideas to but to help with the idea that the stencils had produced. With the copy paper came circle dies. I cut a piece of copy paper down to 4 1/4 x 5 1/2 and using a die cut a circle in the center of it to create a mask of types.
Using some mint tape, I attached this to the front of the card base panel, then laid a chosen pattern stencil over the circle cut out. We added some fun ink colors to the combo and I just created a playful combination of the ink colors by blending over the stencil and into the circle section of the card base panel.
I removed the mask, which is always a magical moment. I get such satisfaction with this big reveal.
Choosing the sentiment: Which “you” would we use, and which supporting sentiment to go with it. This stamp and die set offers so many options. Barb and I finally decided on a sentiment during an incoming message requesting a card for someone who would be leaving their job placement. It became clear pretty quickly which words we would choose to headline this card.
I stamped the larger “you” word. And die cut it 3 times so that it could be layered to create dimension on top of the playful ink stenciled design.
A background paper was chosen from a Scrapbook.com paper pad. I love these 4 1/4 x 5 1/2 paper pads since I can just flip through and choose the color of paper that best suits my project. These paper pads sits neatly stacked in a bin right on my desktop area since I reach for them often as backers for a card.
We corner rounded just one corner of the base panel just for a little added interest.
Lastly a few gems were added and that concluded the THAT card.
The Next Card Design (THIS): used the same theory with a copy paper mask, and ink blending.
This time I used 3 different sized circles to create a mask of sorts. I have to say this part of the process really amused Barb, she just could not figure out exactly what I was doing! She is so much fun to craft with!!
Following the same steps as above, and choosing some playful ink colors and different stencil patterns this card was creating using the same creative format.
We chose a different “U” sentiment with the addition of “are a stellar human”. With the U consisting of 3 layers, and the additional words stamped over top of an ink blended circle.
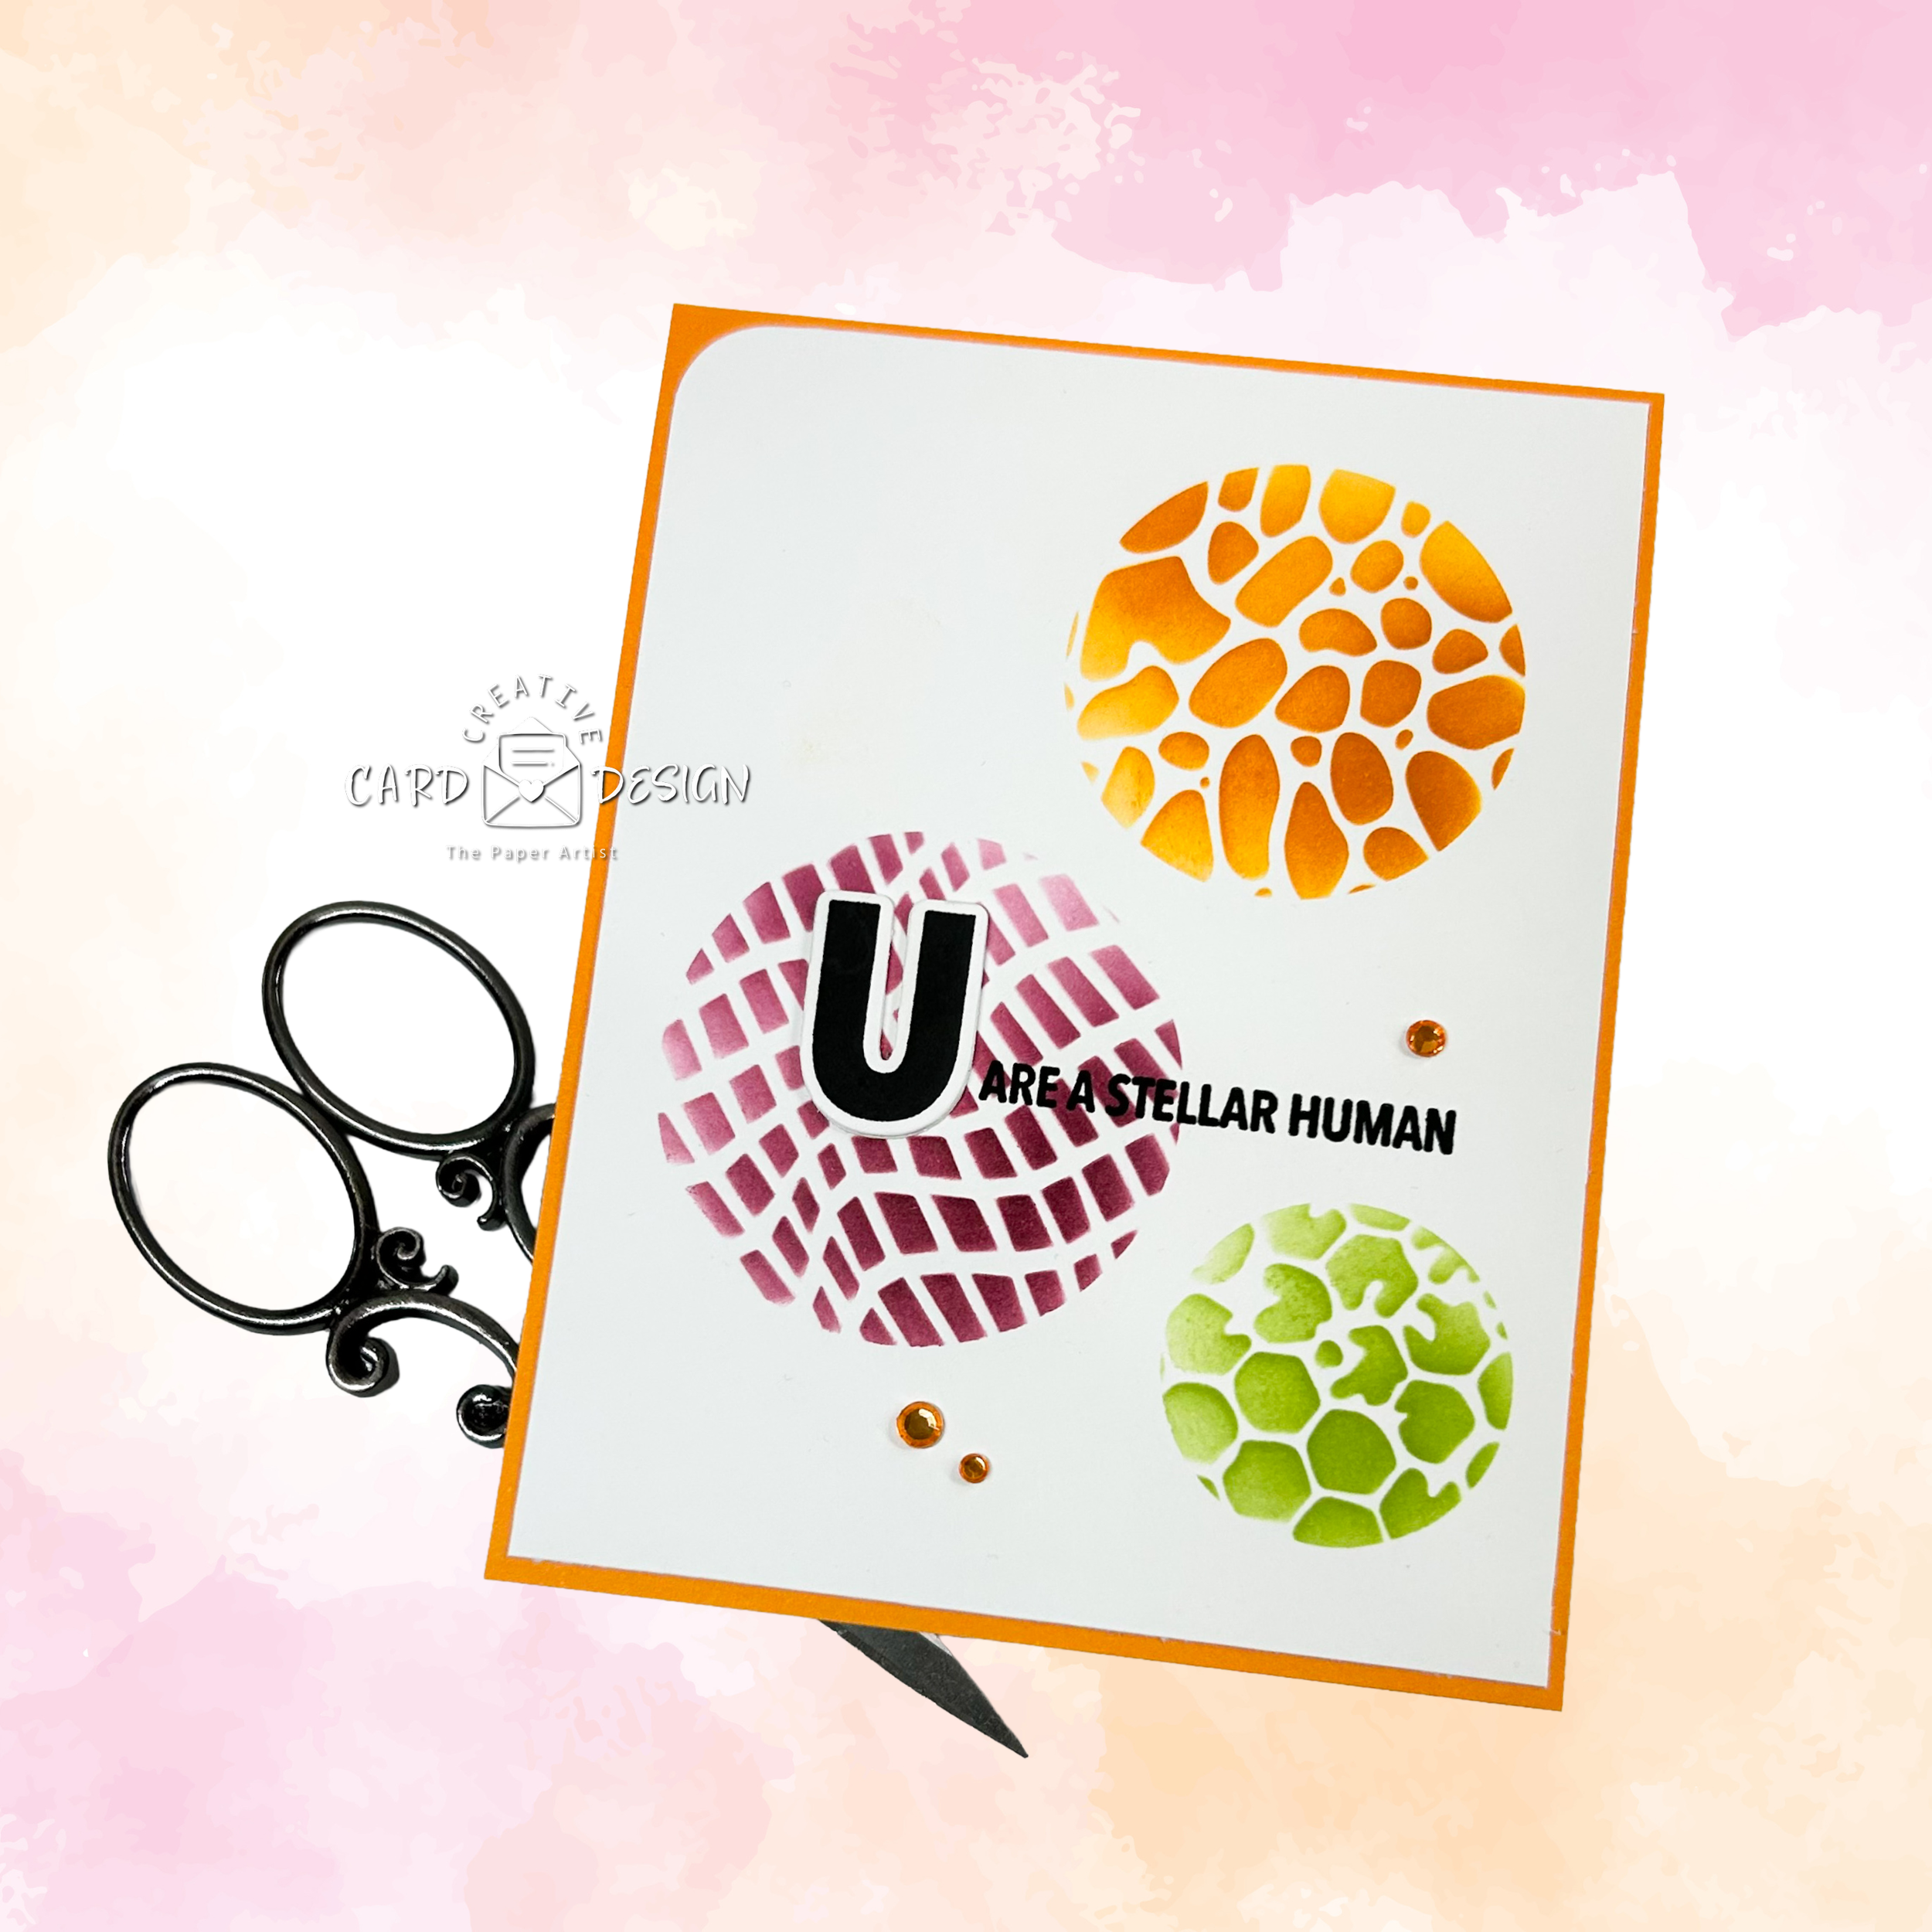
I love the combination of the 3 colored circles and the texture they bring to the card!
Needless to say, this was my favorite!
Products used to create the cards:
You 2 Stamp & Die Set - Simon Says Stamp
Stencils - Amazon Find out more about these stencils>
Cardstock Paper Pads - Scrapbook.com
More cards using the “You 2” Stamp Set > A Little Card, A Lot About You
Now it’s your turn—this or that?
Drop your favorite in the comments and let me know which card has your vote. I love seeing which design speaks to you most (and Barb loves hearing if her picks were on point too 😉). Until next time, keep sipping that coffee and finding joy in the little crafty moments.
THE LINKS IN THIS POST CONTAIN AFFILIATE LINKS - WHICH MEANS THAT IF YOU CHOOSE TO PURCHASE A PRODUCT FROM ONE OF THESE LINKS THAT I WILL MAKE A SMALL COMMISION. THIS DOESN'T COST YOU ANY EXTRA TO PURCHASE. THE SMALL COMMISION HELPS ME TO CONTINUE TO SHARE CARD IDEAS AND EXAMPLES WITH YOU.
HEARTFELT THANKS FOR YOUR SUPPORT.