
Background Stencils from Amazon + Easy Stencil Storage
Getting the most bang for your buck when purchasing stencils to create backgrounds!
So, if the idea is just to create a fun background, have some fun with pattern, color and inks. To create a background of visual interest and not per say something that coordinates with a bundle of products. IE: the the stencil is designed to match with stamps and/or dies.
Then these stencils work beautifully, have an amazing price point and are simply easy to store and clean.
Textured Layering Stencils from Amazon!

Each set of stencils comes with a metal key ring, that’s easy to open to remove the stencil you want to work with and then simply return when you’re finished. The key ring allows for easy hanging anywhere for quick storage. I absolutely love this!

All 4 (+) sets give you endless possibilities for stenciling your project backgrounds. You can use the whole stencil or just parts and pieces for a partially patterned background.
I chose 3 of my favorite background stencils from these packs and randomly created 3 backgrounds below.
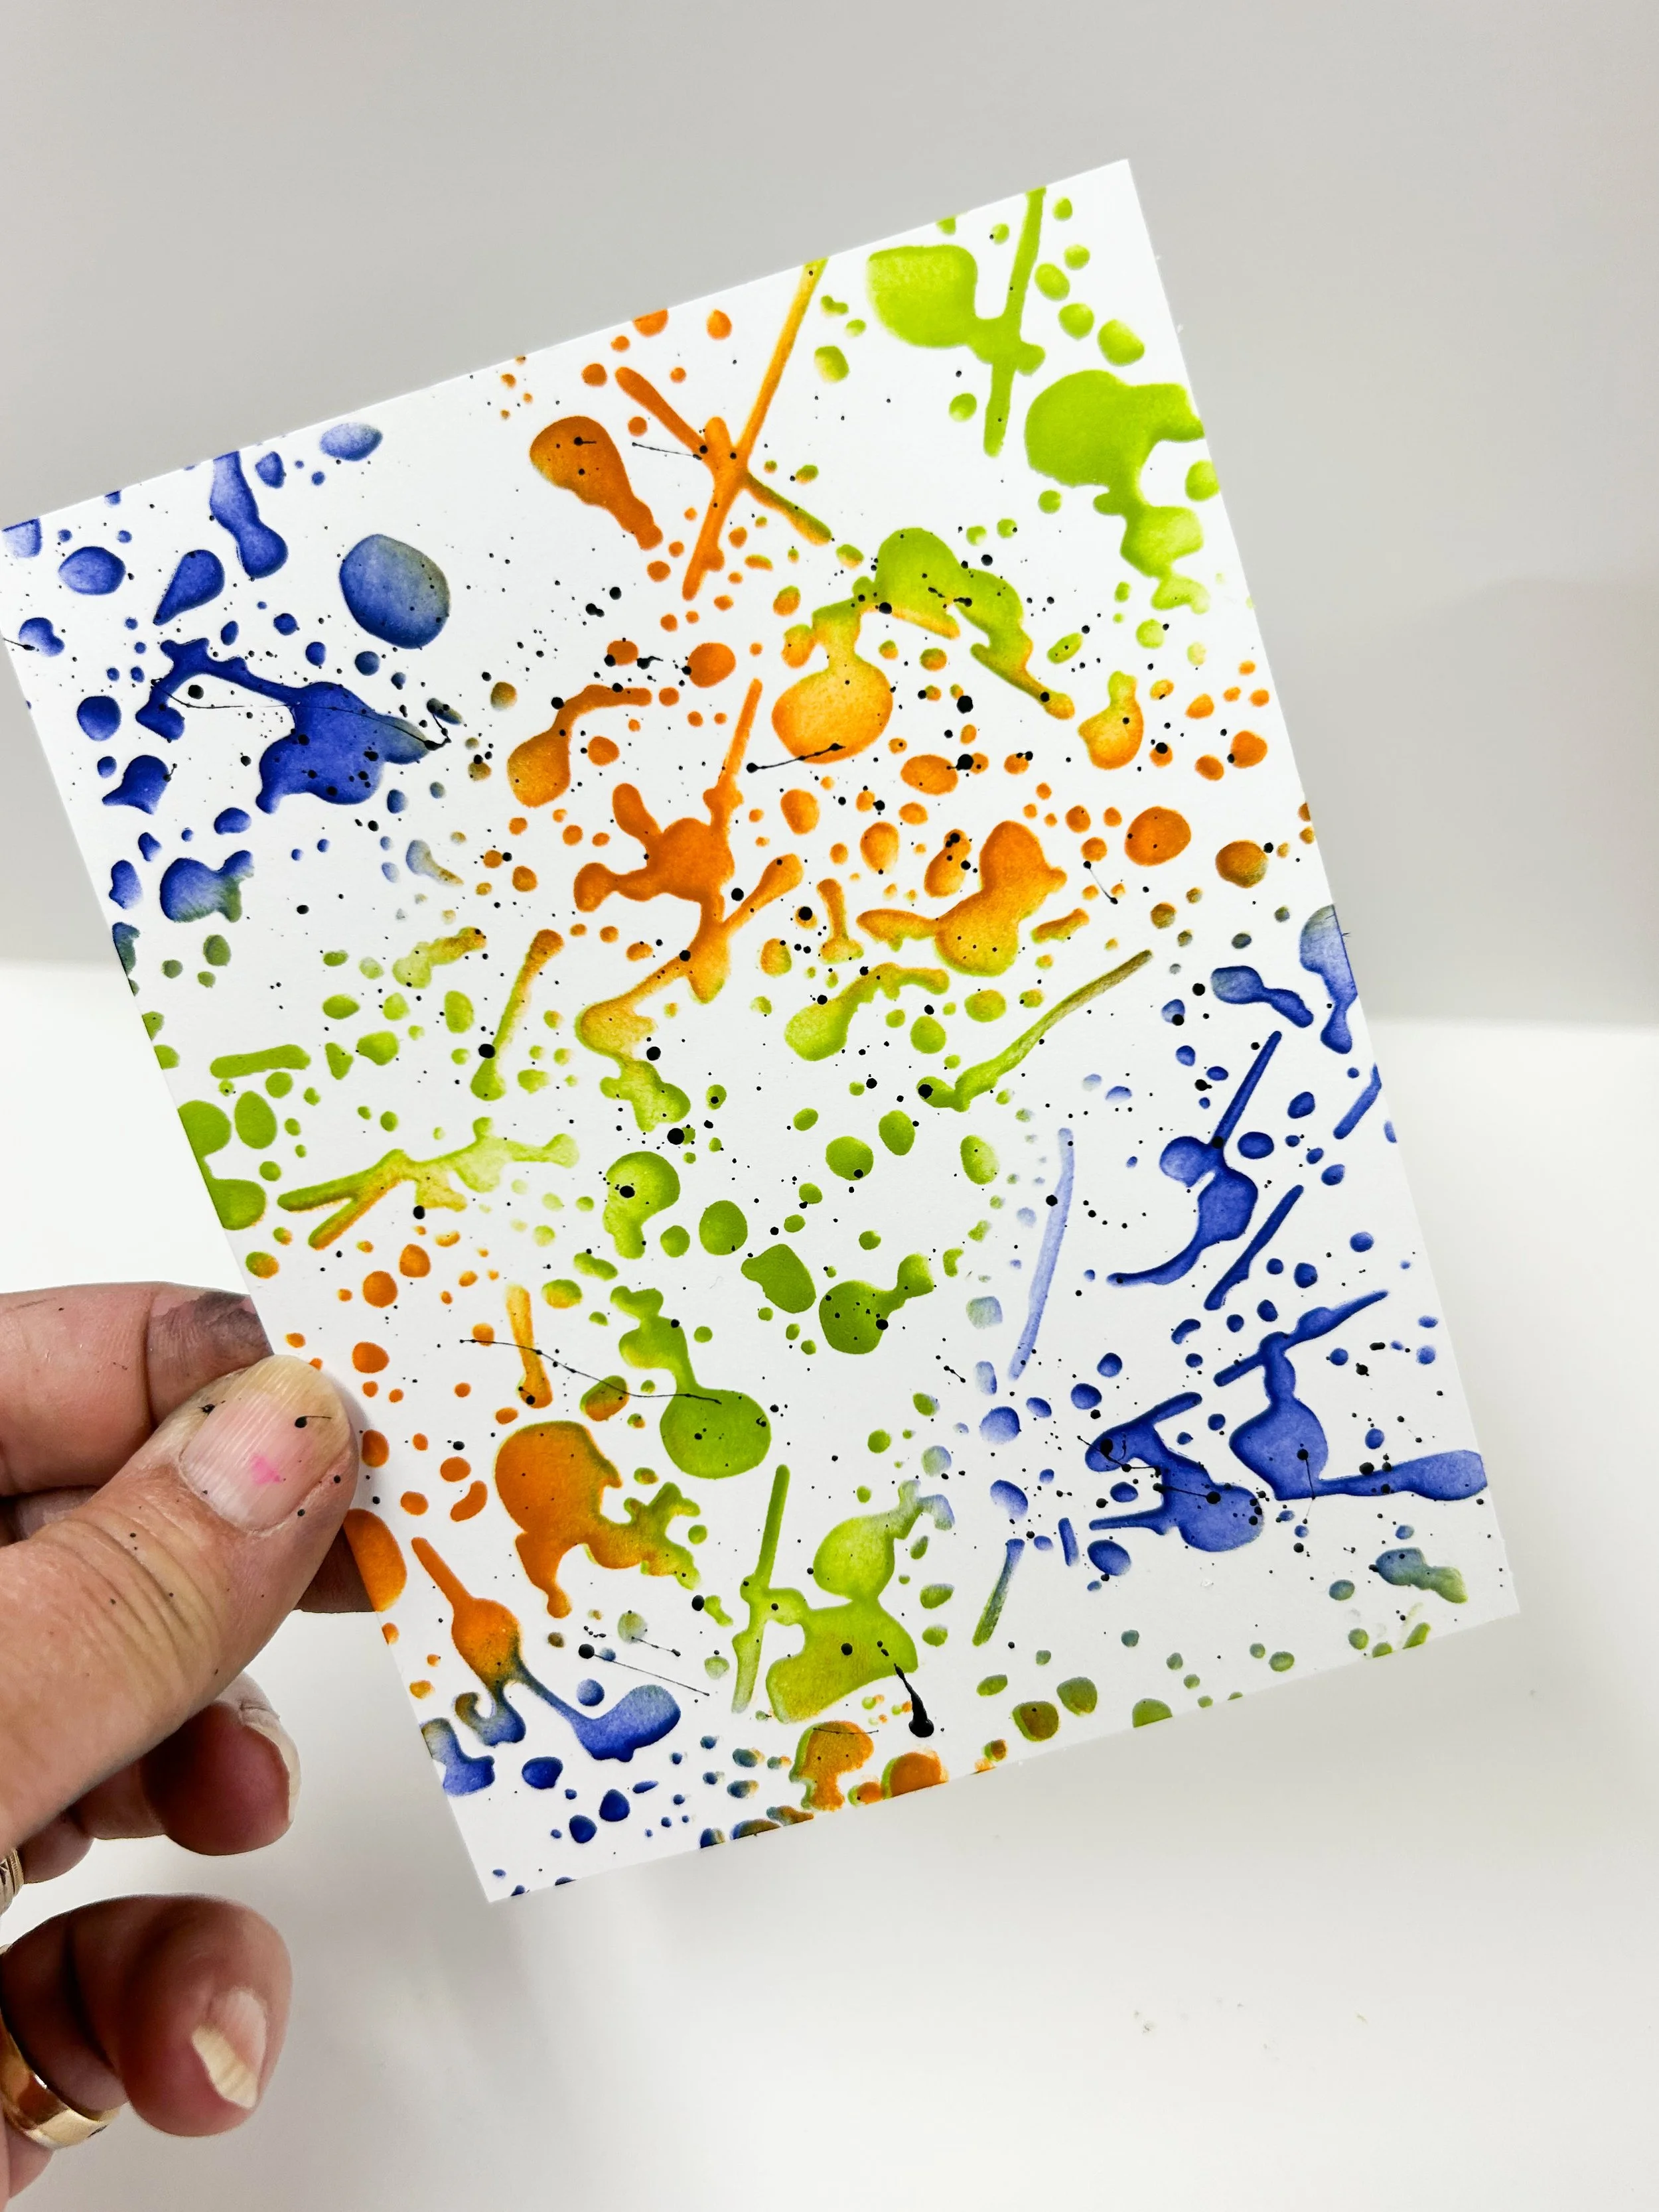
Bright and colorful ink splotches with an added black paint splatter.
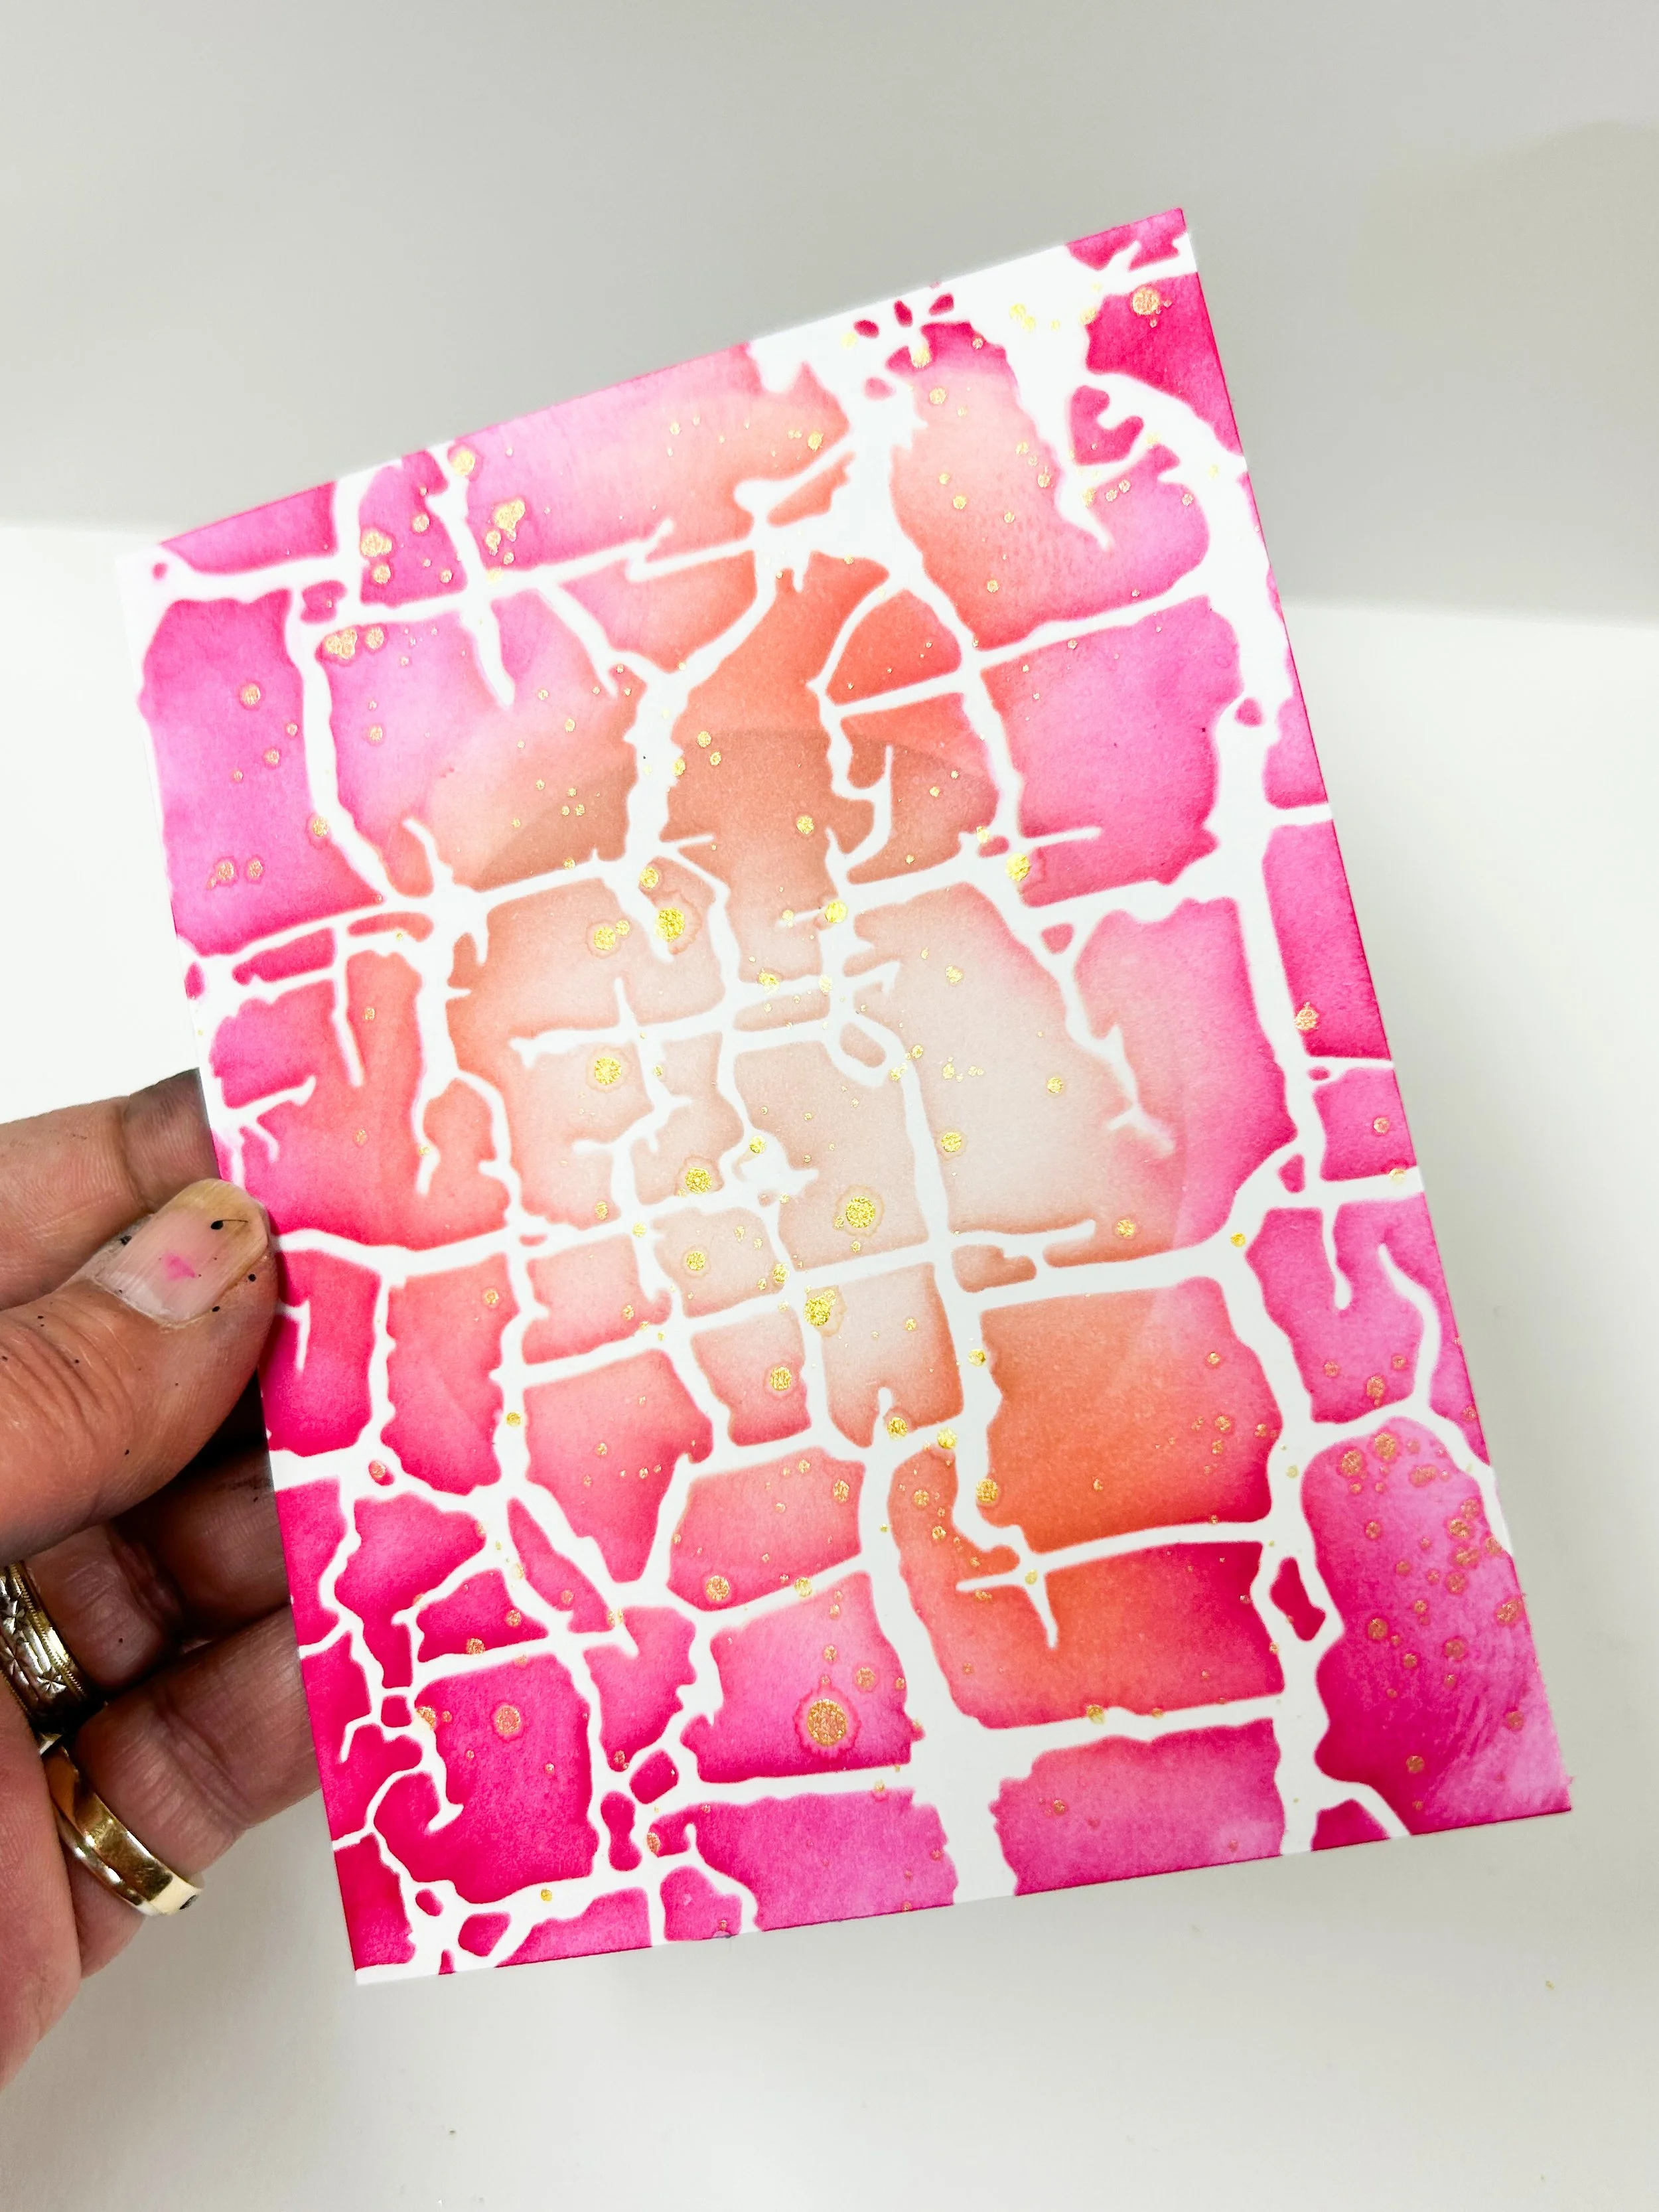
Several shades of pink inks in a crackled paint design, splattered with gold metallic.

Check out the shine and shimmer.
An interesting pattern created using Pops of Color and a palette knife and spreading over the top of the stencil.
How will I turn these backgrounds into cards?
Check back to find out!
These stencil sets are durable, washable, flexible and give so many options when stenciling a background or adding a little pattern here or there.
To effectively ink stencils for card making, focus on securing the stencil, using the right tools, and understanding different techniques. Secure the stencil with tape or spray adhesive to prevent shifting. For inking, consider using a brayer for a more even application or a brush for a more textured look. Explore techniques like offset inking, layering stencils, and stamping through stencils to add depth and visual interest.
Here's a more detailed breakdown:
1. Securing the Stencil:
Mint tape:
A common and effective method for securing stencils, especially for detailed designs.
Spray adhesive:
Low-tack spray adhesive can be applied to the back of the stencil to prevent it from moving.
Sticky mats:
These can be used to secure the stencil to a surface, allowing for easy movement and positioning.

2. Choosing the Right Tools:
Brayer: Ideal for applying ink evenly across the stencil, especially with larger designs.
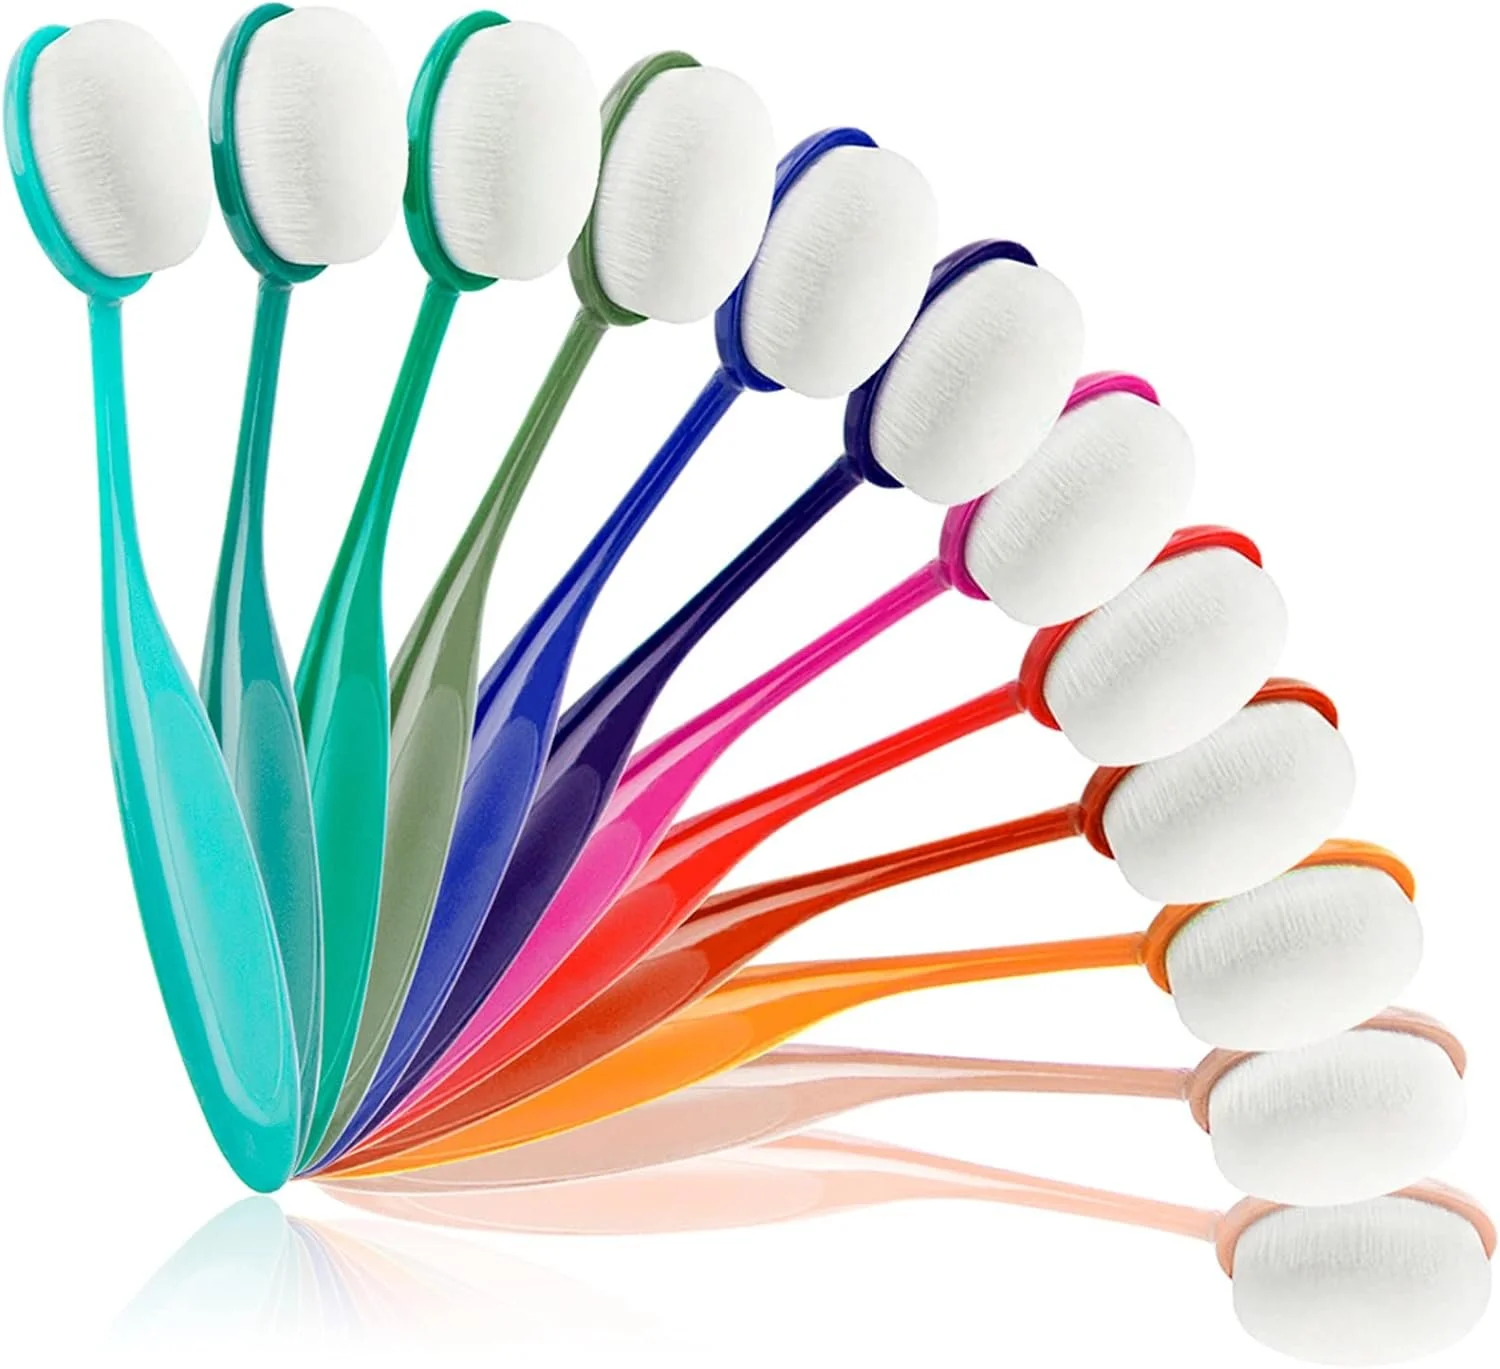
Brush: Allows for more control and can create textured effects.
Acrylic block (for "rock and roll" technique): Can be used to apply ink to the edges of a stamp or stencil, creating a soft, shaded effect.
3. Understanding Different Inking Techniques:
Offset inking:
Apply ink in one color, then slightly offset the stencil and apply another color for a layered effect.
Layering stencils:
Use multiple stencils to create complex designs, often with different colors or textures.
Stamping through stencils:
Ink a background stamp and then stamp it through the stencil for a layered effect.
"Rock and roll" technique:
Use a stamp or acrylic block to "roll" ink onto the edges, creating a subtle, shaded effect.
Stencil Ink Press Technique:
Apply ink to the back of the stencil and press it against cardstock using a brayer and embossing plates.
4. Tips for Success:
Use a larger piece of paper for inking: This allows for more flexibility in positioning and layering stencils.
Test your stencils: Experiment with different ink colors, brushes, and techniques to find what works best for your style.
Practice: The more you practice, the more comfortable you'll become with inking stencils and creating beautiful card designs.
By following these tips and experimenting with different techniques, you can effectively use stencils to create stunning cards.

This floral set is so pretty - just perfect for creating a little motion on the background of your project when lightly stenciled in with a complimentary ink color.
While still on the subject of stencils - while these stencils have the perfect storage with their pre cut hole and key ring binding method which makes for easy hanging on a hook or push pin. What about stencils that we already own that don’t use this system.
We want easy storage solutions for all of our stencils, right?!
I use this:
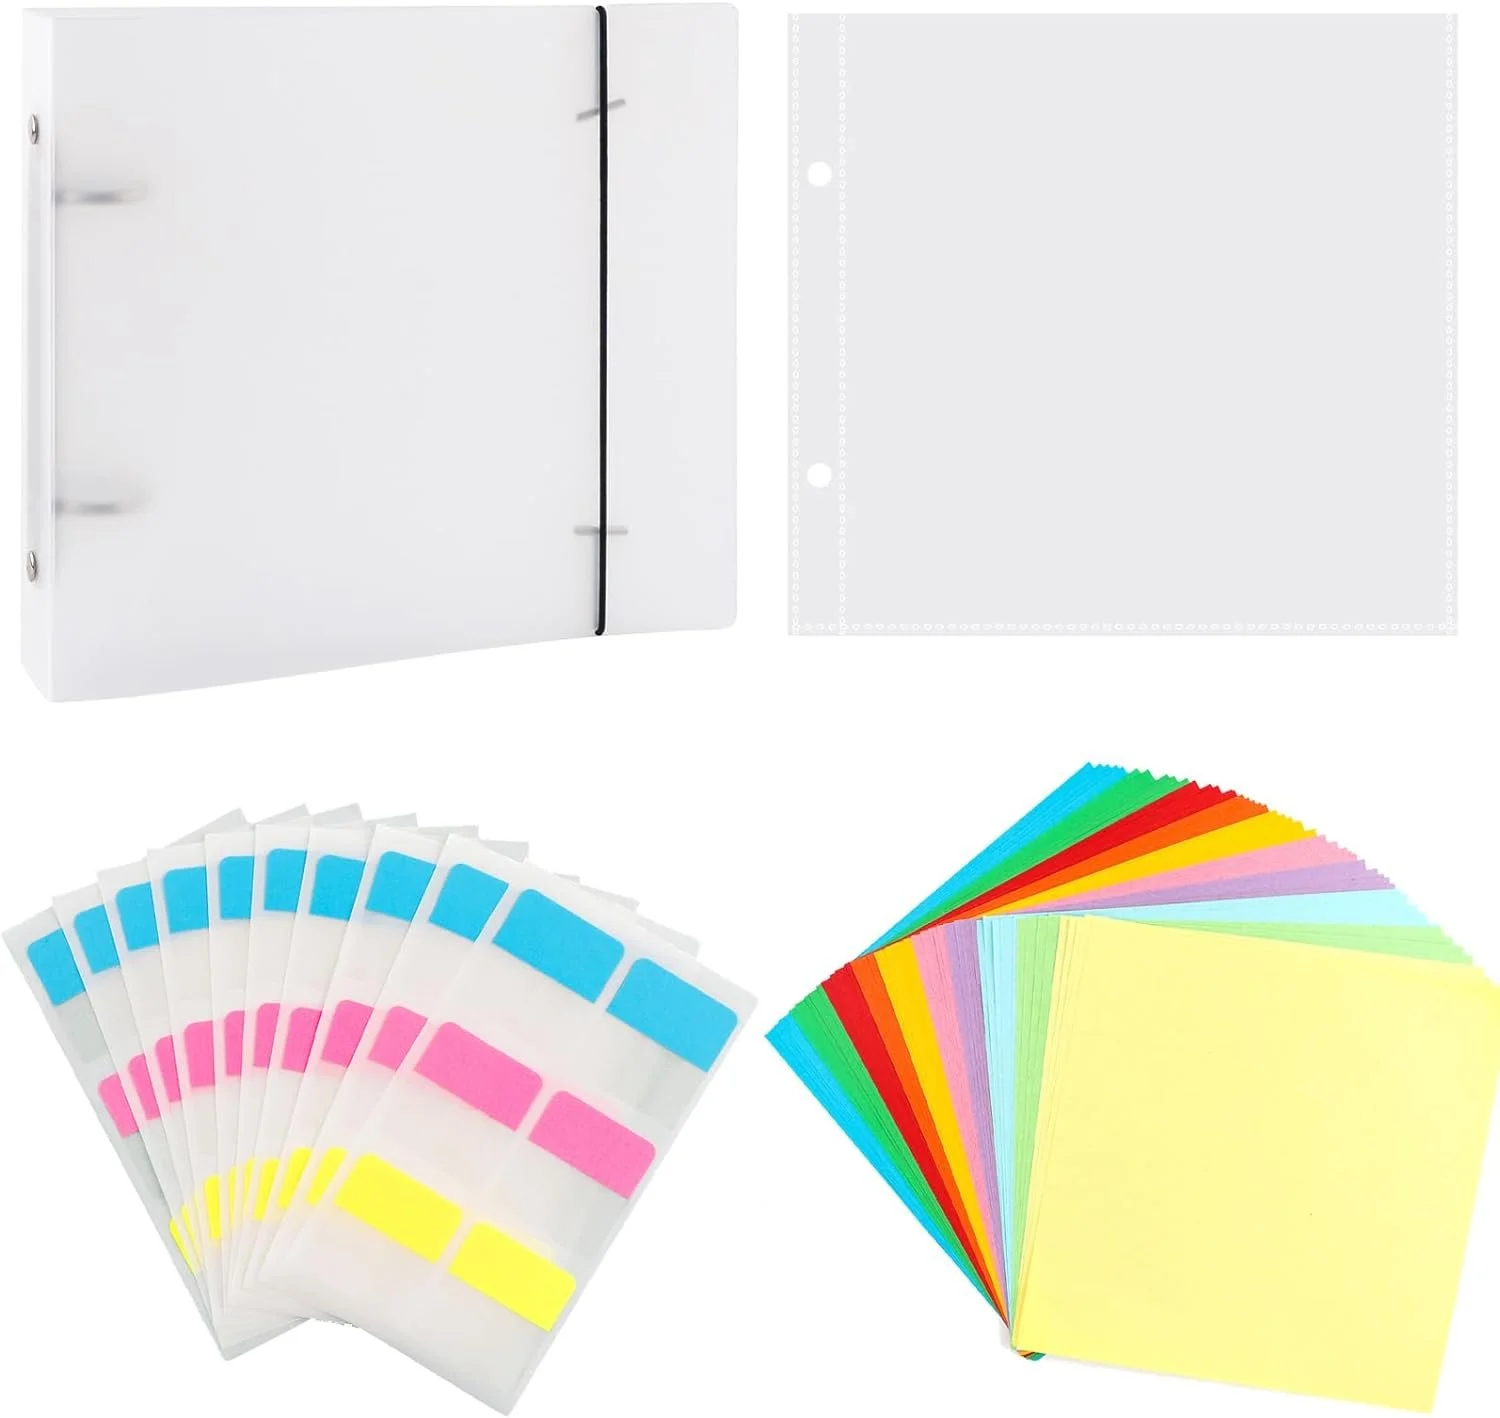
A stencil storage binder meant to organize cookie stencils! Icing, ink - does it matter? No it certainly doesn’t!
This little system is perfect for stencil organization. The binder contains 50 6 x 6 storage sleeves, 50 backing papers ( so you can easily see the stencil ), labels, and a clear binder with a nice closure to hold all of the stencils.
I absolutely love mine!
Easily pulled out from my desk, so I can quickly see my options when choosing the perfect stencil for my project!
THE LINKS IN THIS POST CONTAIN AFFILIATE LINKS - WHICH MEANS THAT IF YOU CHOOSE TO PURCHASE A PRODUCT FROM ONE OF THESE LINKS THAT I WILL MAKE A SMALL COMMISION. THIS DOESN'T COST YOU ANY EXTRA TO PURCHASE. THE SMALL COMMISION HELPS ME TO CONTINUE TO SHARE CARD IDEAS AND EXAMPLES WITH YOU.
HEARTFELT THANKS FOR YOUR SUPPORT.
Do you have any great storage solutions for your crafting products? If so share them below, we’d love to hear them!