
September Birthday Card
September birthdays always feel a little extra special—maybe it’s the mix of late-summer sunshine and the first whispers of fall.
While piecing this card together, I suddenly realized exactly who it was intended for—my best and oldest partner in crime. (Oldest in friendship years, and in age… although if she reads this, I might be in trouble!)
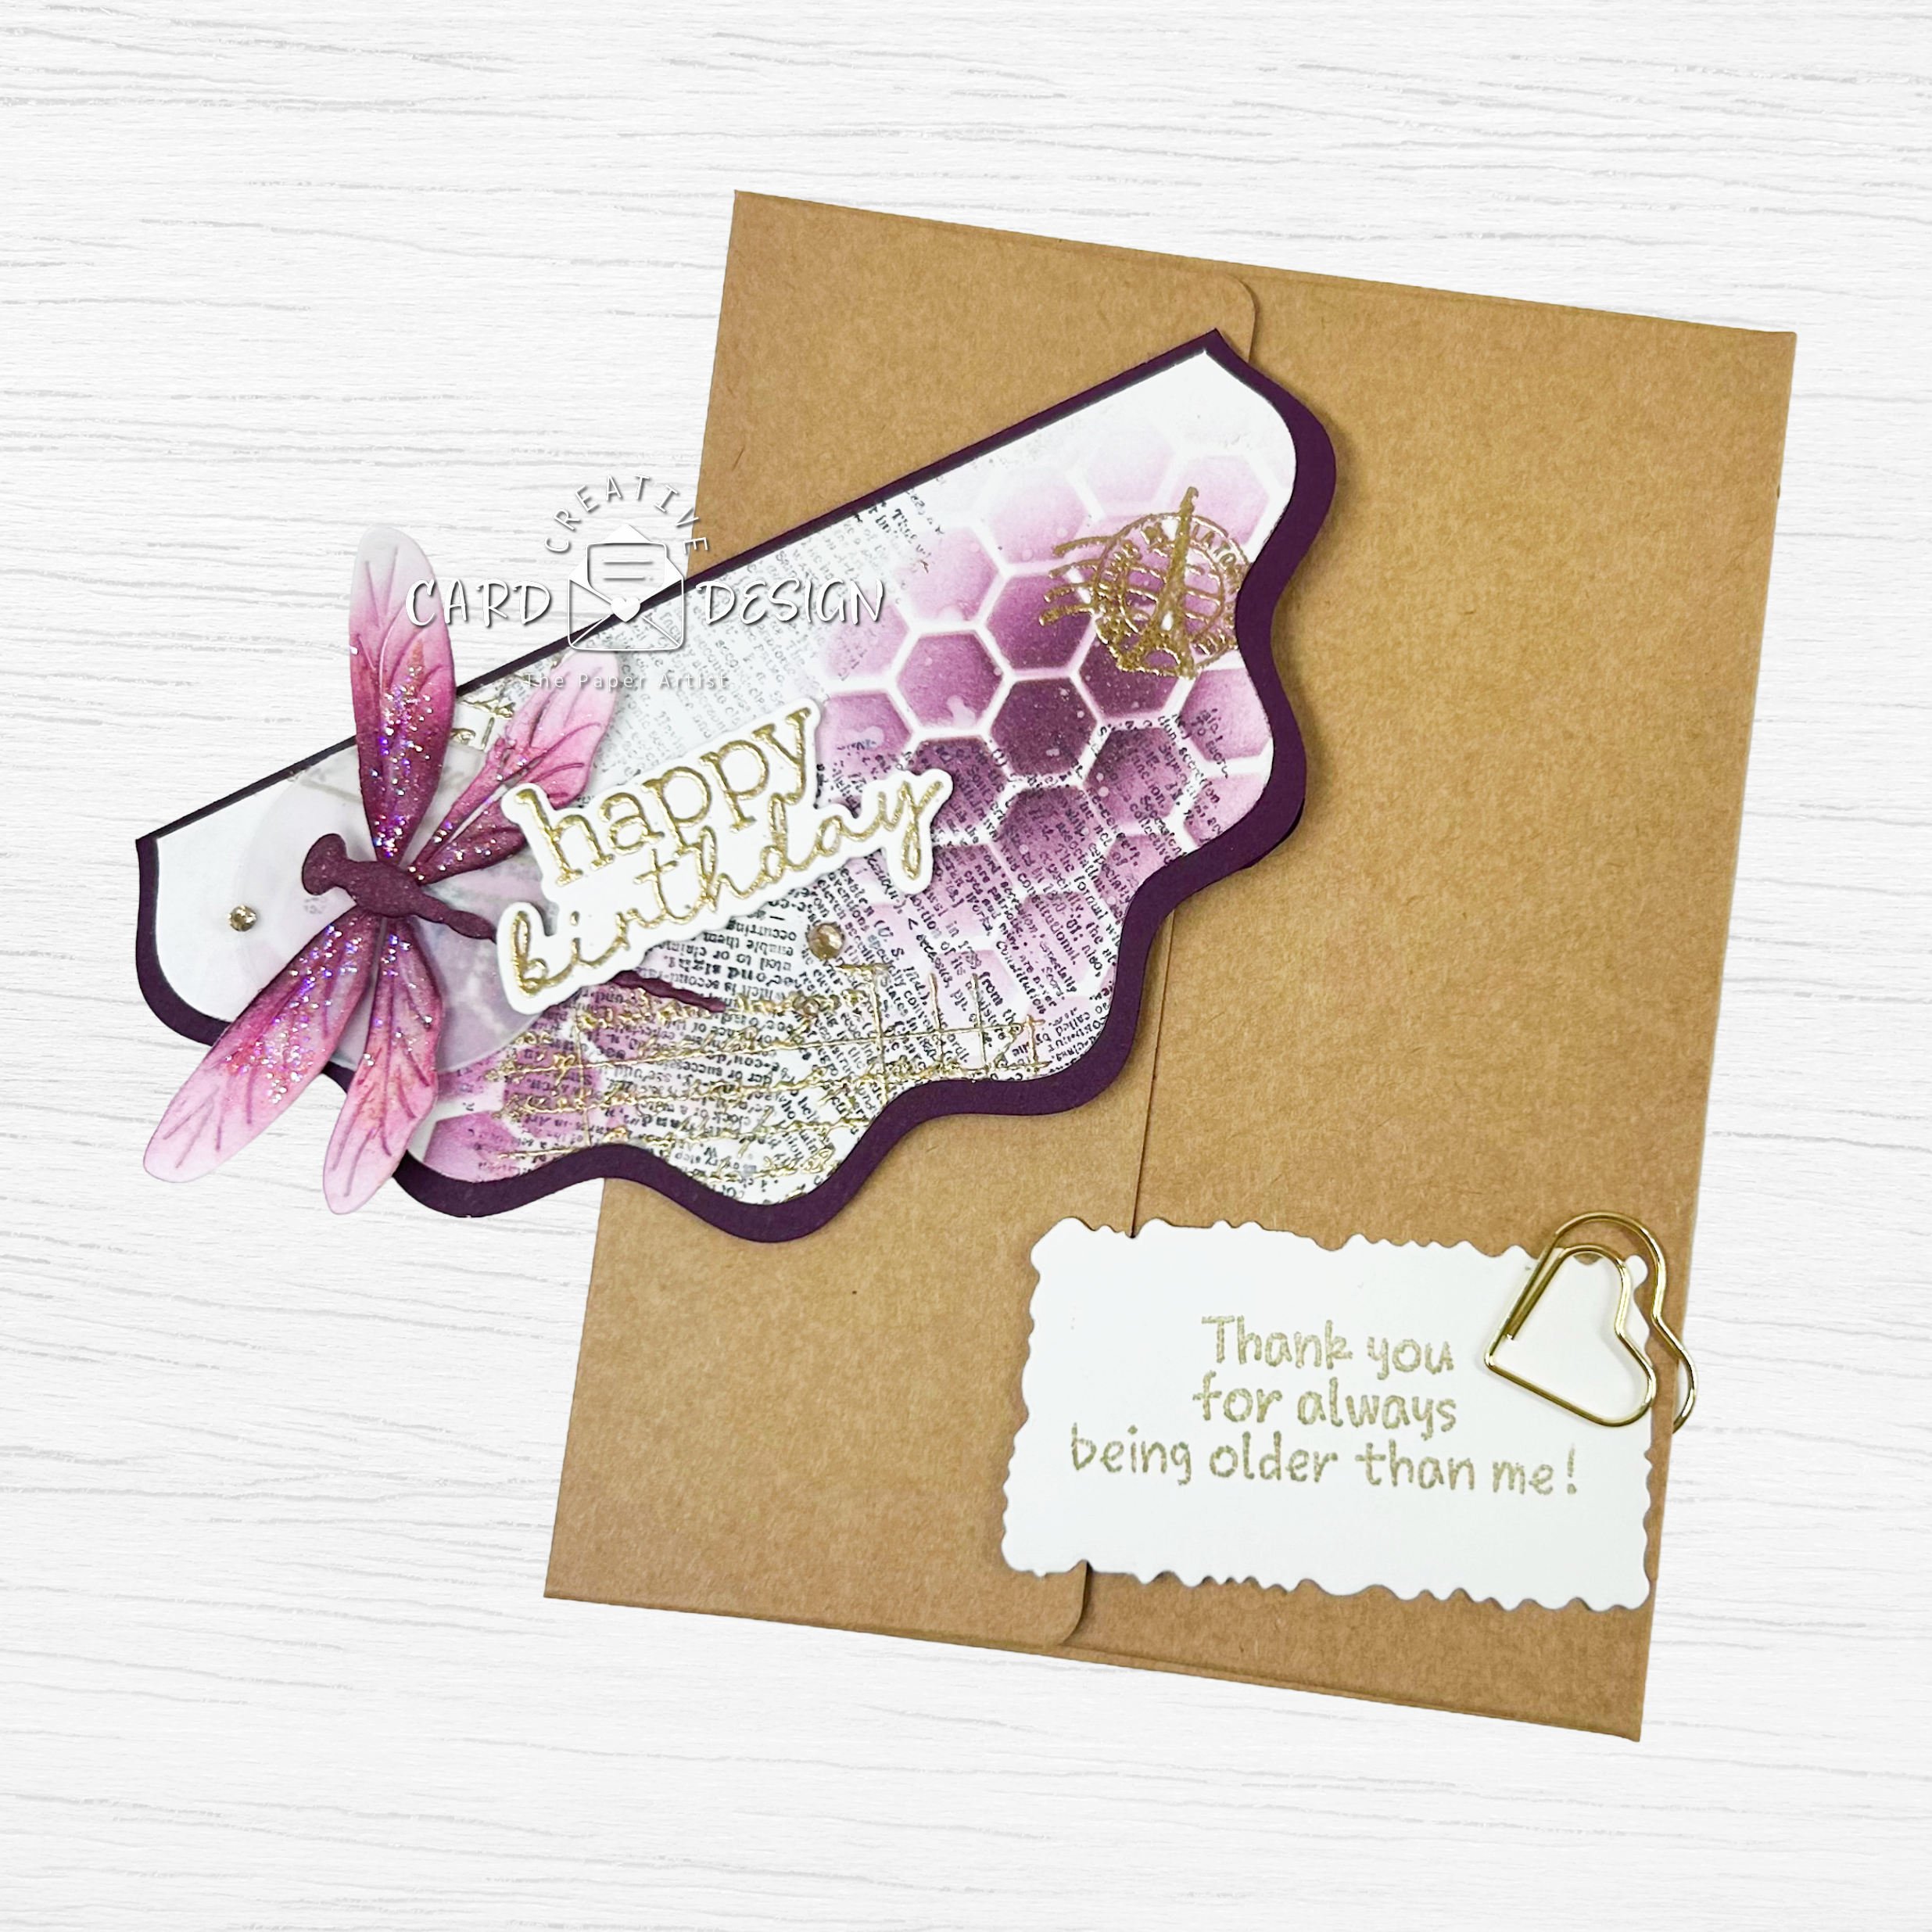
The dragonfly practically waved at me, saying, ‘Yep, that’s her—free spirit, unstoppable energy, always buzzing around with a new adventure.’ The layers of texture and design are just like her too—complicated in the best way, full of surprises, and impossible not to love.
My wish for her this year? Whatever she wishes for—because let’s be real, she’s never been one to let me pick for her anyway.
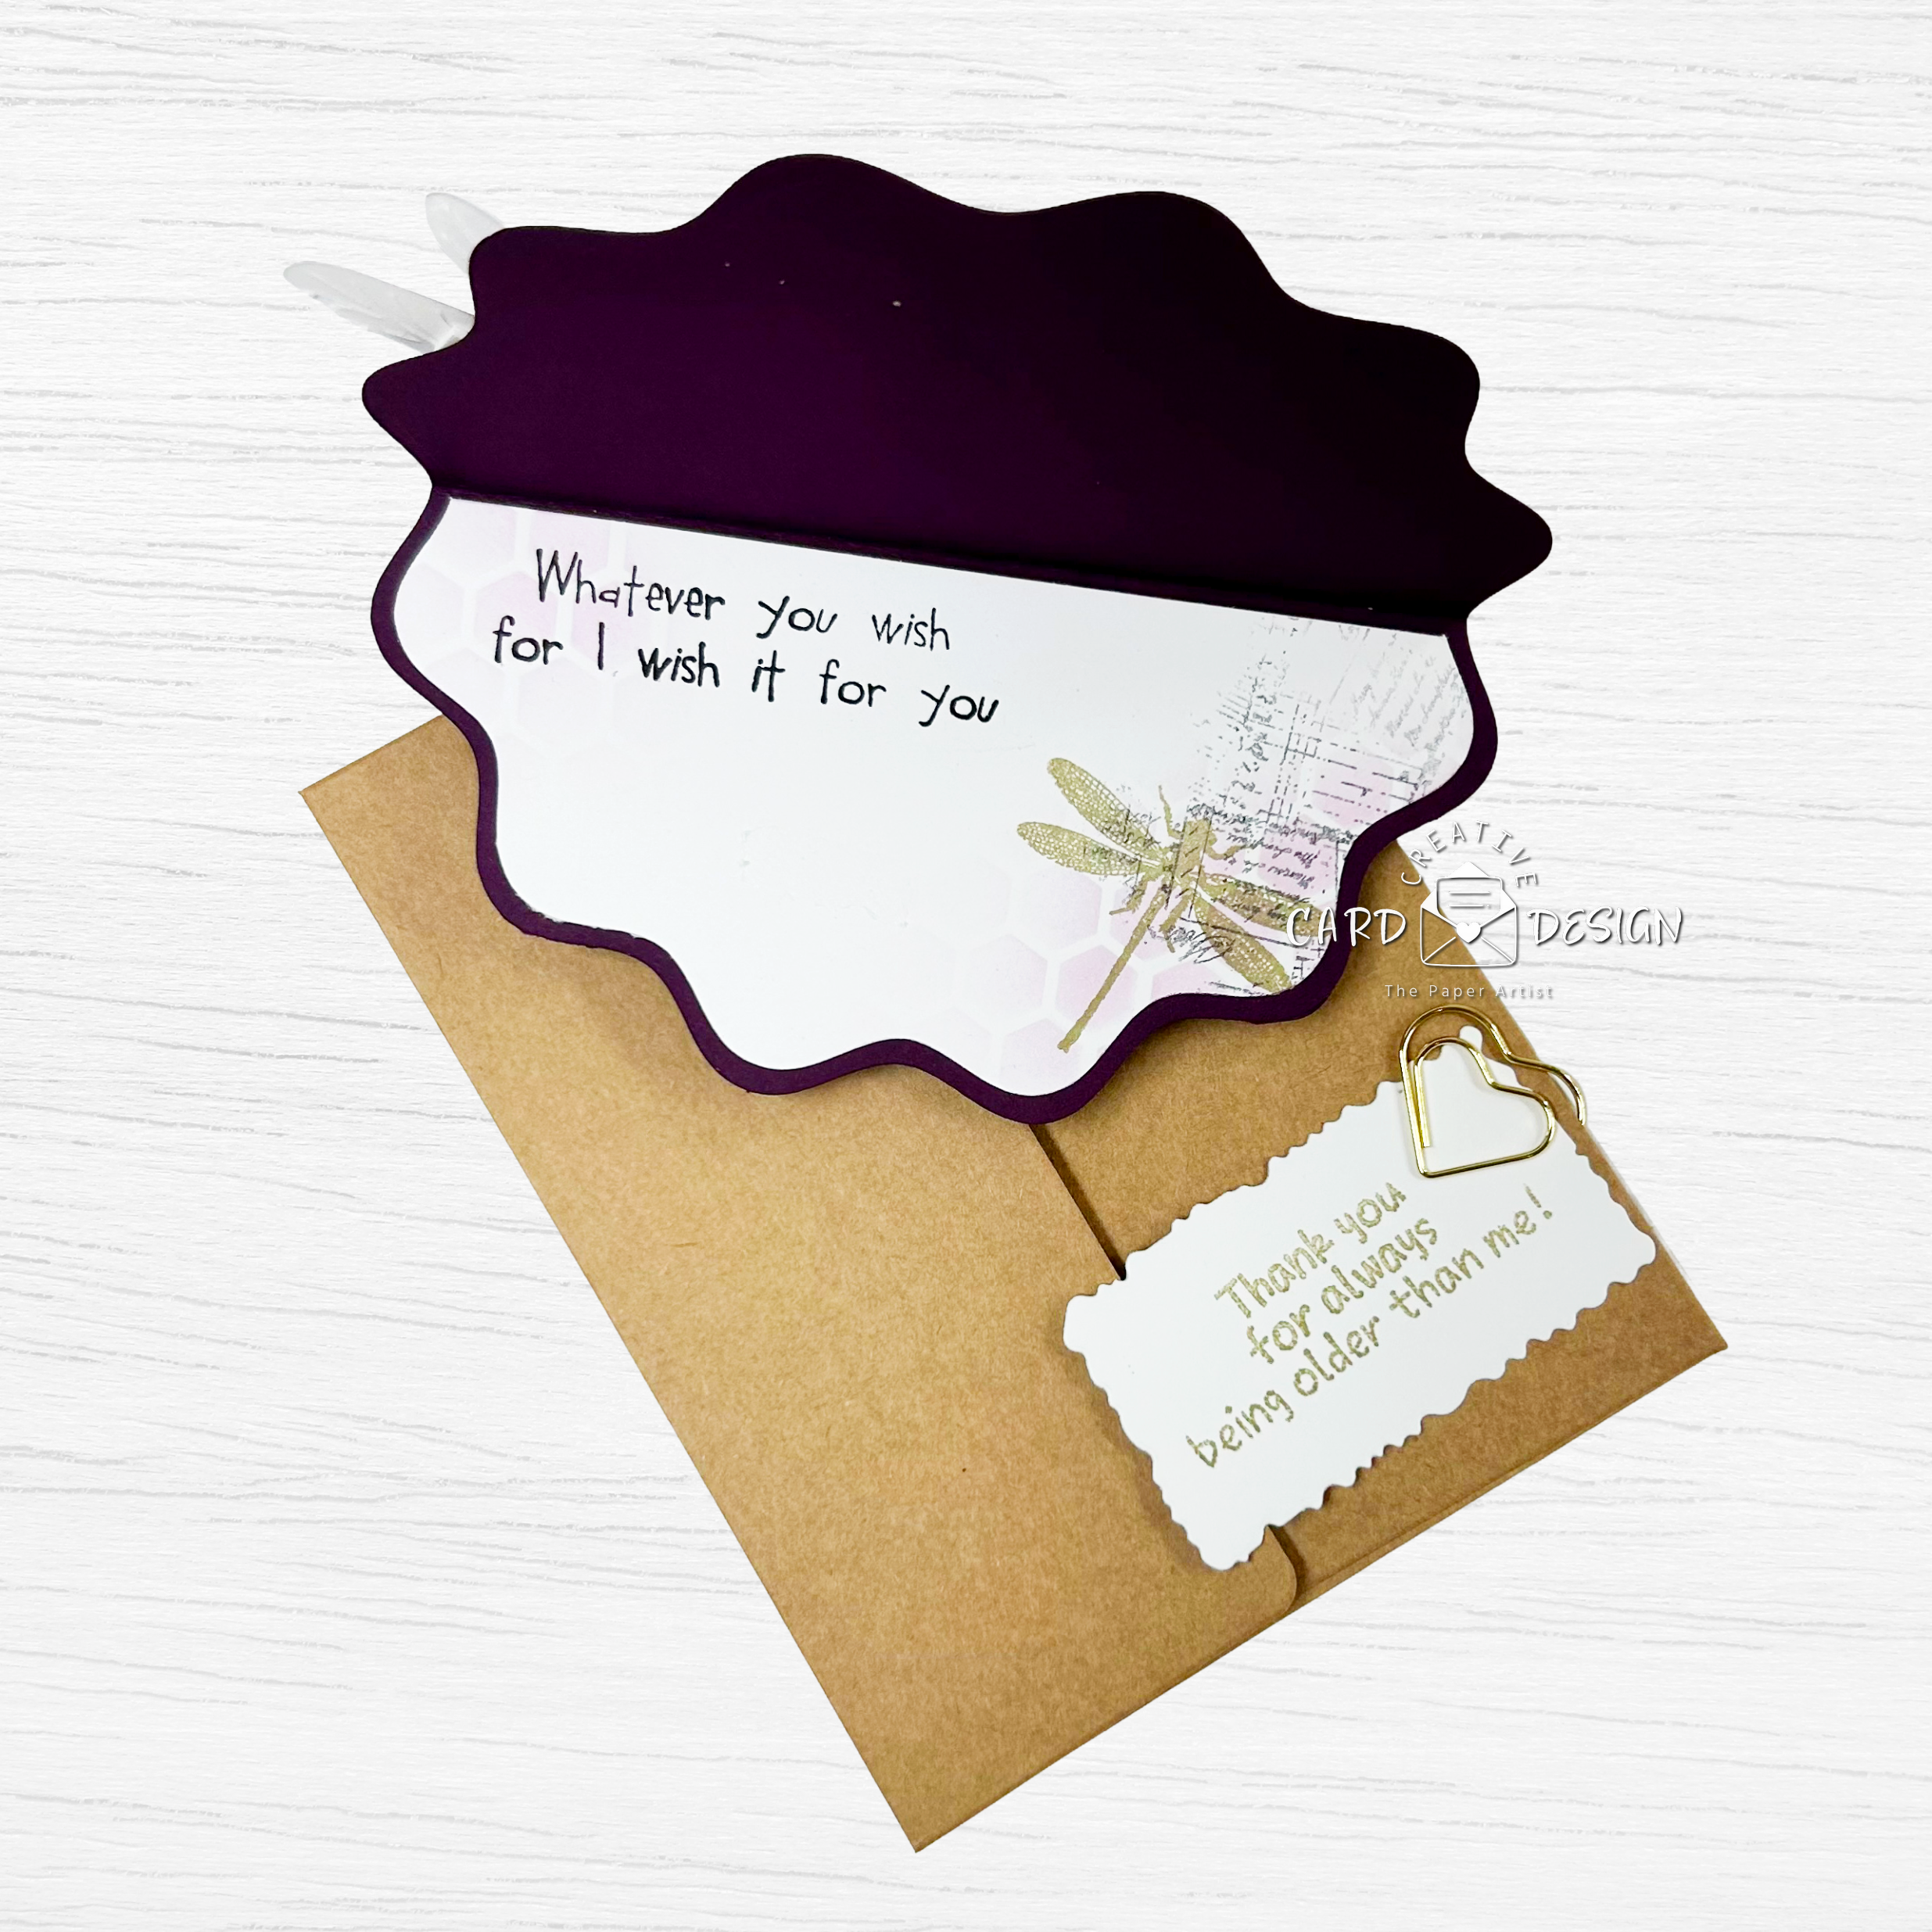
I didn’t want the slight sense of humor that goes between us to be lost in a sentimental card, so I had to include a little sub sentiment clipped inside the card with an adorable little heart paperclip.
Actually… (the making of the card)
I raided my stash, and pulled together a mash-up of goodies—because honestly, why not? Some of the best projects come together when we dive into our stash, mix and match supplies, and let the creative chaos work its magic!
Why settle for just one product when you can throw a whole party of them onto a card?
The project started with a Wavy circle design that I cut using my Cricut machine in a beautiful blackberry colored cardstock. I folded this equally in half and burnished the crease with my bone folder to create a wavy little card base.
I also cut another wavy circle just a 1/4 in smaller than the previous in a white cardstock. I cut this one in half - to use one section as my front panel, and the remaining piece for an inside panel.
On the panel intended for the front of the card, I used a honey comb stencil to add a few areas of this rich blackberry ink in a fun pattern.
I stamped some simple text in a random areas onto the same panel.
Then added a different text pattern as well as a some postage markings in Versamark ink, a gold metallic embossing powder and then heat set it.
I die cut a dragonfly in white cardstock and ink blended it using the blackberry ink and blending into lighter tones as I moved outwards on the wings. I assembled the dragonfly and added him to a small circle of vellum, and then adhered that to the card front. The dragonfly hangs just slighting over the edges of the card base.
The inside panel carries a little more of the stencil pattern and text, along with a stamped dragonfly and my most favorite birthday greeting!!
Products used:
Bright Dragonfly Wafer Die-Simon Says Stamp I own a few dragonfly dies but this is hands down my all time favorite dragonfly, it’s so realistic and each piece die cuts separately leaving many creative options.
Honey Comb Stencil - Tim Holtz
Vintage Meadow Flowers This is my most used stamp in my stash and is unfortunately discontinued :(
More Wishes-Woodware Stamps - can’t find a trace of this stamp set either which completely moves us towards “use what’s in your stash”.
This post contains affiliate links, which means I may earn a small commission (at no extra cost to you). It helps keep the coffee warm and the cardstock flowing—so thank you for supporting my crafty adventures!
This project is proof that rummaging through your stash is basically like treasure hunting. A mash-up of random supplies, a sprinkle of crafty bravery, and suddenly you’ve got yourself a card that practically makes itself