
Pastels, Sparkles & a Little Hidden Surprise!
This week’s Polkadoodles Design Team challenge was to create a card with two things: a closure and a pastel colour palette.
I think we can safely check both boxes. ✔️✔️
Actually, I may have gotten a little carried away with the closure part — because why simply hold a card closed when you can make the closure part of the fun?
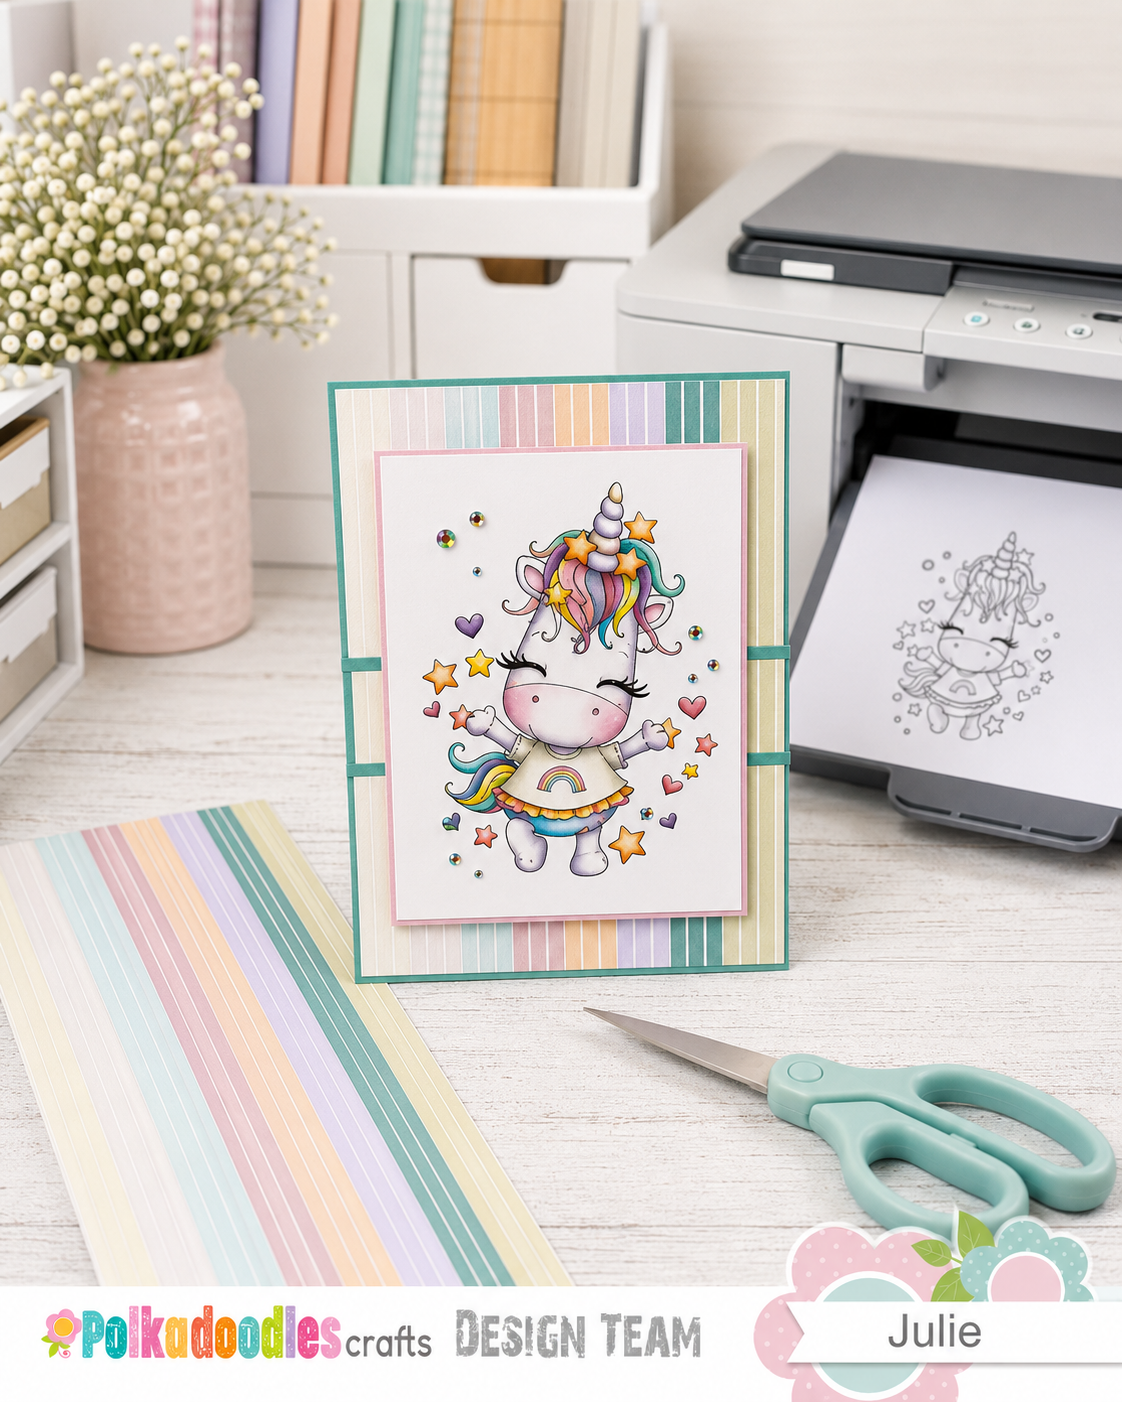
It Looks Innocent Enough…
When the card is closed, you see the adorable Sparkles Unicorn image surrounded by soft pastel stripes, plenty of colour and, naturally, a little sparkle.
But slide that tab over and suddenly the card opens up to reveal another whole level — or should I say layer — of fun.
See what I did there? Saturday morning. Coffee is apparently working.
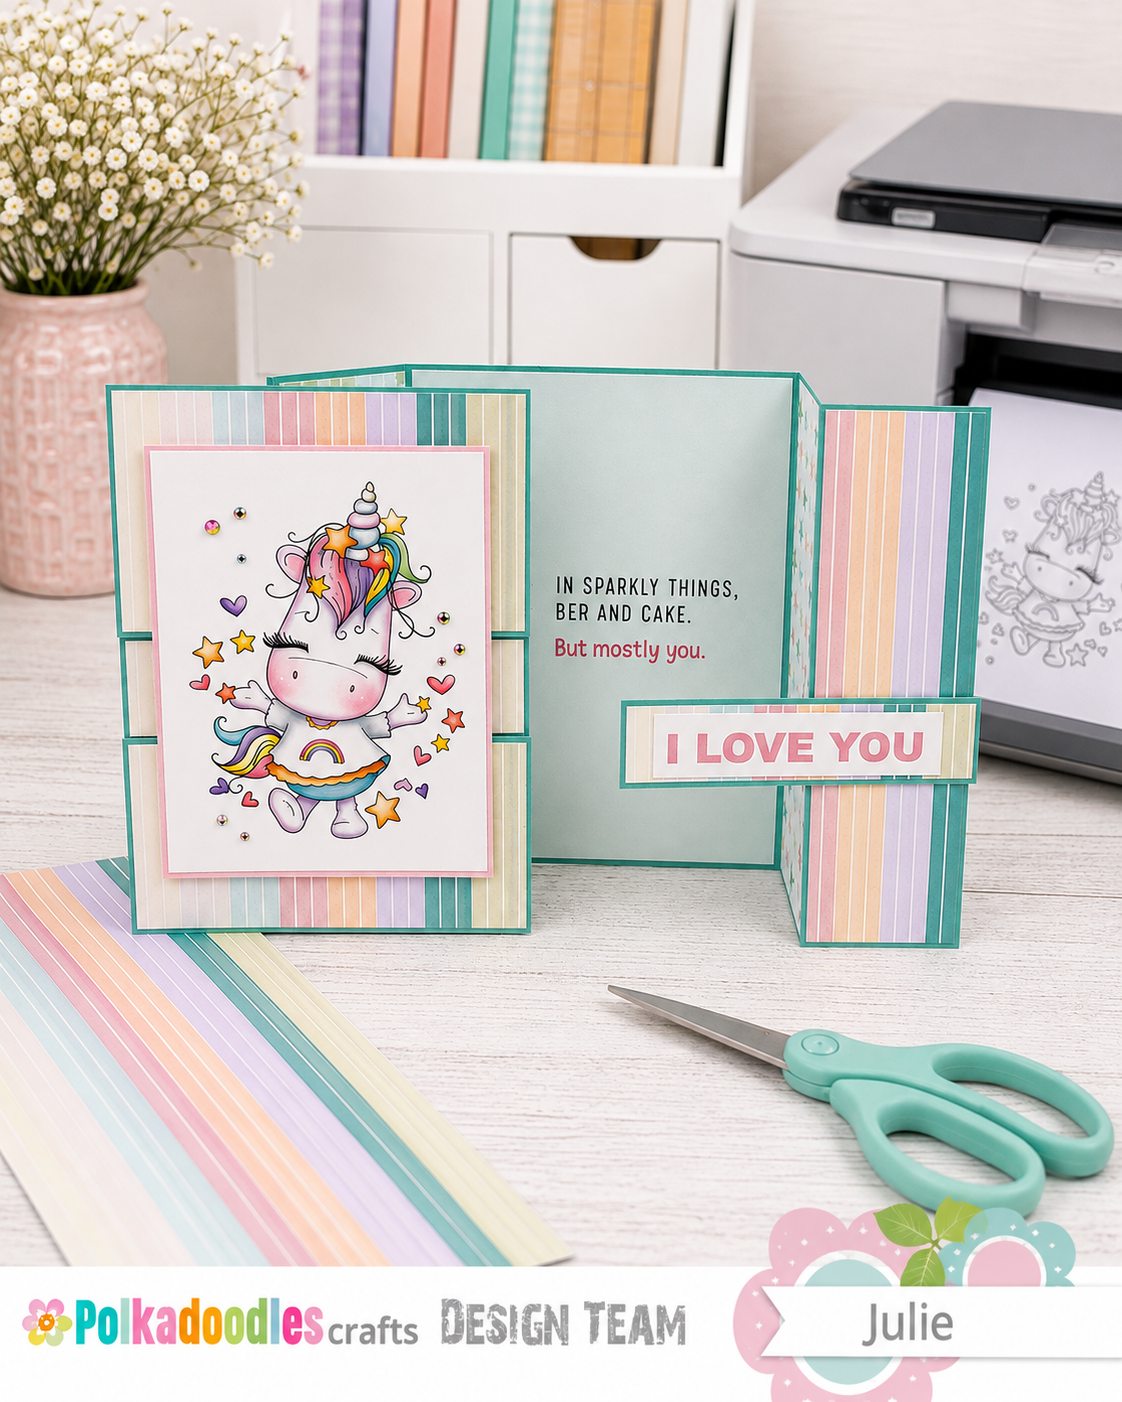
The front sentiment is actually tucked behind the closure flap when the card is closed. Slide the closure open and the sentiment appears, the card unfolds, and there’s an additional message waiting inside.
Basically, this card has secrets.
Pastels Were the Easy Part
For a pastel challenge, Sparkles Unicorn was pretty much a no-brainer. Unicorns, rainbows, stars and fabulous hair? I wasn't about to fight destiny.
One of my favourite things about working with digital stamps is the flexibility. I can resize an image to suit the exact card I'm making, print another one if my colouring goes sideways — not that that ever happens — and have the image ready to use without waiting for anything to arrive in the mail.
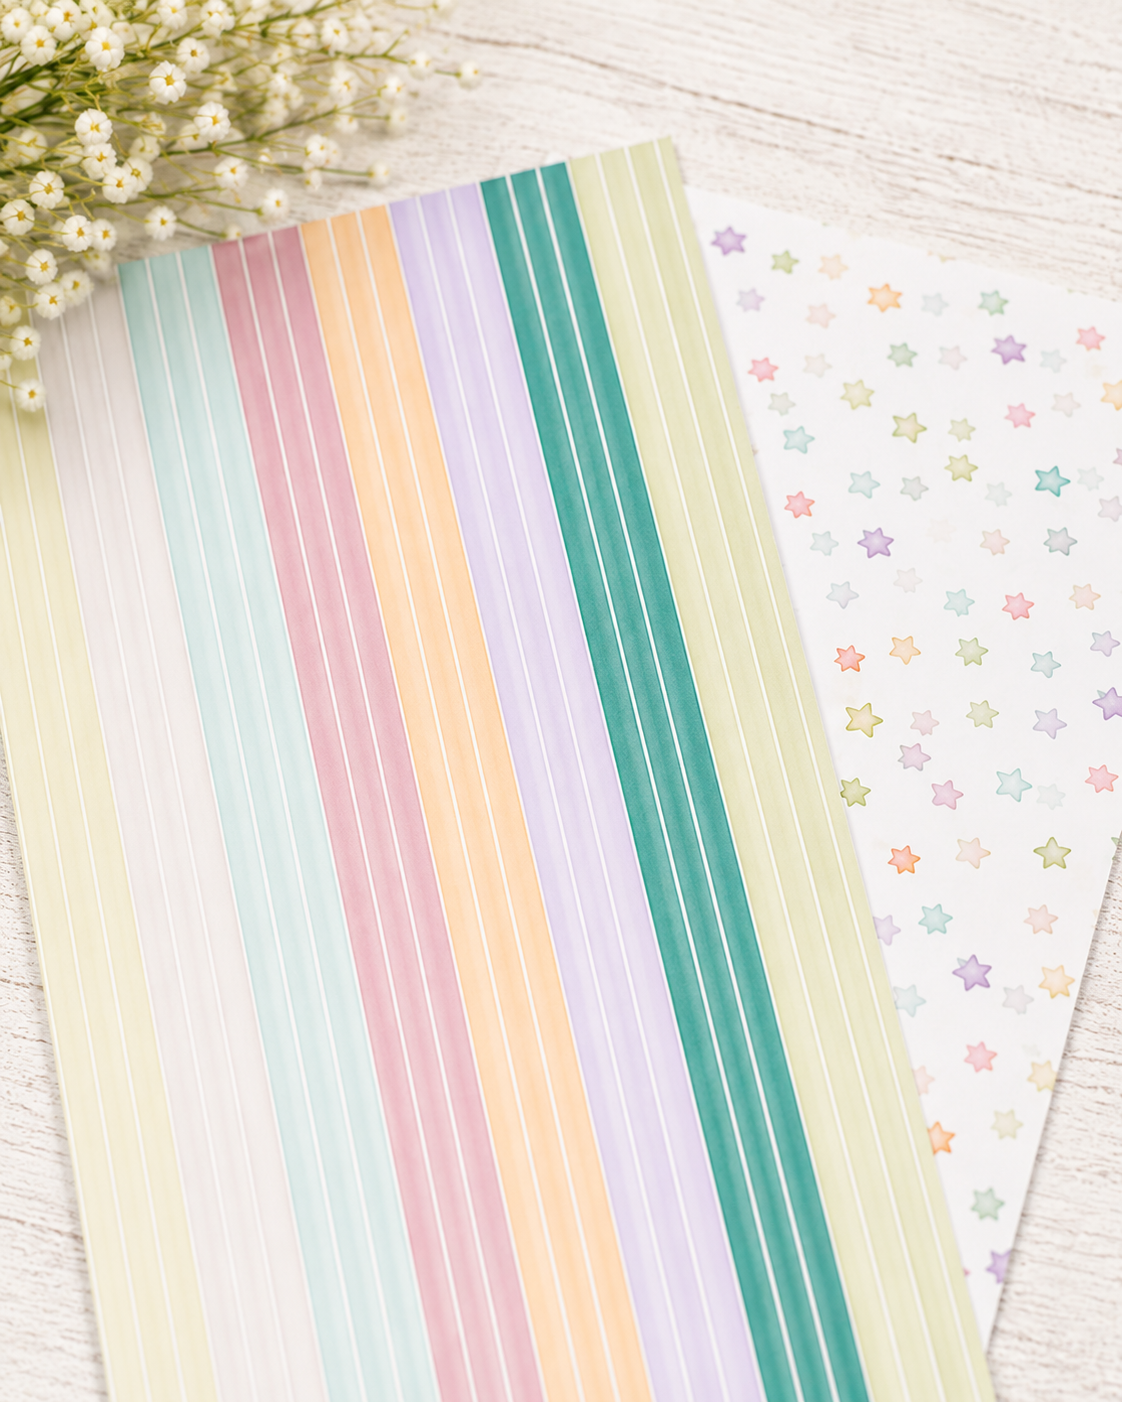
The striped paper and pastel star paper are also printable Polkadoodles papers and worked perfectly with the soft colour palette. Printable papers are another favourite around here: print what you need, when you need it, and somehow still manage to have an alarming amount of paper in the craft room.
Crafting is mysterious that way.
One Sentiment, A Little Surgery
The sentiment started life as one larger sentiment, but I resized it and cut it apart so I could use the pieces exactly where I wanted them.
Part of it became the hidden sentiment on the front, while the rest worked perfectly inside the card.
And once the closure is slid back into place, everything folds neatly together again and the card fits into an envelope for mailing.
Because while interactive cards are fun, needing a small shipping crate to send one is slightly less convenient.
And Obviously… Sparkle
This little unicorn was not leaving my craft desk without some glitter pen and a scattering of sparkling gems.
There are standards to maintain.
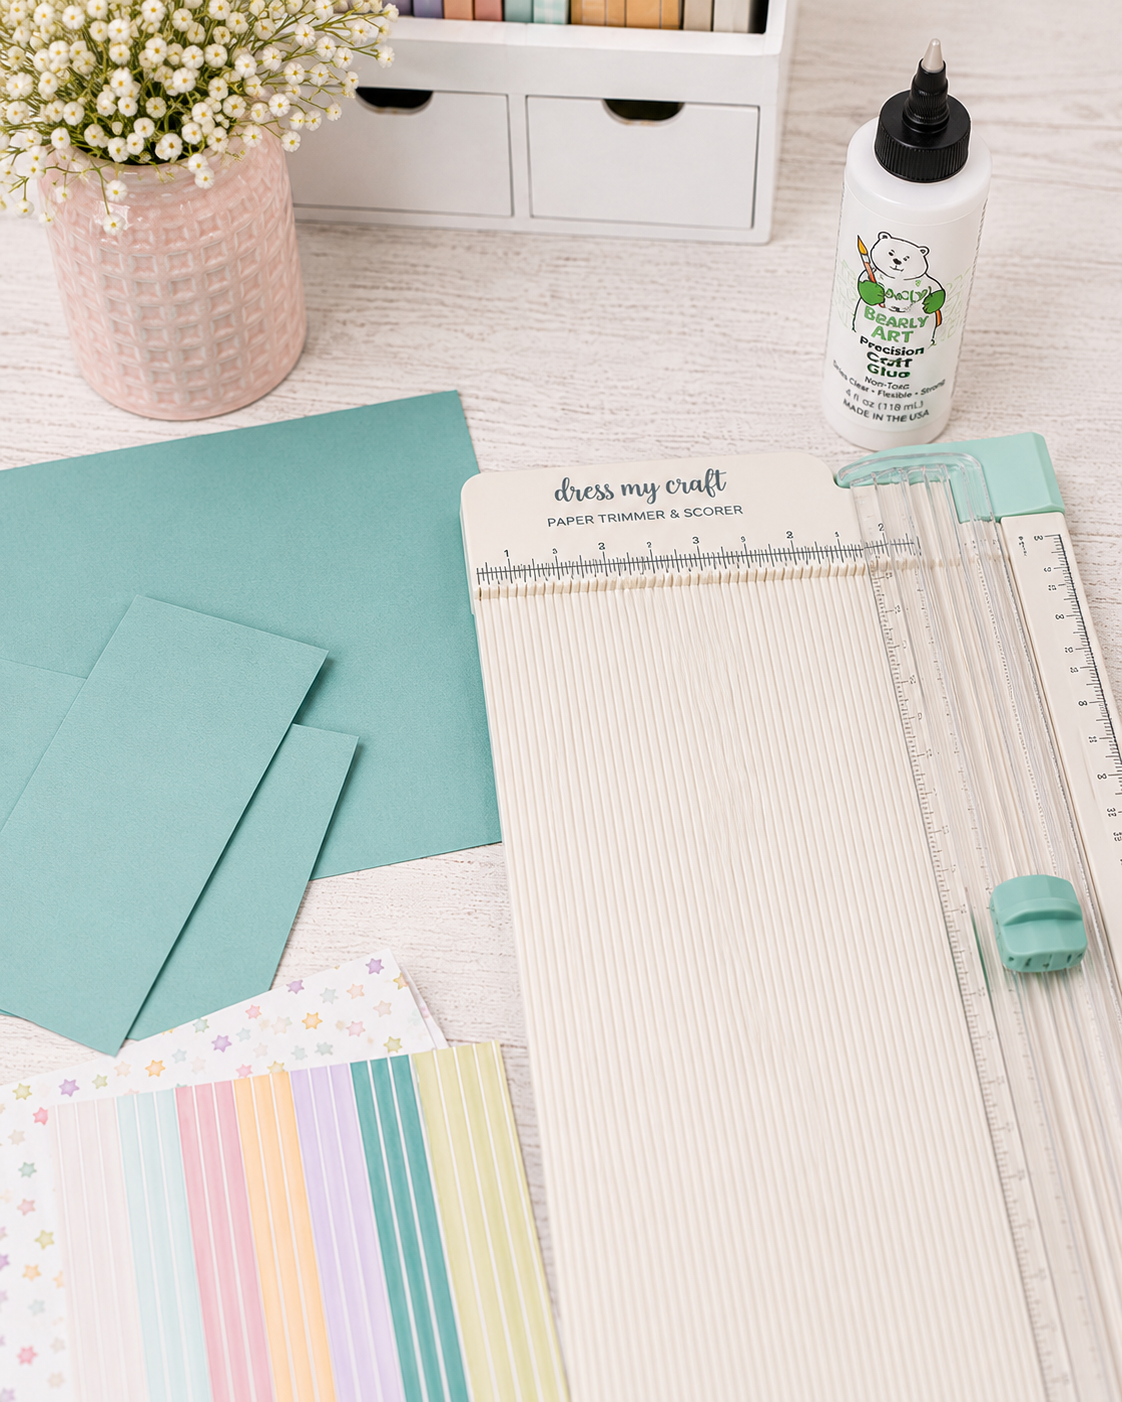
If you'd like to make your own version, I've included the cutting and scoring measurements below. You can change the papers, colours and image and make the design completely your own.
And if you have any questions about how I put it together, leave them in the comments below and I'll be happy to help.
Preferably after coffee.
Cutting & Scoring Measurements
Card Base:
5 1/2 x 11
Score: 1 3/4, 3 1/2 on either side of the long side of the card base.
Front Panels:
Cardstock -
4 1/8 x 2 1/2
4 1/8 x 1
4 1/8 x 2 1/2
Patterned Paper Layers:
4 x 2 3/8
4 x 1 7/8
4 x 7/8
5 3/8 x 1 5/8 (cut 2) Pattern 1
5 3/8 x 1 5/8 (cut 2) Pattern 2
Front Panel
Pink Cardstock - 4 3/8 x 3 3/8
Printed Unicorn
4 1/4 x 3 1/4
White Printed Inside
3 7/8 x 5 3/8
Greeting Tab Sentiment
3 1/4 x 1/2
And there you have it — a little pastel, a little sparkle, a hidden surprise and, finally, some much-needed closure
