
Bead Dynasty: Apparently We’re Making Fancy Bracelets Now
Previously on Bead Dynasty…
There were heishi beads. There were $6 bead kits of questionable literacy. There was one green bead whose purpose remains one of the great unsolved mysteries of our time.
There were friendship bracelets, a BOO that required the combined resources of two bead kits to spell, and enough craft-room drama to make the Carrington family look emotionally well-adjusted.
And now?
Apparently we’ve gone fancy.
Not too fancy, obviously. I’m still sitting in the craft room with beads scattered everywhere, coffee nearby, and absolutely no plan whatsoever.
But there are charms involved.
Money. Power. Pony Beads. And now… tiny metal accessories.
Welcome back to Bead Dynasty.
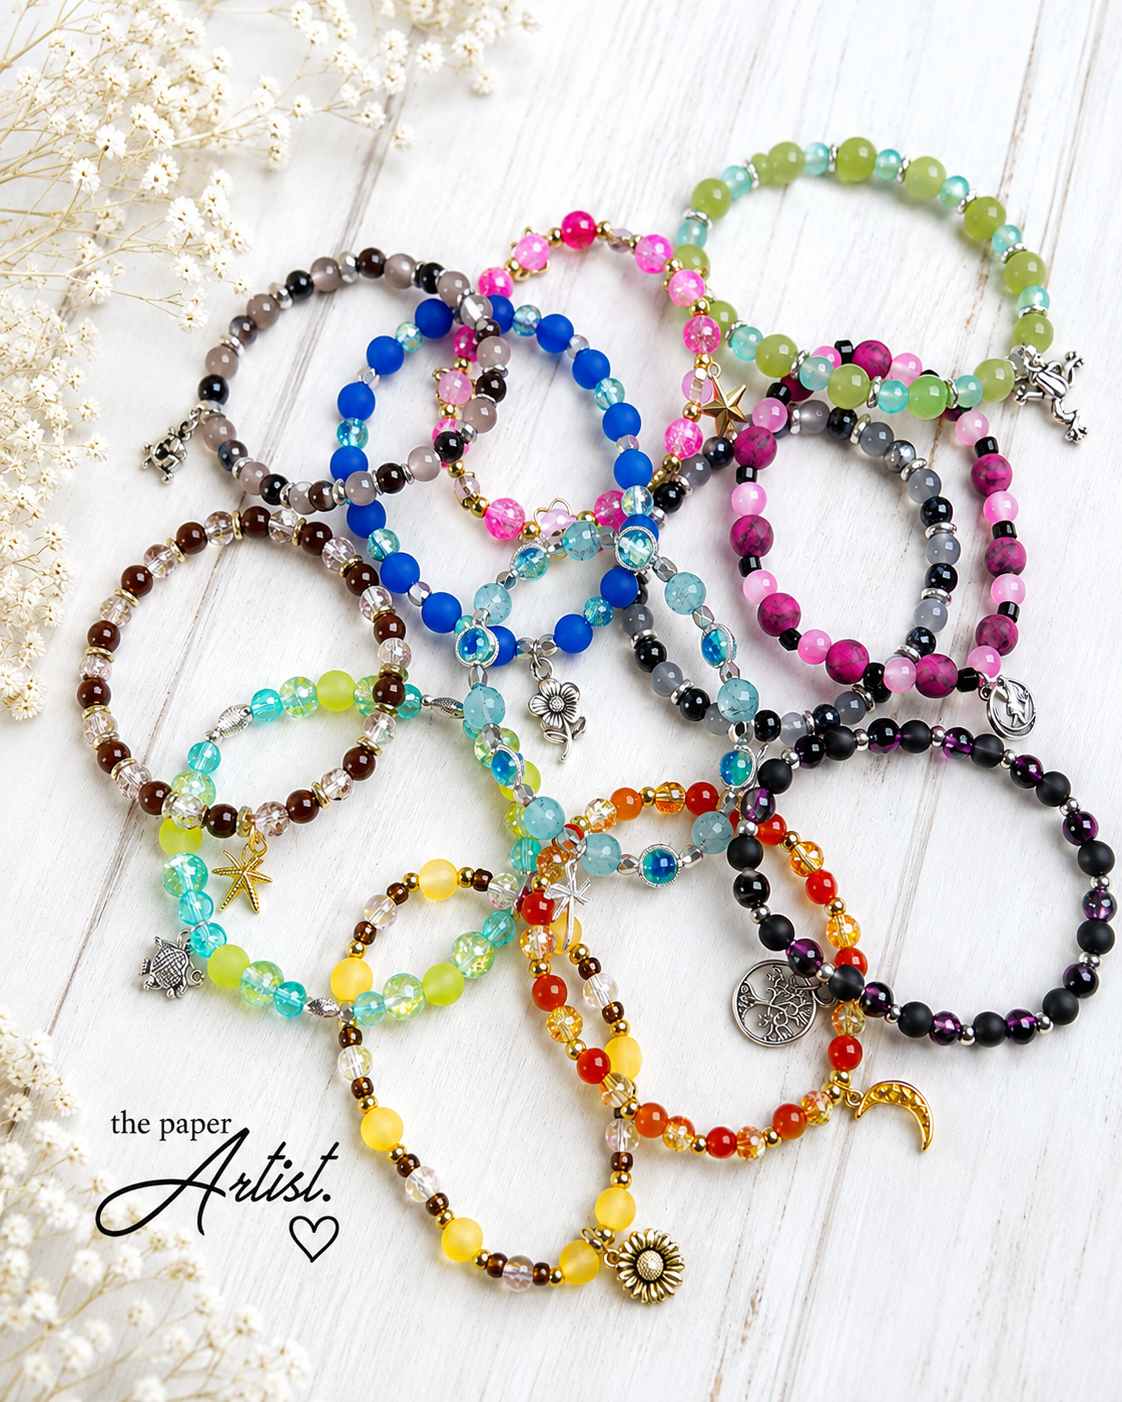
Today’s Creative Direction: There Isn’t One
I wish I could tell you that I sat down with a carefully curated colour palette, sketched out twelve bracelet designs and thoughtfully selected each bead for its artistic contribution.
I did not.
I opened the bead containers.
I looked around.
And basically said:
“You. You. That shiny thing. And… frog.”
And honestly, I highly recommend this particular design method.
These bracelets are a little different from the friendship and heishi bracelets I’ve been making lately. We’ve moved into glass beads, acrylic beads, metallic spacers, crackle beads and charms — which makes them feel a little more like jewelry while still being incredibly easy to make.
No complicated jewelry-making skills required.
If you can put a bead on a piece of elastic without launching it across the craft room, you're already halfway there.
And if you do launch one across the room, you're still qualified.
The Frog Has Entered the Dynasty
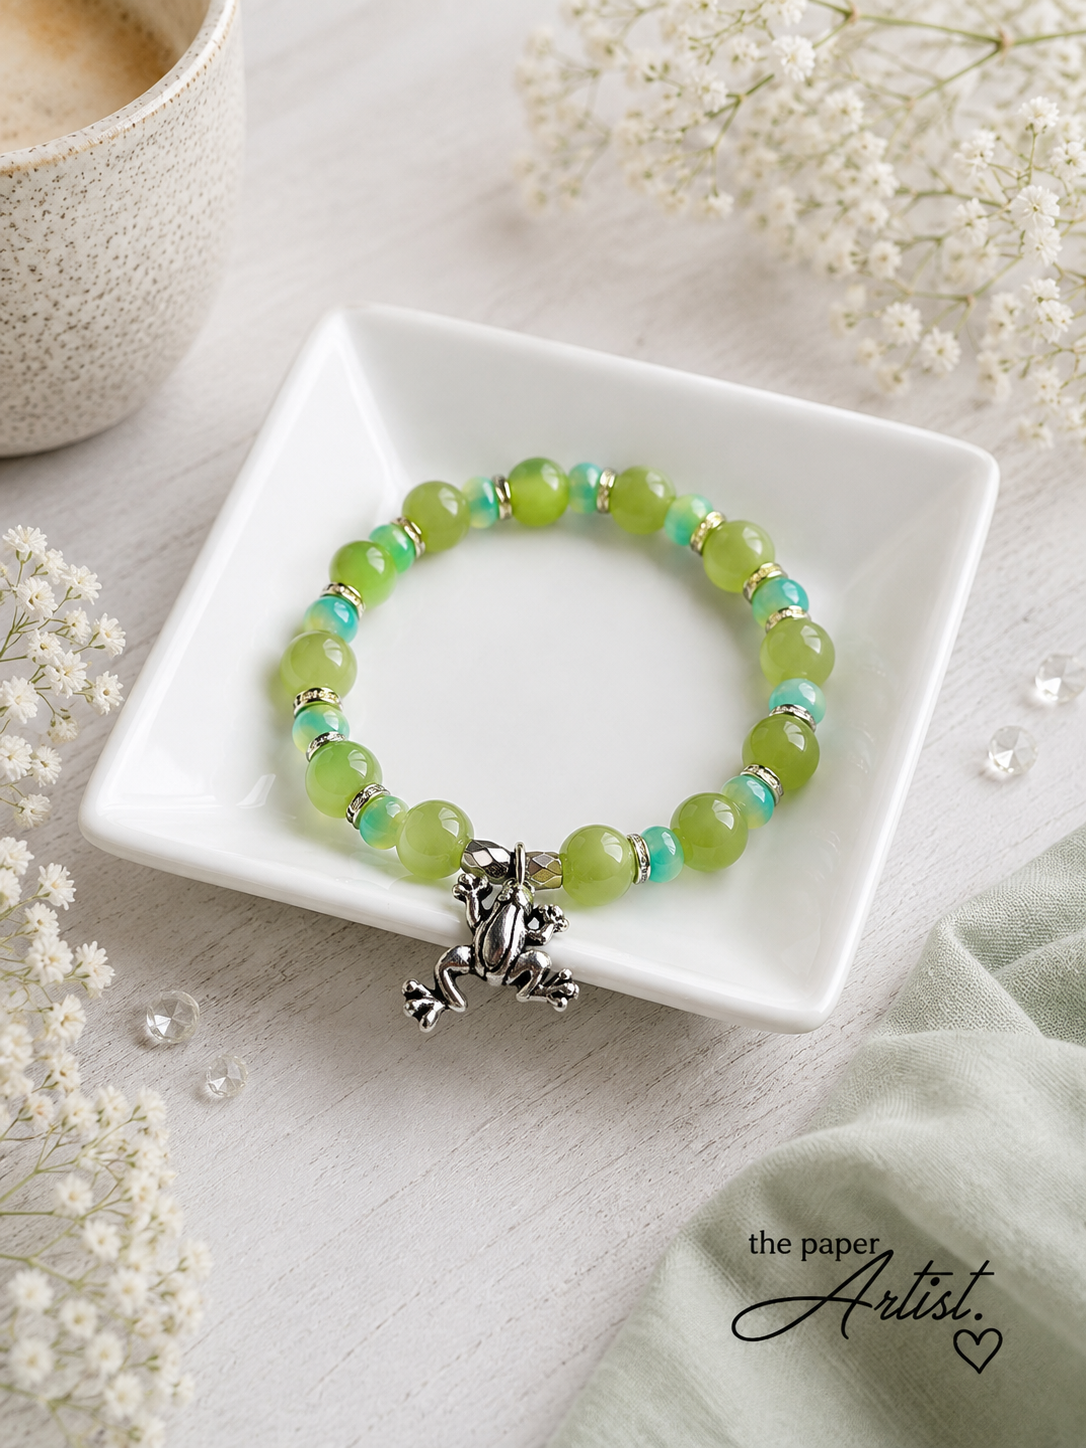
Let's begin with the little green and aqua frog bracelet because obviously we should.
This one combines glossy green beads with smaller aqua beads and silver rhinestone spacers, finished with the cutest little silver frog charm.
The combination immediately felt fresh and summery, and the silver spacers add just enough sparkle without turning our frog into Liberace.
Although now I kind of want to make a Liberace frog bracelet.
See? This is how things happen around here.
A Little Pink. A Little Gold. A Lot of Sparkle.
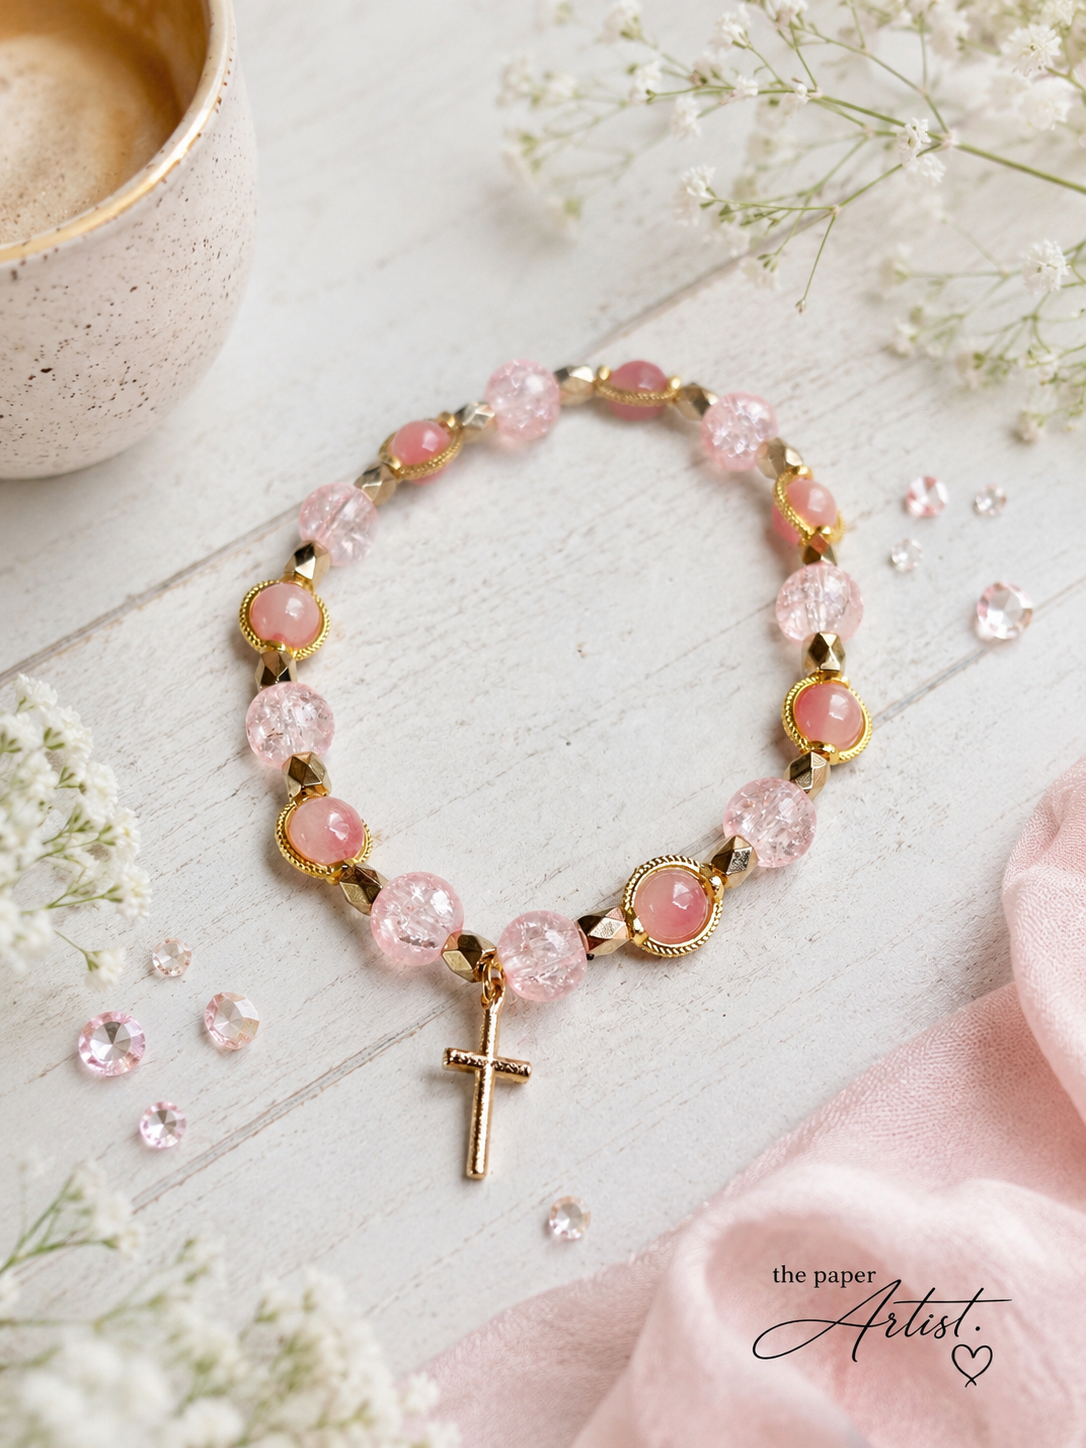
The bright pink bracelet might be one of the happiest of the bunch.
There are translucent crackle-style pink beads, soft pink beads tucked inside gold flower-shaped frames, tiny gold accents and that dangling gold star.
It's girly.
It's sparkly.
It's completely unapologetic about both.
And this is where mixing bead shapes becomes fun. You don't need twenty different colours to make a bracelet interesting. Changing the size, finish, shape and texture of beads within the same colour family can do all the work for you.
File that under: actual useful information hidden amongst the nonsense.
Sunflower Season Is Apparently Every Season
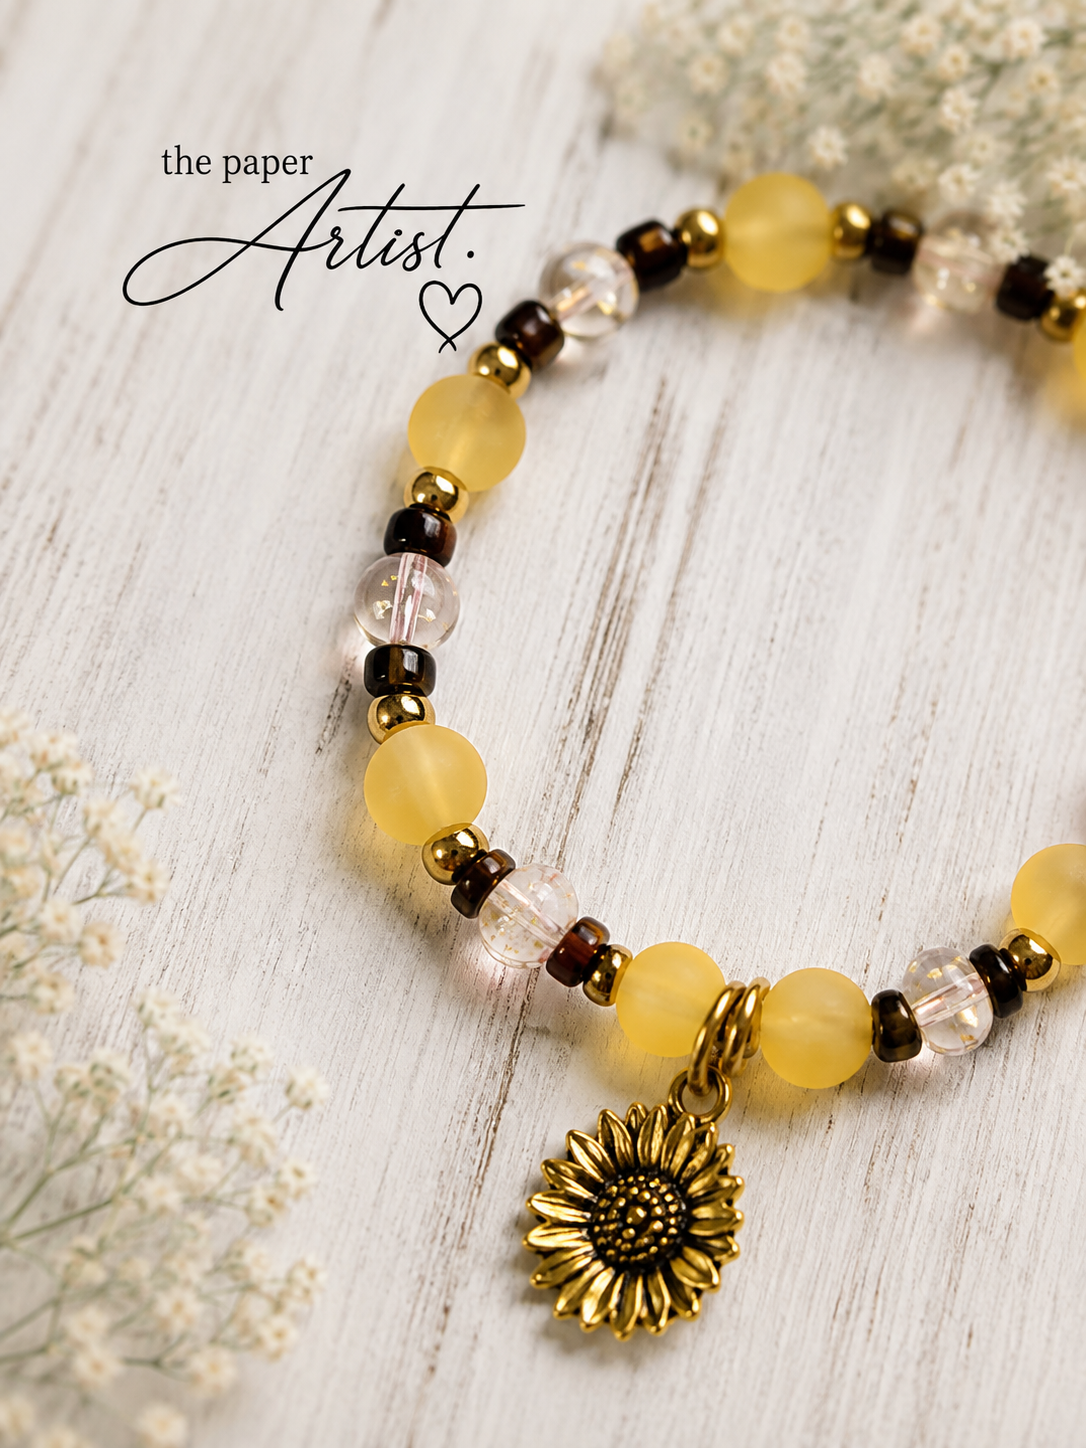
Then there’s the sunflower bracelet.
Soft yellow frosted beads, little brown beads, clear blush-toned beads and gold accents all came together around that gorgeous sunflower charm.
This one feels warm without screaming YELLOW BRACELET.
The smaller brown beads help break up the larger beads and give your eye somewhere to rest, while the clear beads add a little light.
That’s another easy trick when you're designing: if a bracelet feels too heavy in one colour, add clear or translucent beads rather than introducing another strong colour.
Look at us learning things.
On Bead Dynasty.
What a time to be alive.
Something Fishy Is Going On
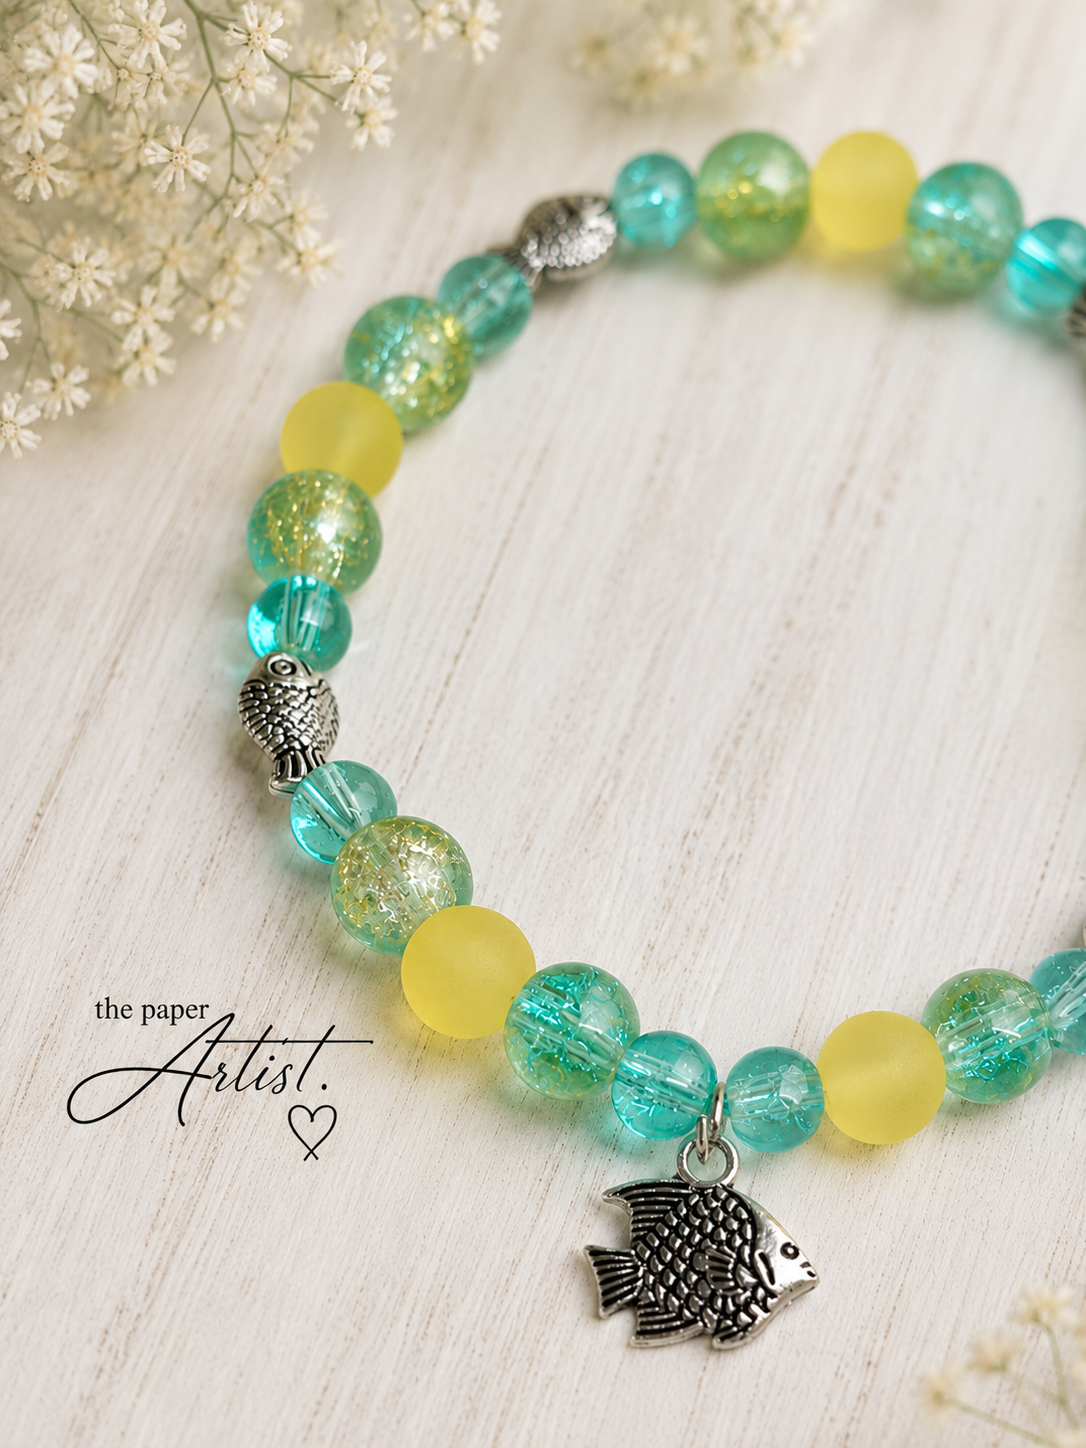
The aqua, turquoise and lime bracelet started because the colours looked fabulous together.
That's it.
That's the entire design brief.
But then I found the tiny silver fish spacer beads.
Well.
Now we had a theme.
The little fish spacers are exactly the kind of detail I love because you don't necessarily notice them immediately. Then you look closer and suddenly realize there are tiny fish swimming around the bracelet.
Naturally, we needed a larger fish charm too.
Subtlety has never built a dynasty.
Dragonflies, Because Apparently I Own Everything in Charm Form
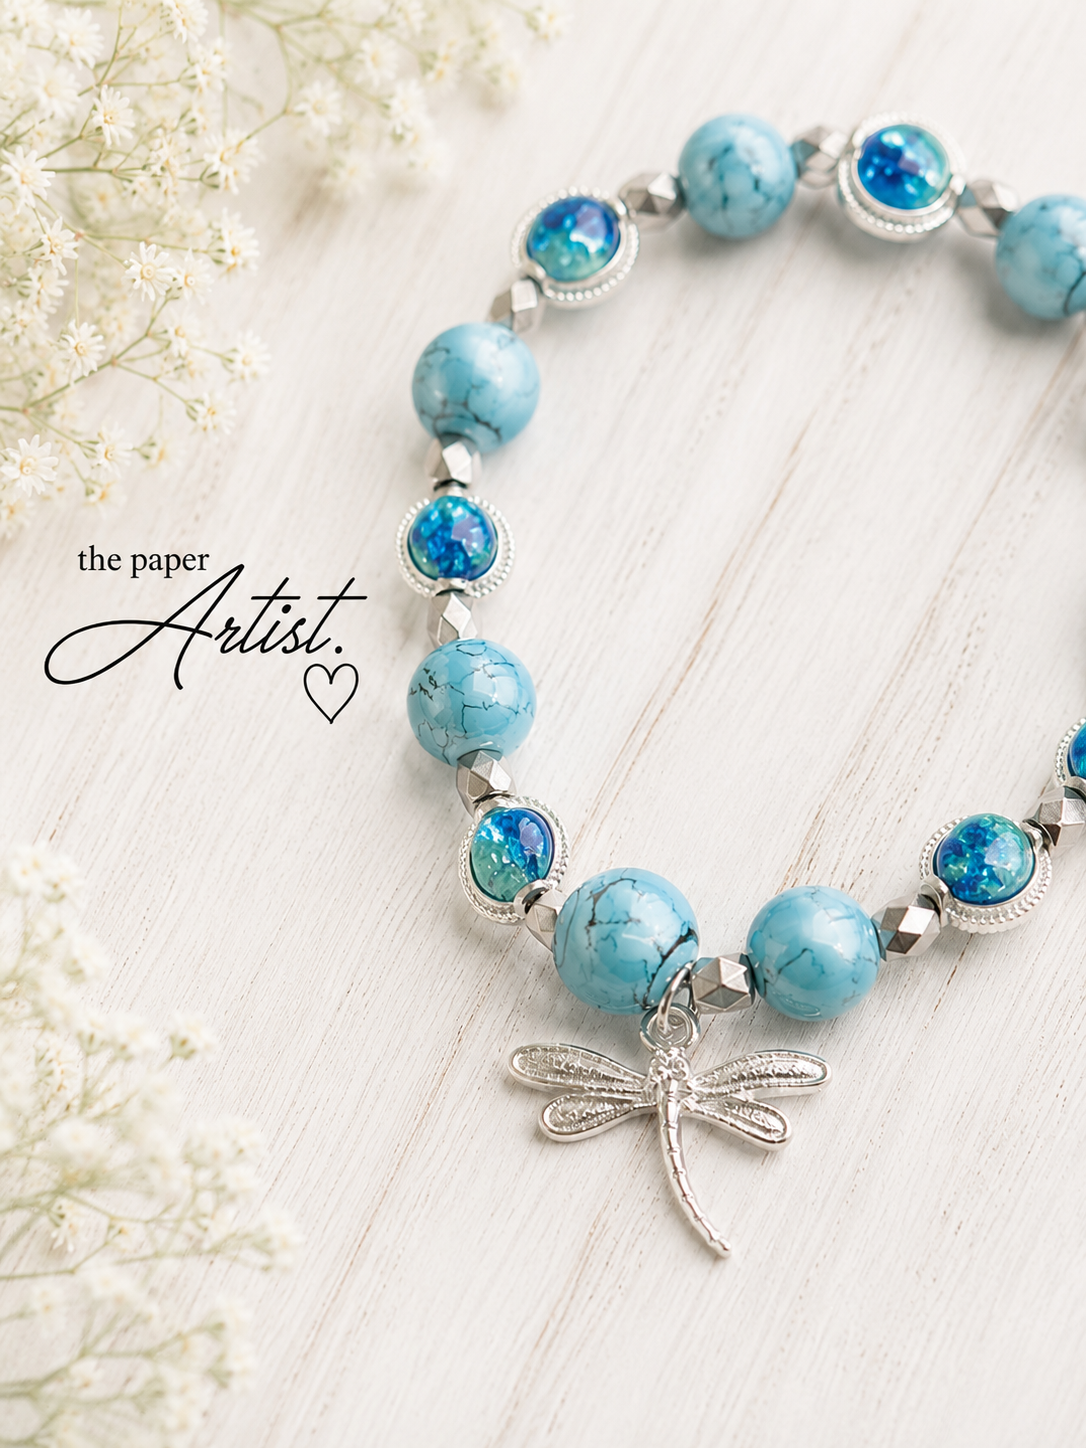
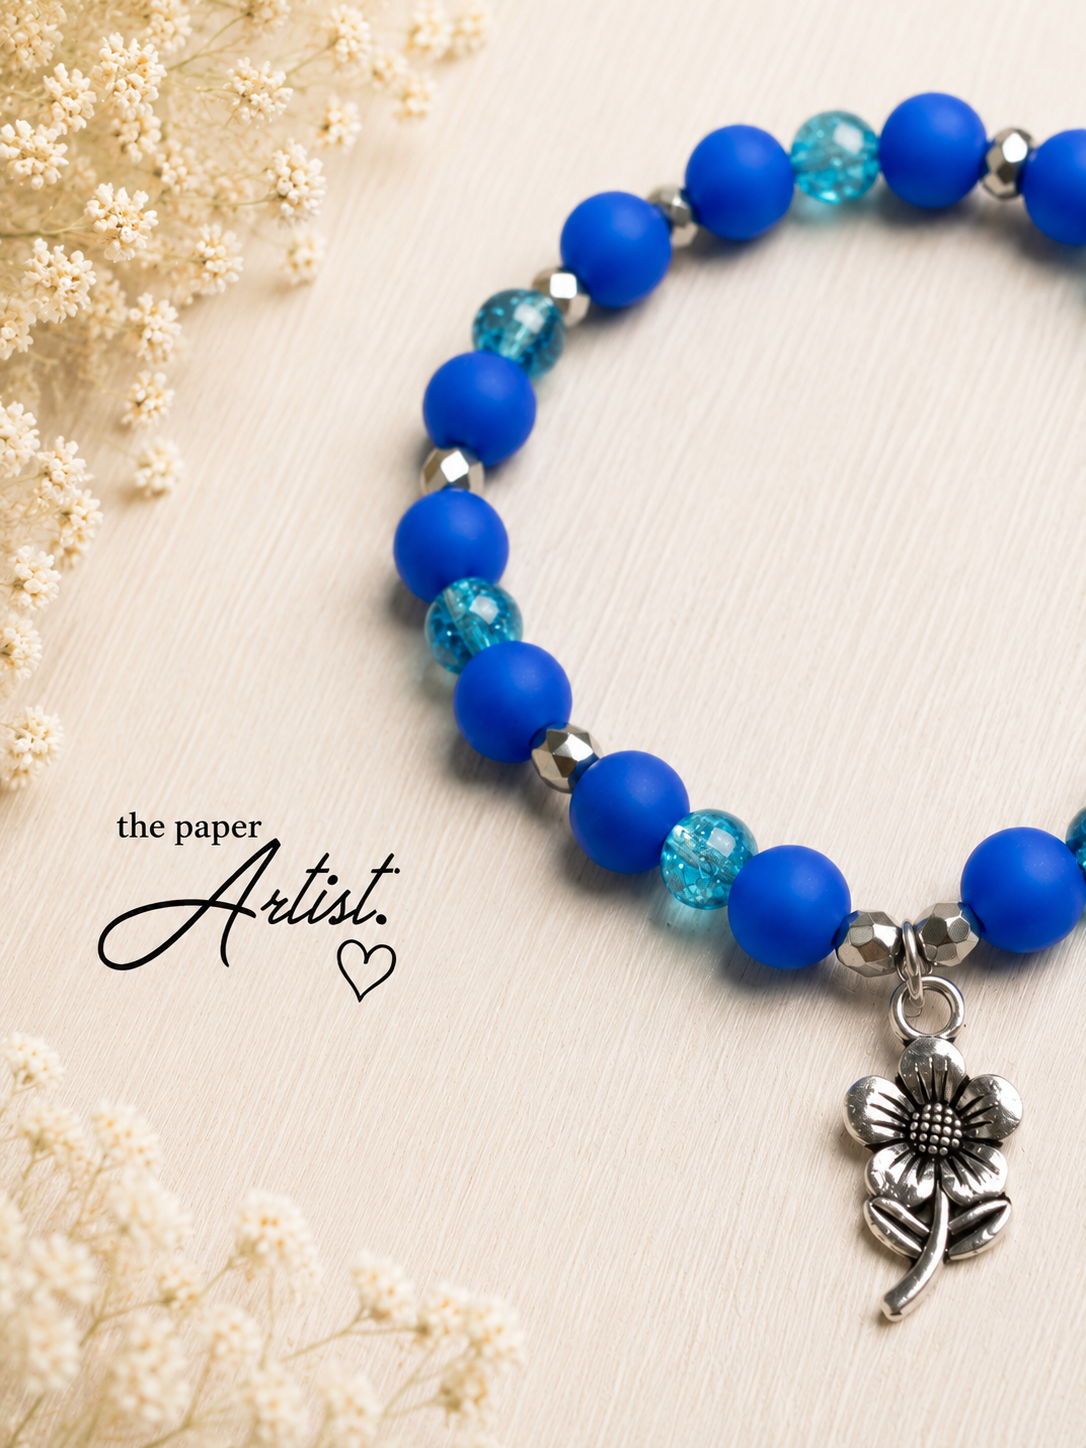
The turquoise dragonfly bracelet went in a slightly different direction.
The marbled aqua beads are beautiful on their own, but I paired them with smaller faceted silver beads and those gorgeous blue-green accent beads set inside silver frames.
Then came the dragonfly.
That little bit of silver instantly ties all of the metallic pieces together and gives the bracelet a focal point.
And that's probably the simplest formula for creating these bracelets:
Choose a main bead + choose an accent bead + choose a metal + add something dangling from it.
There.
Jewelry school complete.
Certificates will be mailed shortly.
Then Things Got Moodier
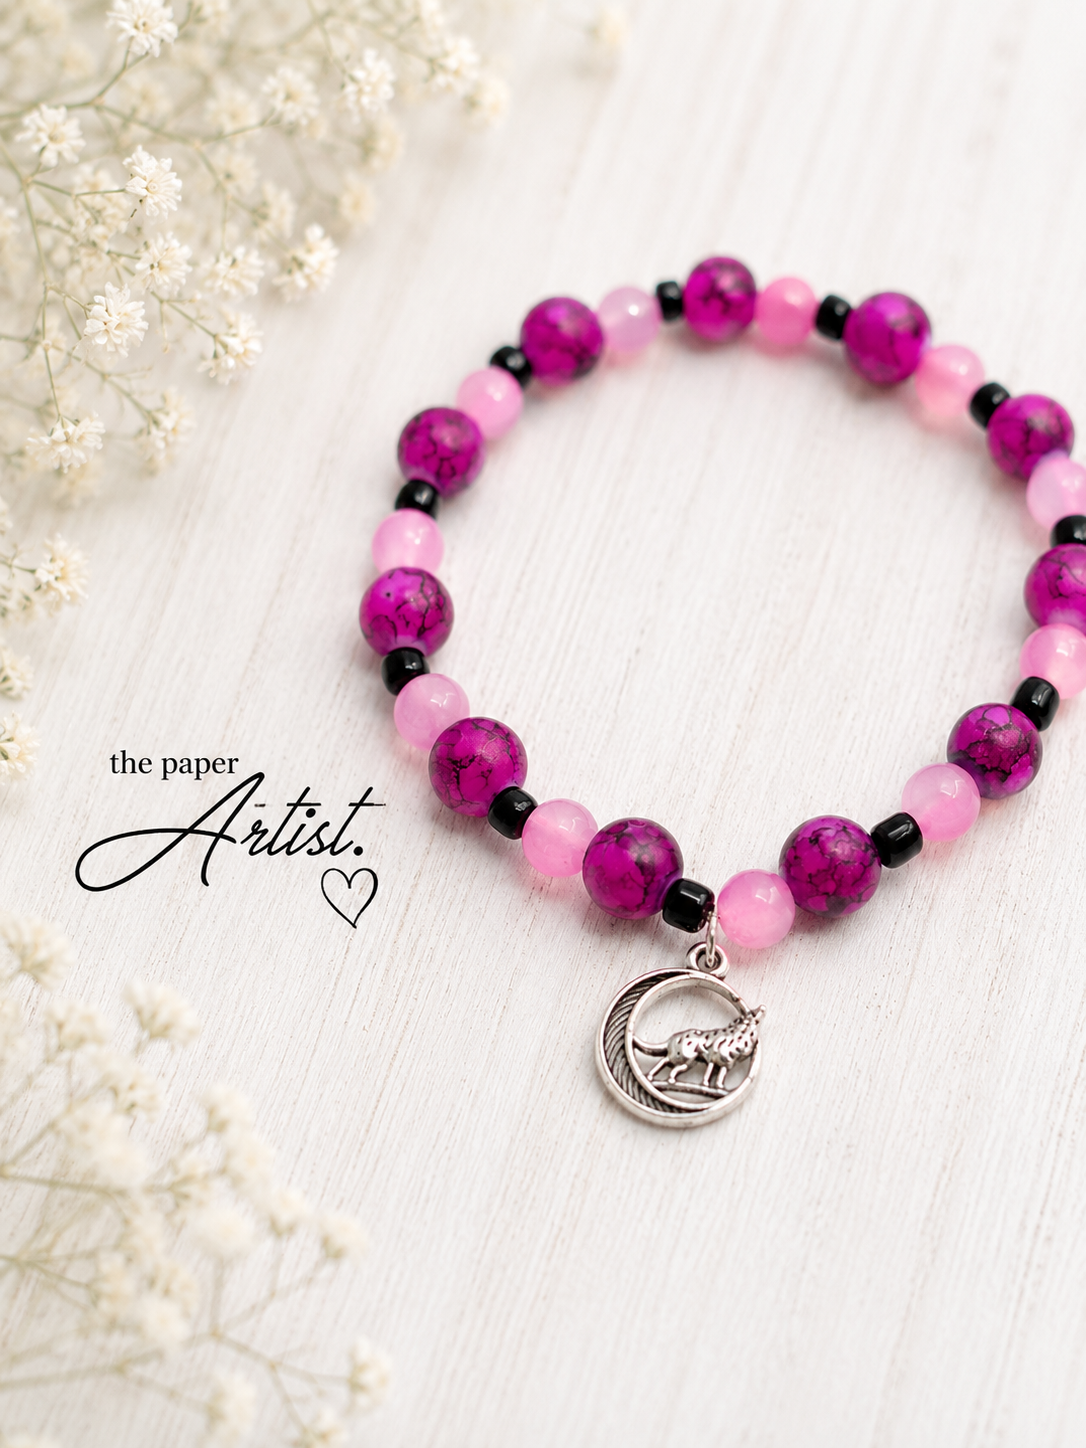
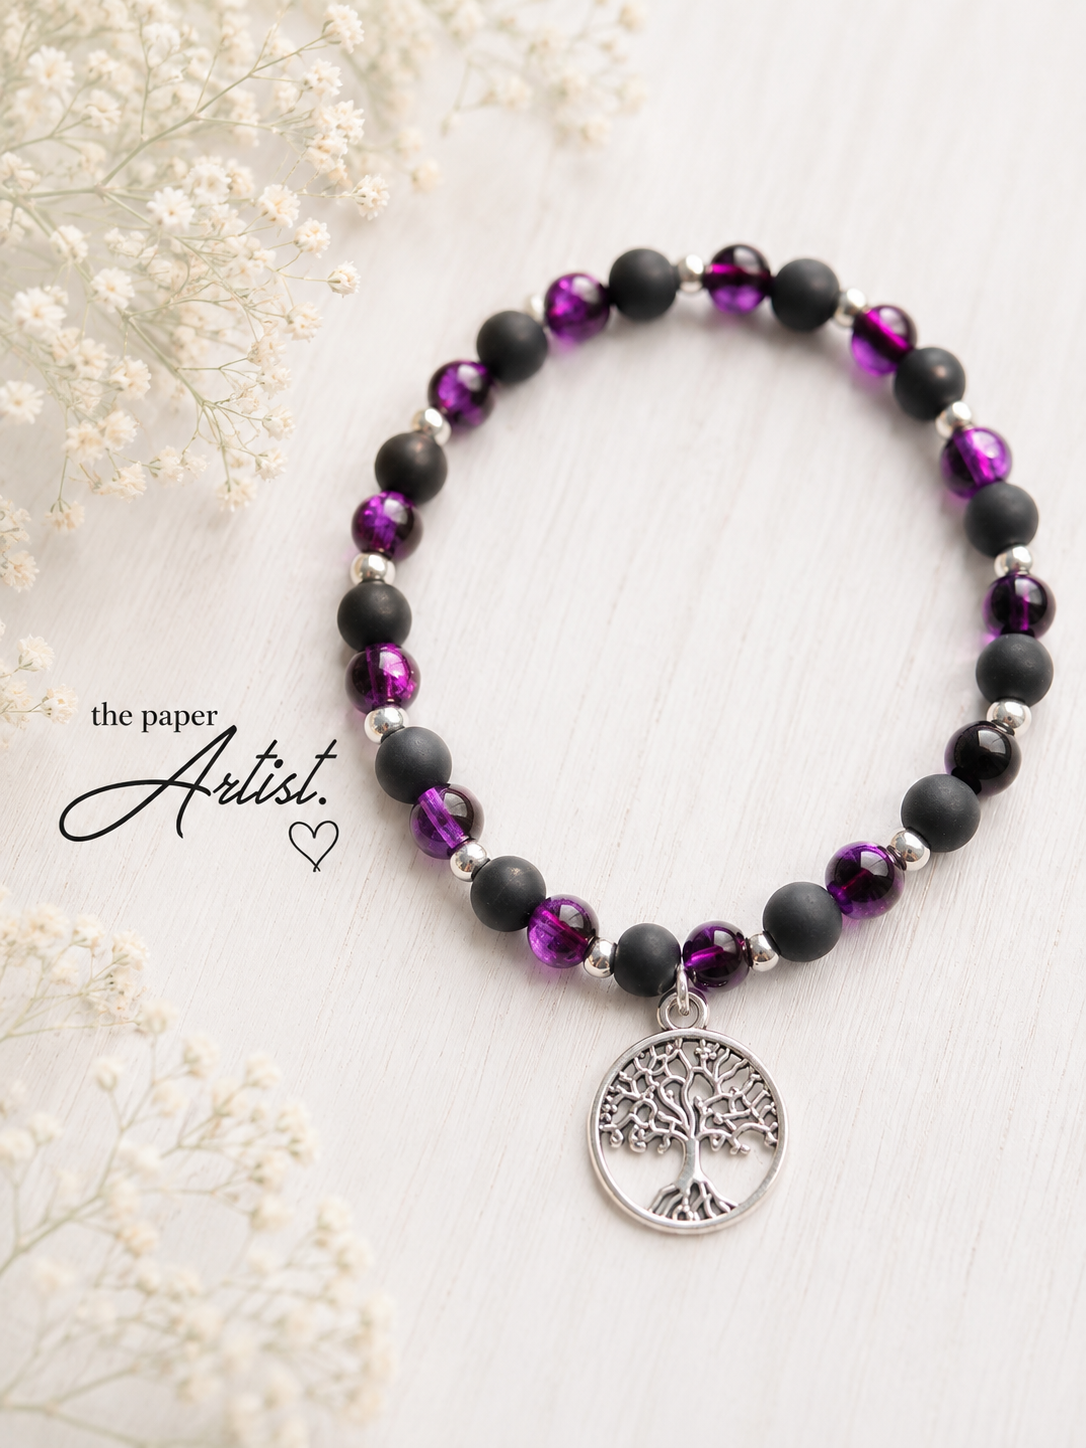
Not every bracelet needs to look like it just returned from a tropical vacation.
The pink and black bracelet took things in a slightly moodier direction, followed quickly by the black and purple bracelet with the tree charm.
I especially love mixing matte black beads with transparent jewel-toned beads. The matte finish keeps the bracelet from looking overly shiny while making the purple glass beads look even brighter.
That tree charm also gives the whole thing a slightly earthy, mystical feel.
Did I plan that?
Absolutely not.
Will I take credit for it?
Absolutely.
Turtles, Stars, Moons & Other Things I Apparently Needed
Once the charm container is open, all bets are off.
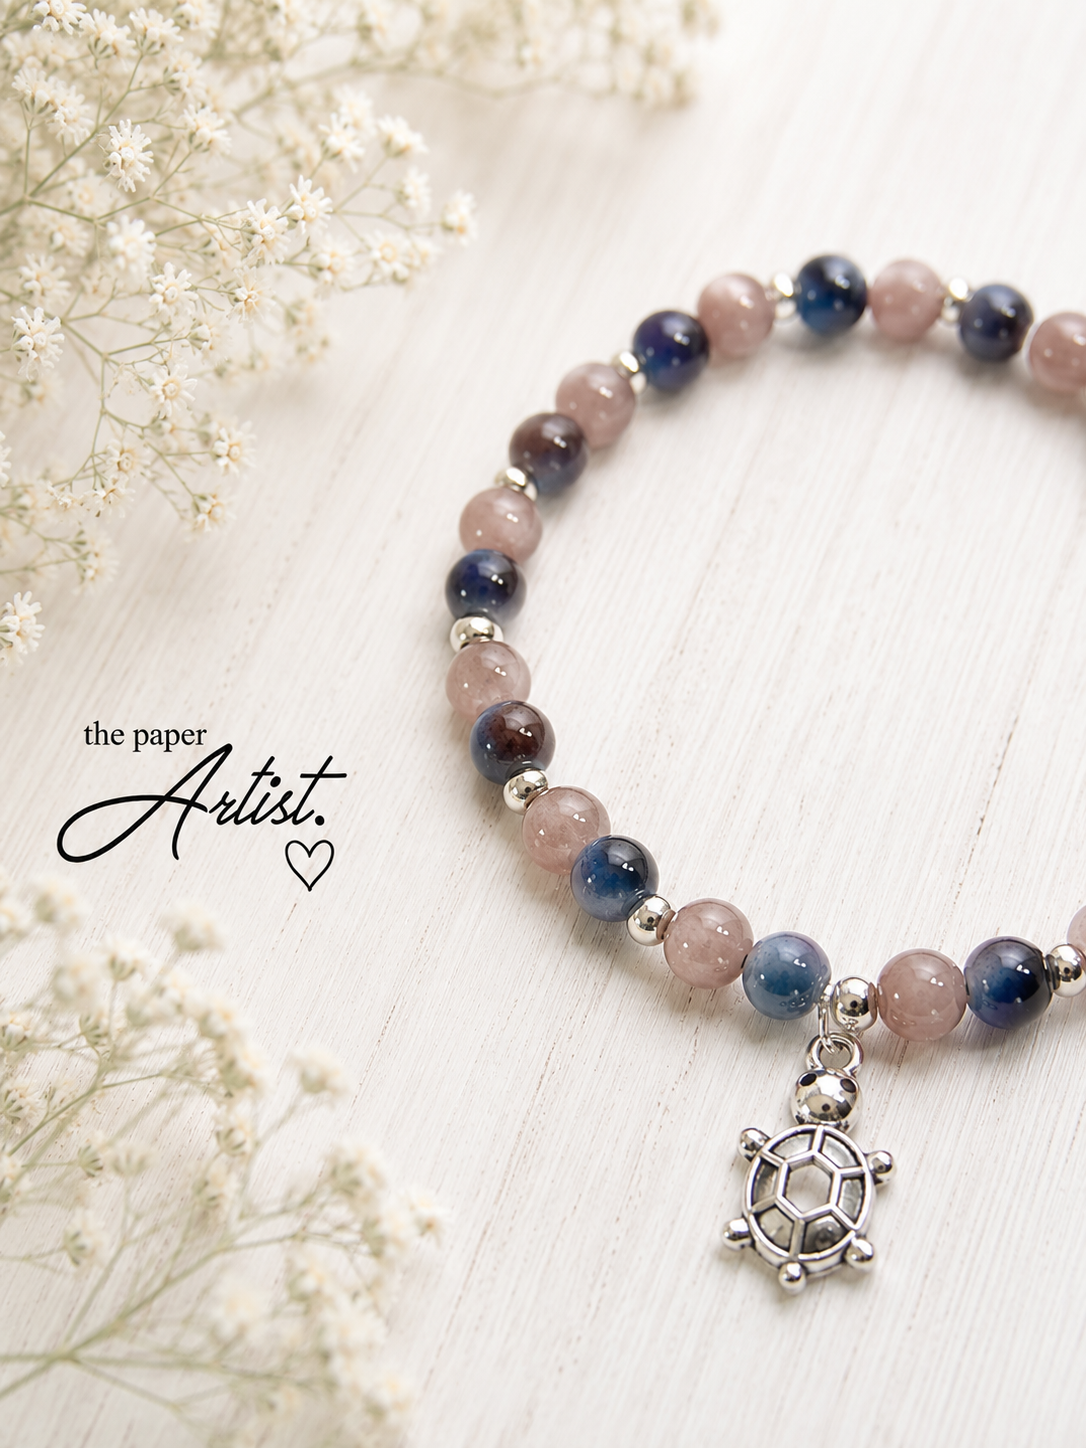
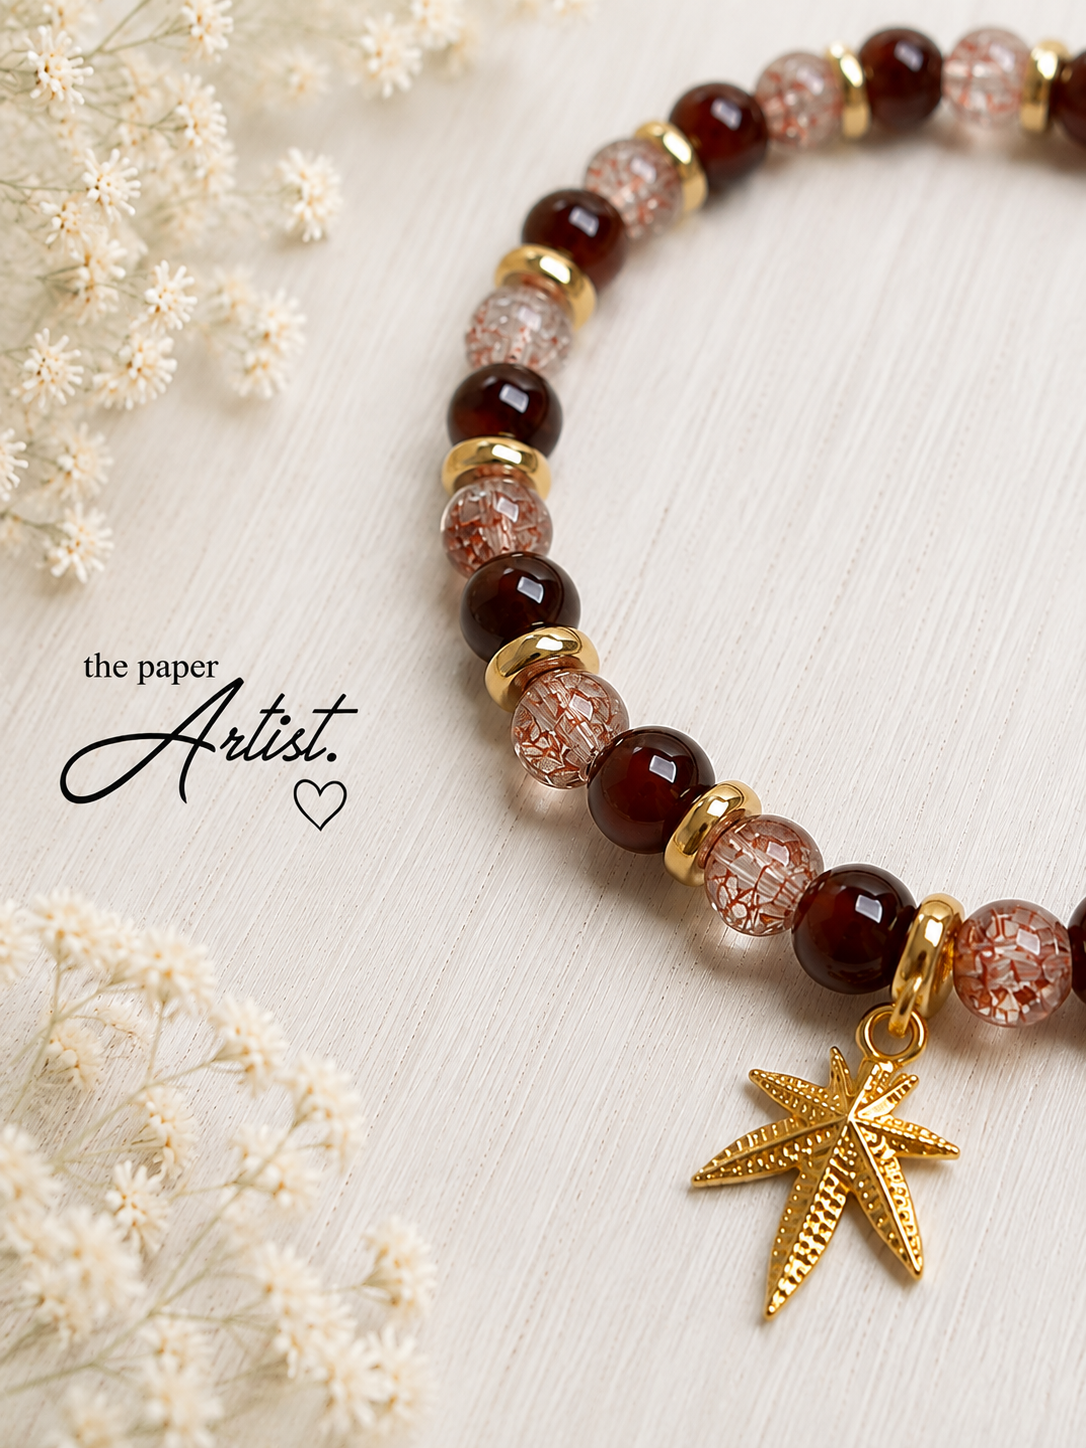
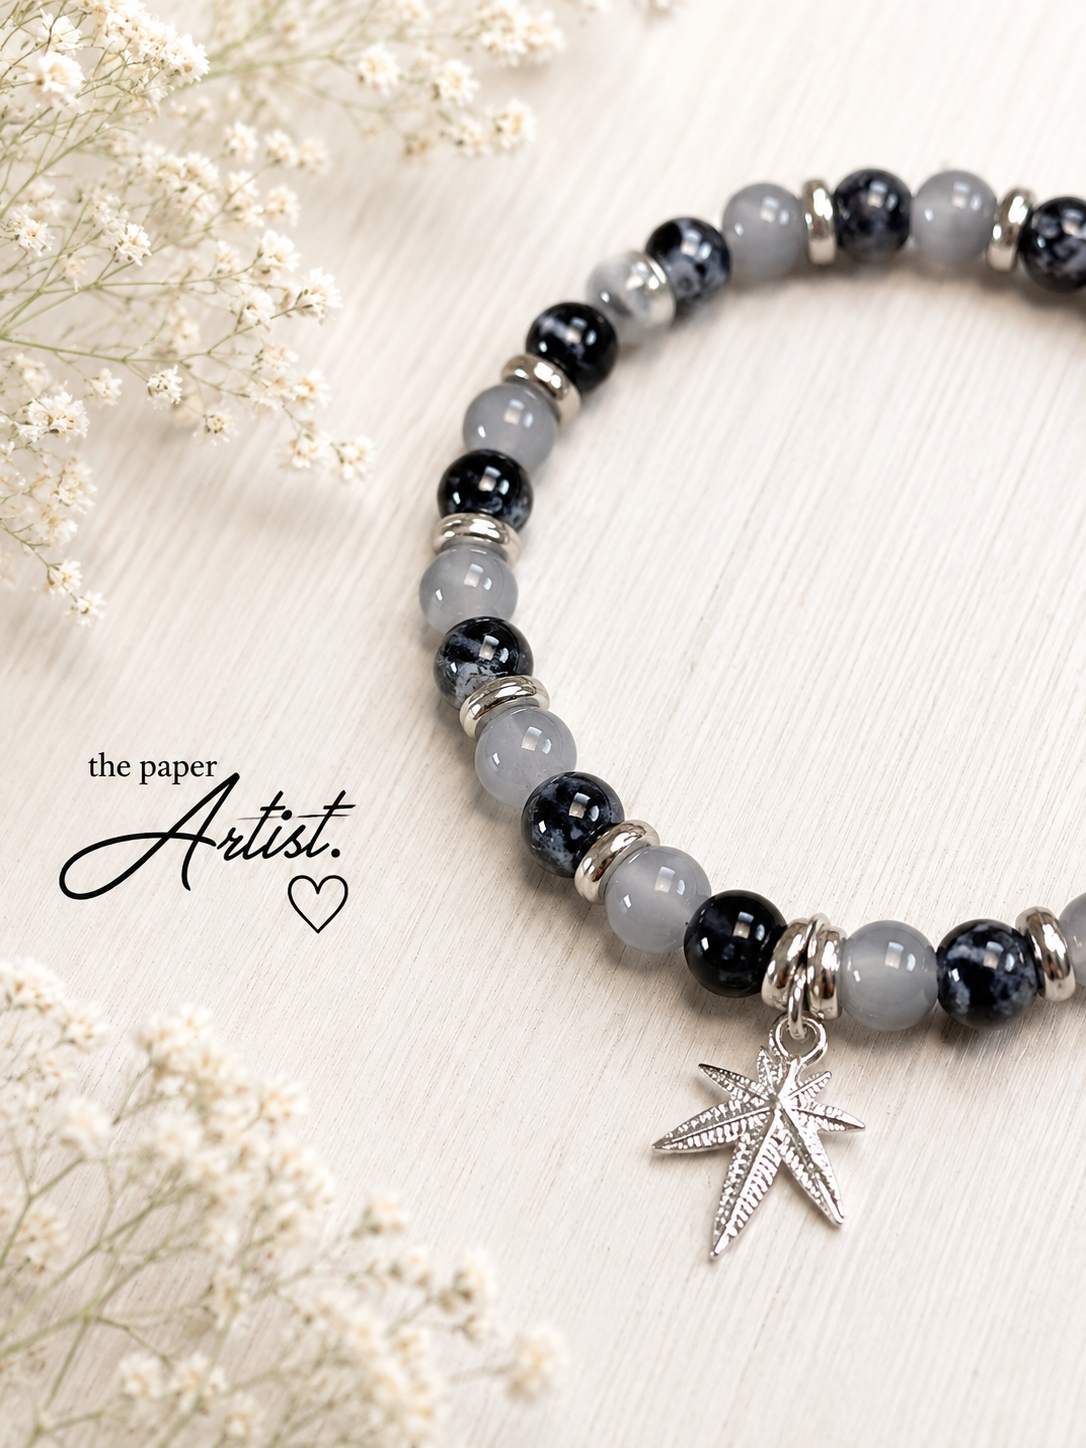
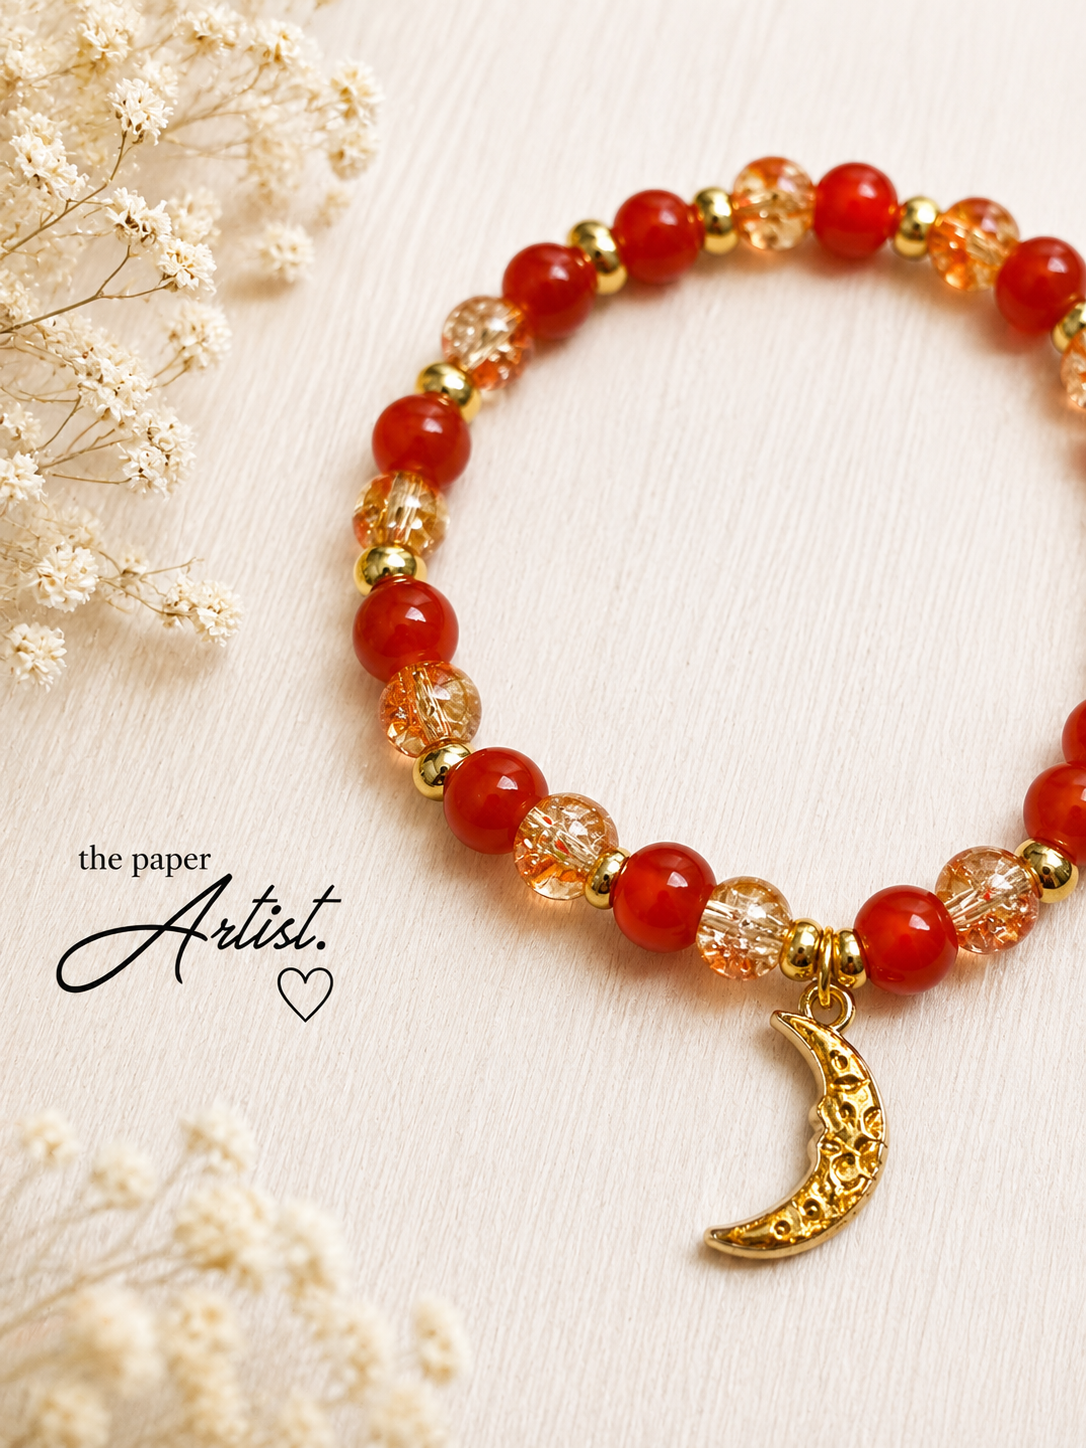
The softer blue and grey bracelet got a sweet little turtle. The warm brown bracelet got a gold leaf. Another bracelet ended up with a crescent moon.
And this is exactly why charms are such an easy way to make a bracelet feel completely different without changing the basic construction.
You can make the same simple stretch bracelet ten times, change the colour palette and charm, and end up with ten completely different personalities.
Which explains the pile currently sitting on my desk.
I was conducting research.
Obviously.
A Word About Stretch Magic
For these bracelets, I use Stretch Magic elastic cord.
I've used it for stretch bracelets because it's simple, strong and — most importantly for me — doesn't require me to turn bracelet making into an engineering project.
A couple of little things I've learned along the way:
Give the cord a gentle pre-stretch before adding your beads. This helps reduce some of the loosening that can happen after the bracelet has been worn.
Pay attention to the size of the holes in your beads when choosing your cord thickness. Some of those pretty little accent beads have surprisingly tiny holes.
Before tying your bracelet, check the whole design one last time. It's considerably easier to move a bead before you've tied the knot. Ask the craft room floor how I know.
Make sure your knot is secure before trimming the ends, and leave enough cord to work comfortably. Trying to tie two microscopic ends because you got enthusiastic with the scissors is not a character-building exercise anyone needs.
Whenever possible, I like to tuck the finished knot into the hole of a nearby larger bead or spacer. It gives everything a cleaner finish.
And most importantly, don't pull the elastic so tightly while you're stringing that the bracelet becomes rigid. The beads should sit together nicely while still allowing the cord to do what it was put on this earth to do.
Stretch.
The Best Part? There Really Aren't Rules.
That's what I'm enjoying most about this latest descent into bead-related chaos.
With heishi friendship bracelets, I often start with a color combination or a word.
These are different.
Sometimes I start with a charm.
Sometimes a bead.
Sometimes two completely unrelated beads happen to land beside one another on my desk and I think:
Well… those two seem to have chemistry.
Next thing you know, they're married with a frog charm and living happily ever after on Stretch Magic.
And that's really the point.
You don't need a giant bead collection. You don't need an elaborate pattern. And you certainly don't need to know exactly what you're making when you sit down.
Pick a few beads you love.
Mix glossy with matte. Large with small. Clear with opaque. Add a few metallic spacers. Find a ridiculous little charm that makes you happy.
String them onto some elastic.
See what happens.
Worst-case scenario, you take it apart.
Best-case scenario?
You accidentally build a dynasty.
And somewhere, buried deep inside the bead containers, that one green bead is still waiting for its moment.
To be continued…
Some of the links sprinkled throughout this post are affiliate links. That simply means if you click one and decide you absolutely need that crafty little something in your life, I may earn a small commission — at no extra cost to you.
Think of it as helping to keep this little corner of the internet supplied with paper, ink, beads… and, most importantly, coffee. Because apparently creativity requires caffeine and an alarming number of craft supplies.
So click away guilt-free. You get the crafty goodies, I might get enough commission to fund my next questionable craft-room purchase. Everybody wins ~Thank you!
