
Love is in the Air
Love is in the Air
Tis’ the Season for love & romance and this hand made greeting card will definitely bring some love to the recipient.
This card creates quickly and features a few surprises in the making.
I’ll show you how to create patterned paper using white cardstock, quickly and easily to coordinate with any project.
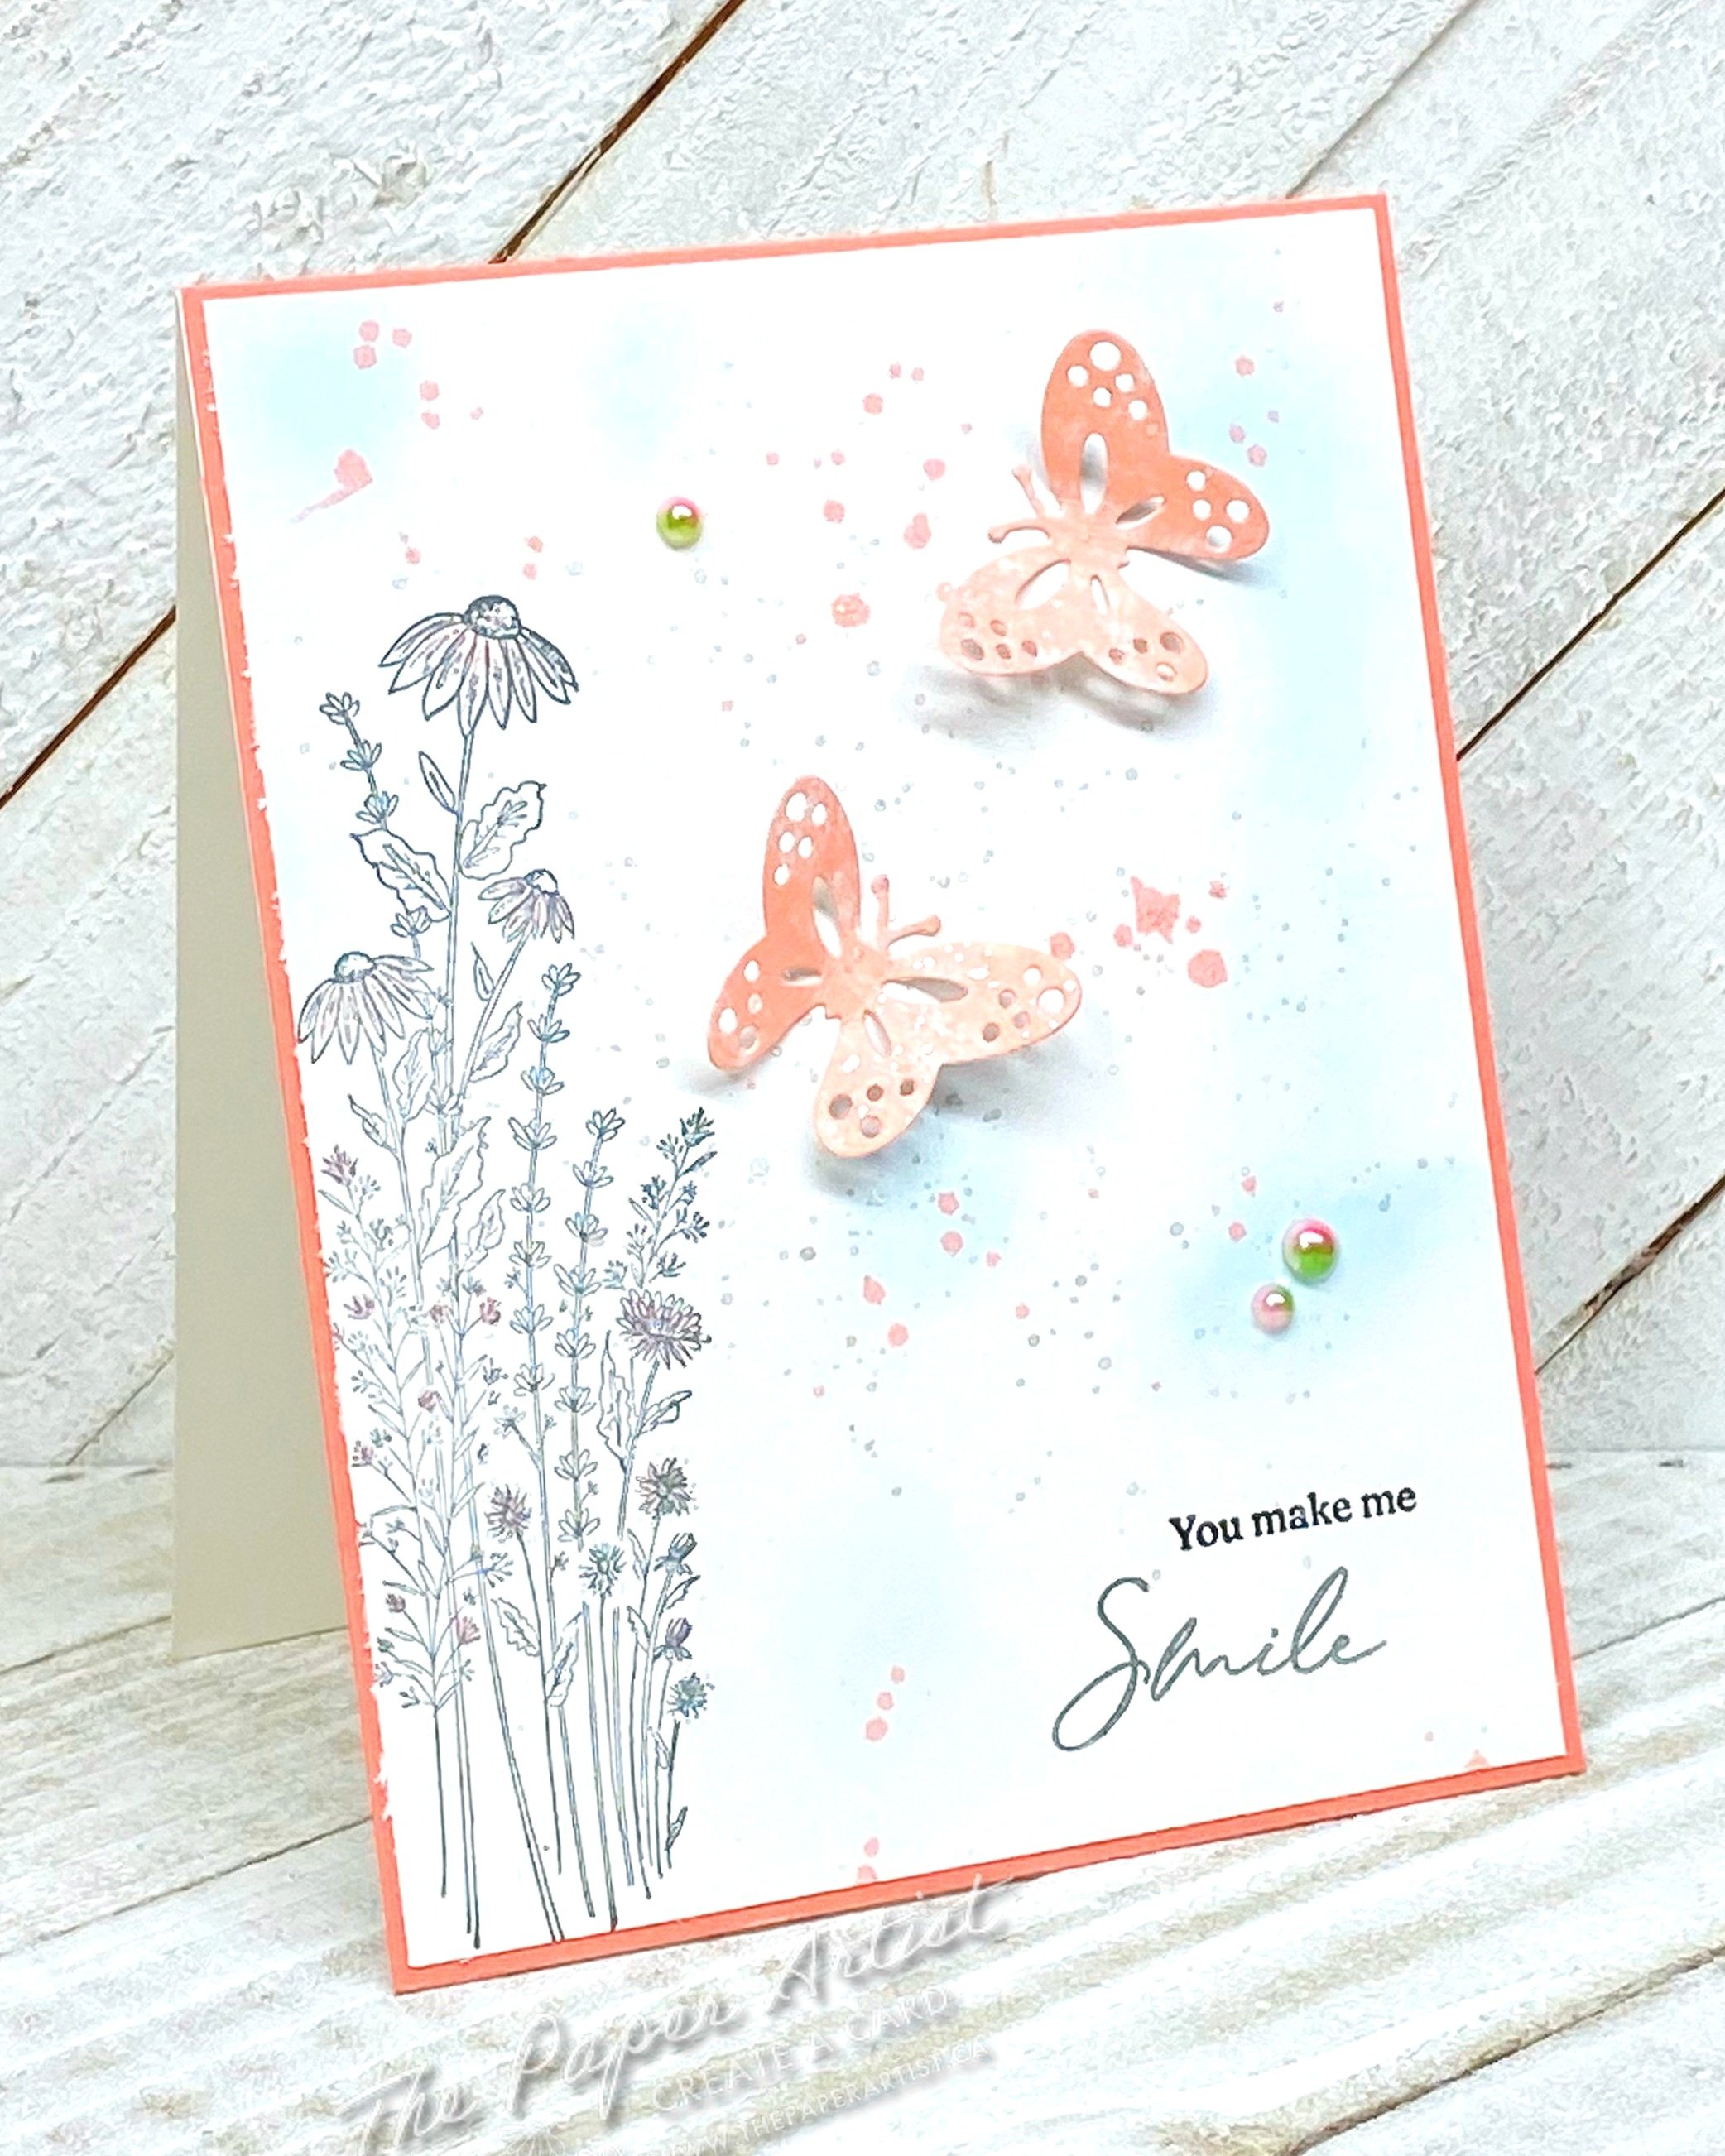
You make me Smile…
With Valentine’s Day fast approaching… love is in the air!
According to Hallmark - Valentine’s Day is the 2nd largest day for exchanging Greeting cards with Christmas being the 1st. Their statistics show 145 million cards exchanged on Valentine’s Day.
A Valentine Card is a visible reminder of the love and affection we have for our loved ones. The card allows us to express our feelings in a unique and personal way.
While traditional Valentine cards usually boasted images of cupid and red roses to be sent to our love interest, we have evolved and now send Valentine cards hosting a variety of images to many individuals in our lives with many different intended messages. Just sharing the love on that special day.
The card above “You Make Me Smile” is a perfect example of Valentine card intended for anyone.
So let’s find out how we made that…


The card starts with a 4 1/4 x 11 card base, scored at 5 1/2.
As well as a white layer of cardstock cut at 4 1/8 x 5 3/8.
A matting layer to coordinate with the pattern paper cut at 4 1/4 x 5 1/2.
A small piece of patterned paper is required for die cutting (I’ll show you how I made my own below).
2 Small Butterflies were cut from the patterned paper using Mini Layered Butterfly Dies. You could use any butterfly dies that you might have.
I stamped a random weed/flower image to the left on the card front using Catherine Pooler - Twilight Ink, as well as the “you make me smile” sentiment in the bottom right corner.
Sentiment was from Pink Fresh Studio - Thanks for Being There stamp set.
I love Pink Fresh Studio Stamps, especially the sentiments. Maybe you have some something similar already.
I did a little dress rehearsal with the butterflies and simply laid them on the card front to find the best arrangement for them. Keeping that placement in mind I removed the butterflies and blended very lightly with a Catherine Pooler - On the Lake ink just in the areas the butterflies would not be sitting (flying).
I dabbed a bit of Ranger Distress Ink - Saltwater Taffy onto my stamp block and added a few drops of water and with a paint brush spattered some of the ink onto the card background.
**Tip: In order to keep the spatter from landing on the stamped image or sentiment. Take the same stamps used to stamp the image and sentiment ( clean of course ) and place them over the stamped sections. Then proceed with the spatter. Remove the stamps, give them a quick clean and return them to their place of keeping.
Use the remaining ink on the stamp block mixed with a little more water to give the flower blossoms a tiny bit of watercolor look. Just a very vague touch of color.
When the panel is dry, matte the layers and attach to the front of the card base.
Attach the 2 butterflies to the intended positions.
Add a few embellishments to the desired places on the card front.
That’s it! A beautiful card that will make anyone smile!