
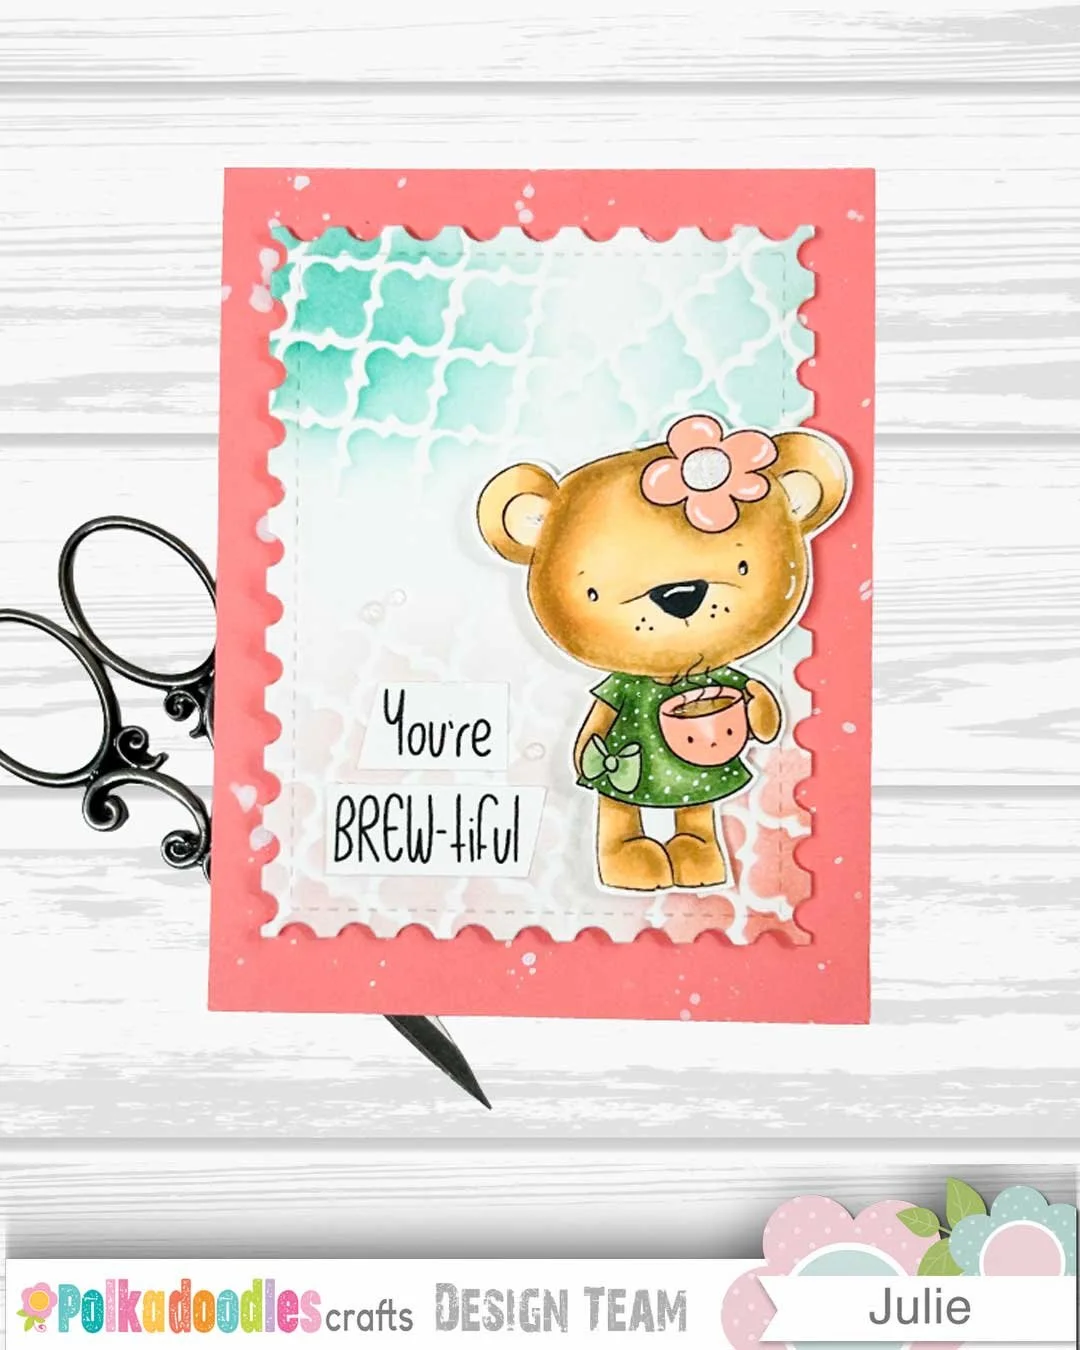
You’re BREW-tiful! A Coffee-Loving Bear for World Card Making Day
If you’re celebrating World Card Making Day, Bella Bear from Polkadoodles is the perfect little helper to get you started.
She’s cute, cozy, and holding her coffee—because let’s face it, none of us are rocket scientists, we’re just crafters who know the true power of caffeine!
This card shows just how easy it can be to make something beautiful without overcomplicating things. A sweet image, a splash of color, and a sentiment that makes you smile—that’s all you need. Bella keeps it simple, so you can spend more time sipping while you create.
A card making layout that works every time!
When it comes to cardmaking, sometimes the best designs are the ones that don’t overcomplicate things. This layout is foolproof and works every time, no matter what image or sentiment you choose. Start with your card base, then layer on a simple panel — a little pop of patterned paper or ink blending goes a long way. From there, it’s just a matter of adding a focal image and a sentiment to tie everything together.
You can easily adjust the sizes of your layers to fit what you have on hand, but I’ll drop in my quick measurements below so you can follow along if you’d like. The idea is that once you have a formula you love, you can repeat it again and again with different themes, colors, or stamps. Think of it as your go-to recipe for a handmade card that always turns out beautifully.
Card base: 4 1/4 x 11, Scored @4 1/4
- Add a paint/ink splatter to the front of the card base, or emboss it to create added interest.
Simple Panel: 3 1/4 x 4 1/2 (approx.)
-Adjust the size or shape of this panel to create different effects.
-Create a pattern on this panel using ink blending, ink smooshing, or simply use a pattern paper.
-Or - cut this panel from vellum cardstock.
Choose a focal image:
-This can be a stamped image or a digital image. Something that tells the story of your card.
-Color the focal point, or choose a pre colored image. Polkadoodles has many precolored images.
-The chosen image doesn’t have to be dead center on the card front. Don’t be afraid to try the image in different positions to see where it looks most pleasing to your eye.
The Sentiment:
- A greeting confirms the story of your card. It’s like a title for your art work. Choose something simple or something fun and quirky!
-Add the sentiment in a position that compliments the image. It’s perfectly acceptable to cut the sentiment into sections to better suit the design.
Extra Details:
-Add a few rhinestones or gems using the rule of 3. (grouping items in odd numbers, particularly three, is more visually appealing).
Over all Design Tip:
-Coordinate the colors on the card. Pull colors from the card base into the simple panel to coordinate with the colors used in the focal image. Or Vise Versa - Use the colors from the focal panel to create the background of the simple panel, as well as when choosing the card base color.
Follow this simple design and you’ll always end up with a card that looks like it took way more effort than it really did.
And that’s a wrap on this easy little design—proof that cardmaking doesn’t have to be complicated to be beautiful (or should I say brew-tiful?). World Card Making Day is the perfect excuse to pull out your crafty stash, make a glorious mess, and celebrate the joy of creating something with your own two hands.
So grab your coffee, your scissors, and maybe a snack (because crafting is hungry work), and let’s make this day all about the fun of paper, ink, and a whole lot of laughter.
This post contains affiliate links, which means I may earn a small commission (at no extra cost to you). It helps keep the coffee warm and the cardstock flowing—so thank you for supporting my crafty adventures!