
Heishi Bead Bracelets: Spin, String, Stack & Repeat
Friendship bracelets. Heishi bracelets. Flat bead bracelets. Clay bead bracelets.
Whatever we’re calling them this week, those colourful little flat beads have taken up permanent residence in my craft room — and apparently I’m perfectly fine with that.
This week I’m replenishing my supply of heishi bead bracelets for the shop, which means the bead containers are coming out, the Stretch Magic is ready, and the bead spinner is about to earn its keep.
There will also be music.
And coffee.
At this time of year, probably an iced coffee with a little caramel because apparently even beverages need seasonal accessories around here.
Before I start showing you all the finished bracelets, though, I thought we should start at the beginning: what exactly do you need to make heishi bracelets, how do you actually make them, and how do you turn a pile of tiny colourful discs into something you want to wear?
Because while they're incredibly easy to make, there are definitely a few tricks that make the process easier — and a whole lot more fun.
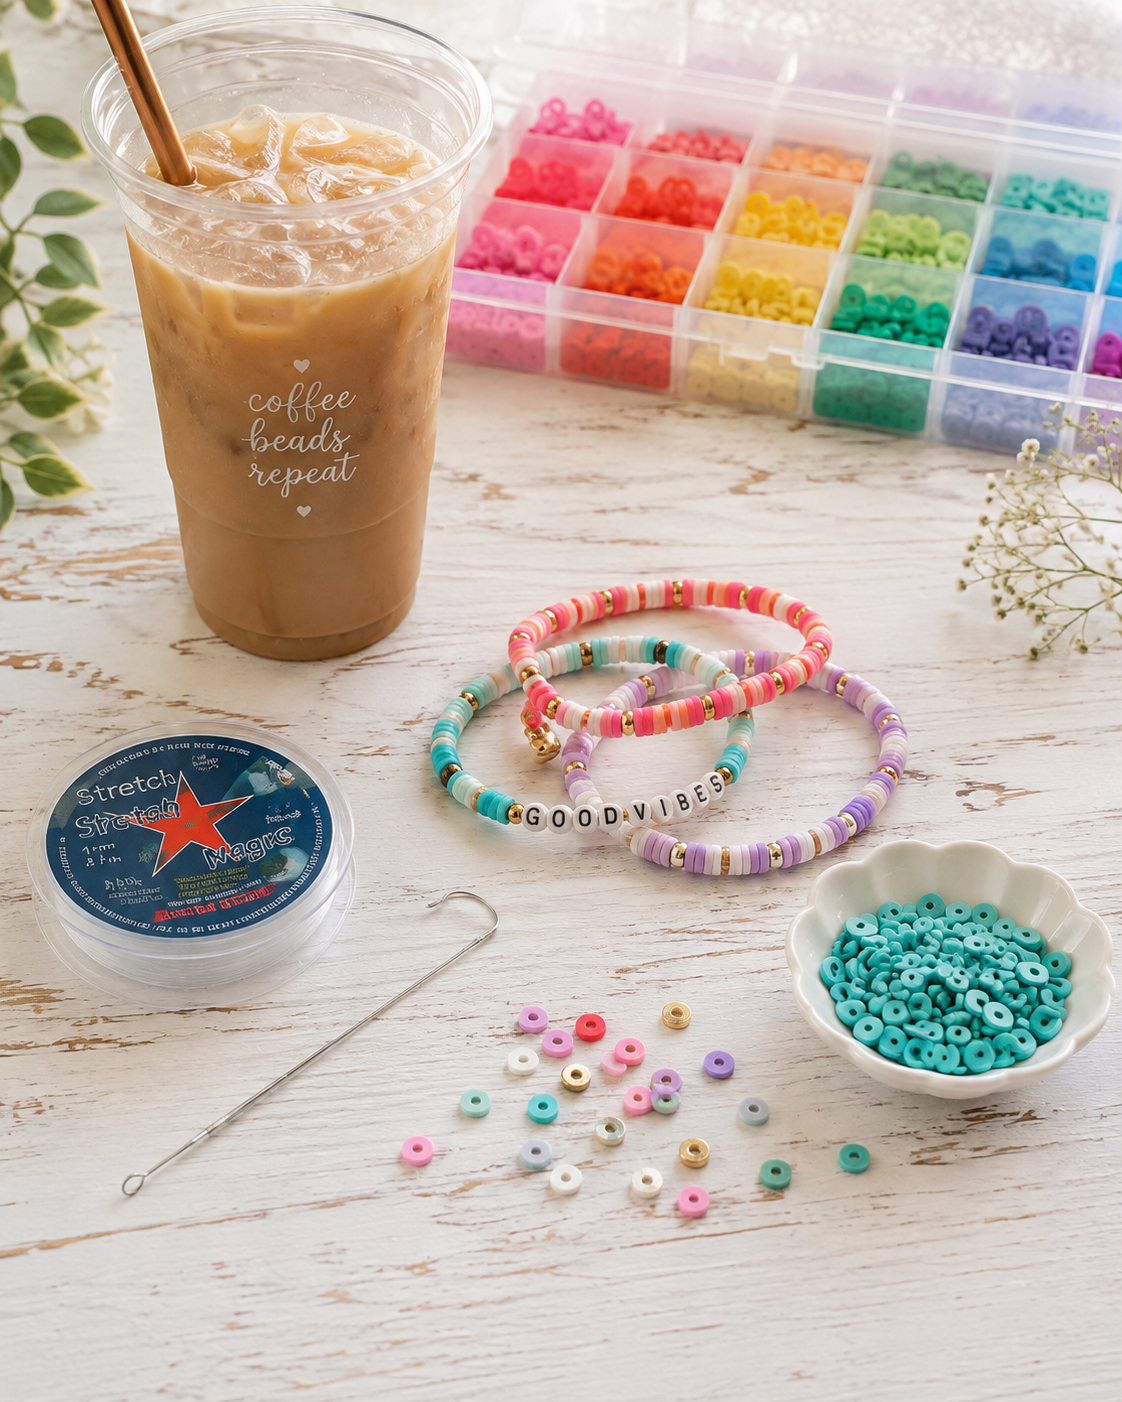
First Things First: What Are Heishi Beads?
Traditional heishi beads have a much longer history than our current colourful bracelet trend. The term originally refers to small, disc-shaped beads traditionally made from shell or stone and associated particularly with Indigenous jewelry-making in the American Southwest.
Today, when crafters talk about heishi bracelets or clay bead bracelets, they're often referring to bracelets made from those familiar thin, flat polymer-clay or vinyl disc beads that come in just about every colour imaginable.
And I do mean every colour.
You can buy them in solid colours, pastels, neons, metallics, speckles, stripes and assorted mixes. Then there are letter beads, smiley faces, fruit, flowers, hearts, charms and approximately 47 other things you didn't know you needed until you opened a bead container.
That's generally how these things escalate.
Here is a great starting purchase for Clay Beads- 50 Strands Clay Beads (Amazon)
What You Need to Make a Heishi Bracelet
The basic supply list is surprisingly short:
A bead spinner — optional, but highly recommended if you value your remaining sanity
Letter beads, focal beads, charms or spacers if you want to embellish your bracelet
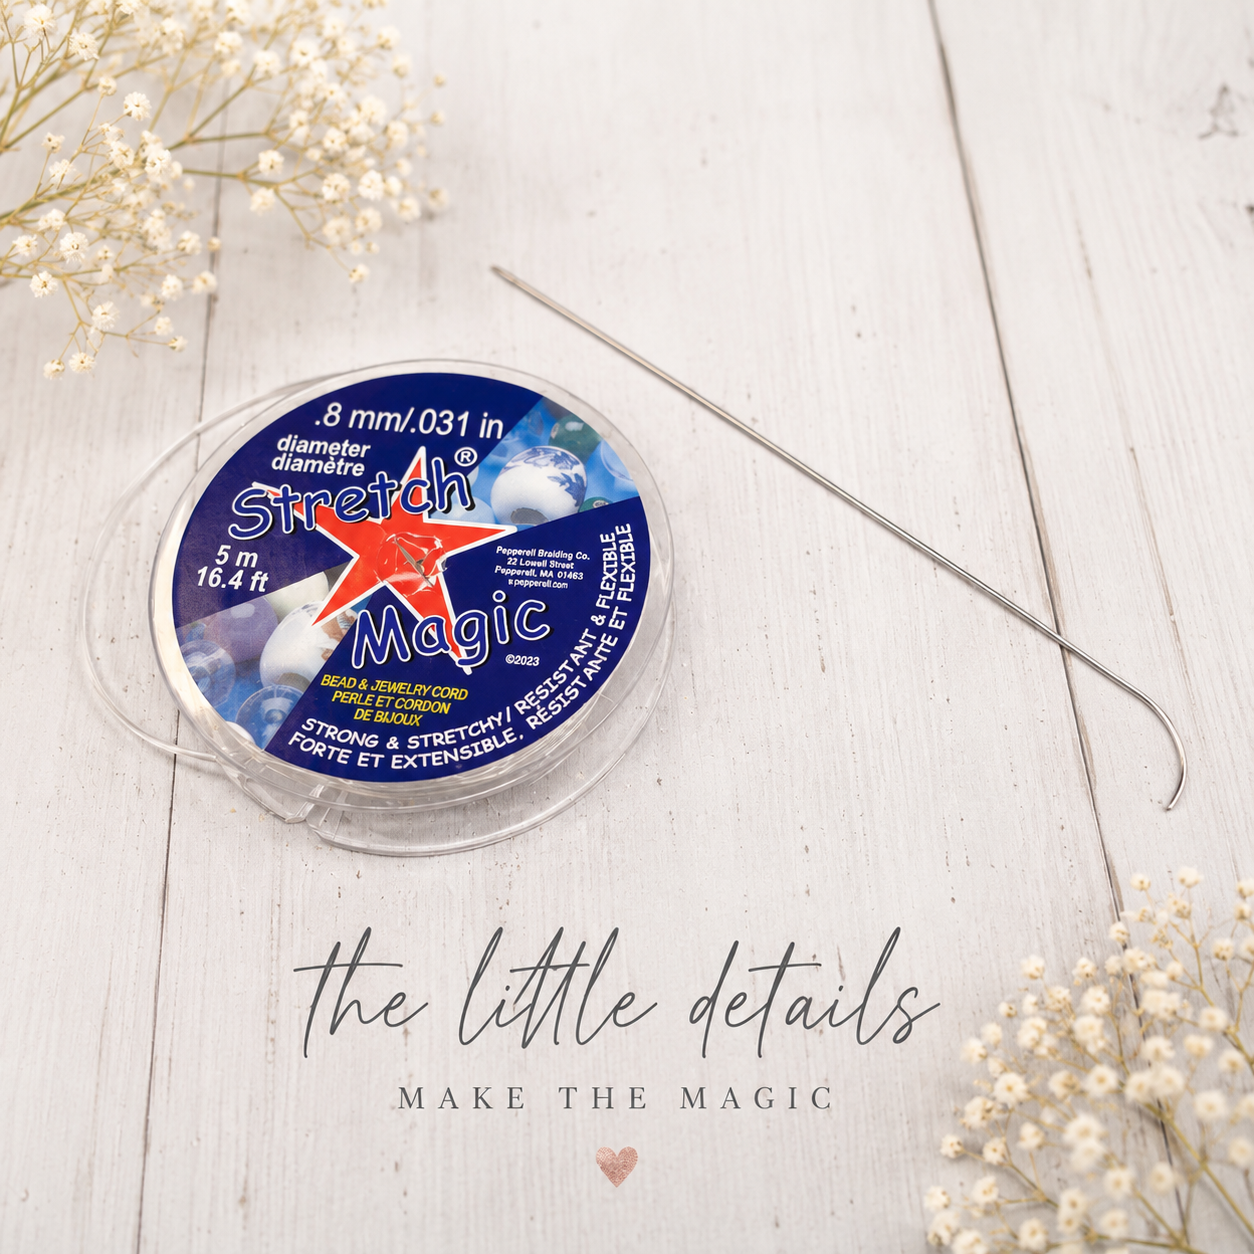
For my bracelets, I like Stretch Magic cord. I've used it for a lot of bracelet making, and I find it particularly well suited to this style.
You want enough stretch that the bracelet slips comfortably over the hand, while still feeling substantial enough to hold all those beads together.
And because these bracelets are meant to be worn — not displayed in a museum under carefully controlled conditions — your cord matters.
You Can String Them One at a Time...
Technically.
You can sit there and pick up one tiny heishi bead after another and slide each one onto your cord.
One.
At.
A.
Time.
You could also watch paint dry.
If I'm adding a particular color pattern, focal section or letter beads, I'll absolutely string those portions individually. But if I'm filling a bracelet with dozens of tiny flat beads?
Bring me the bead spinner.
The Humble Little Bead Spinner
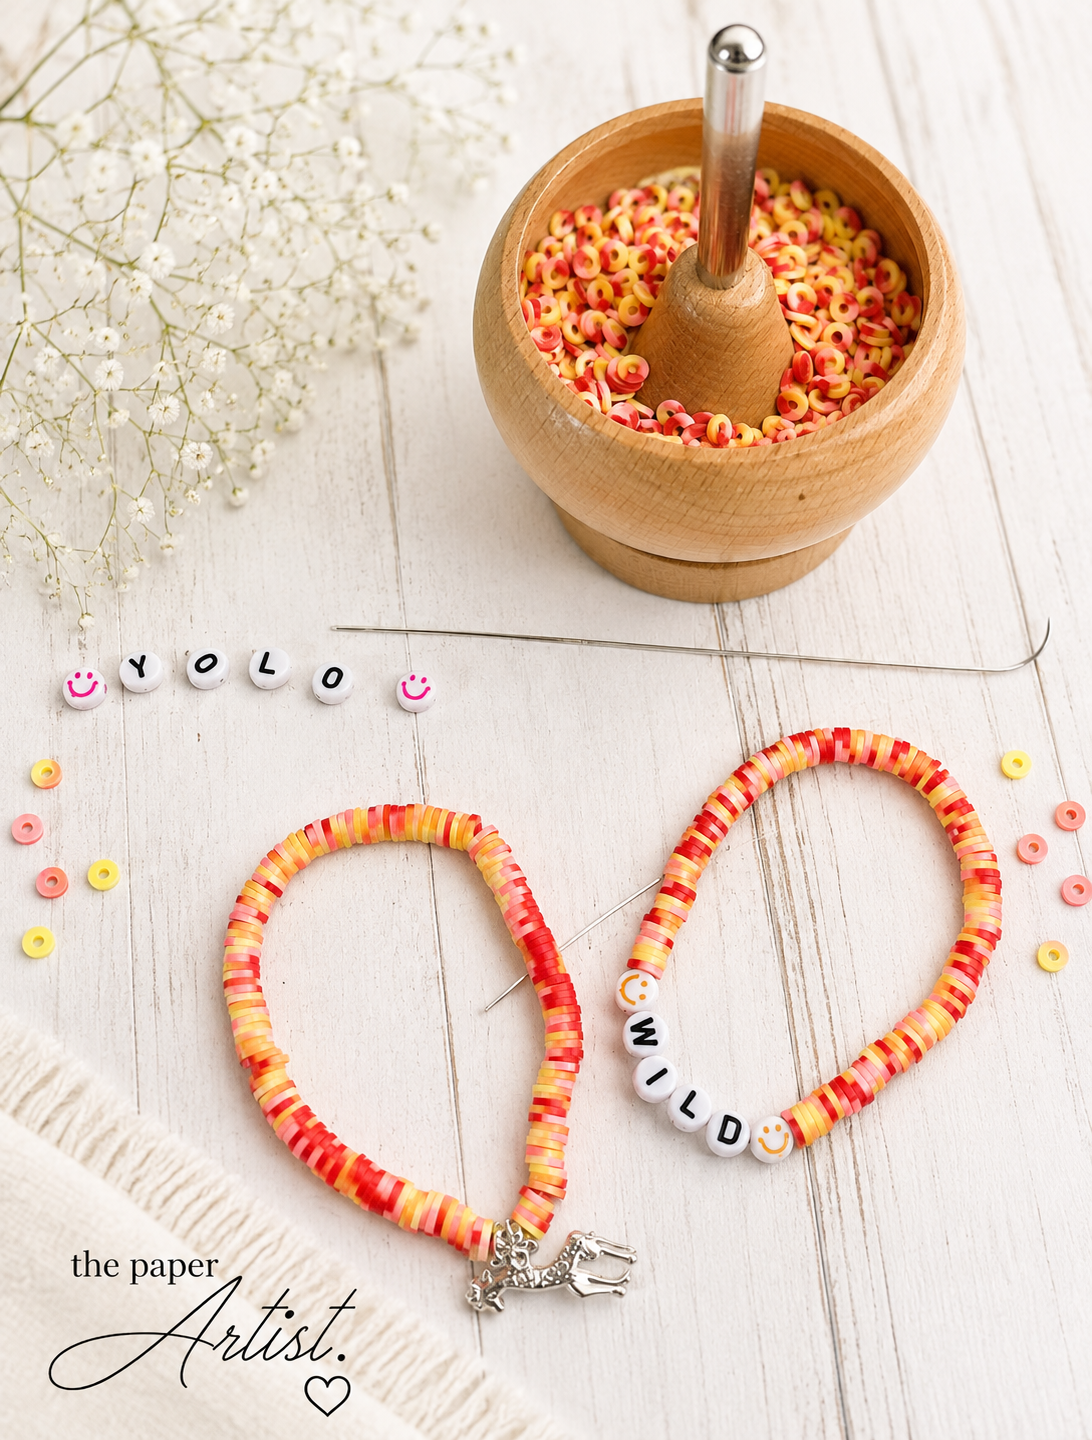
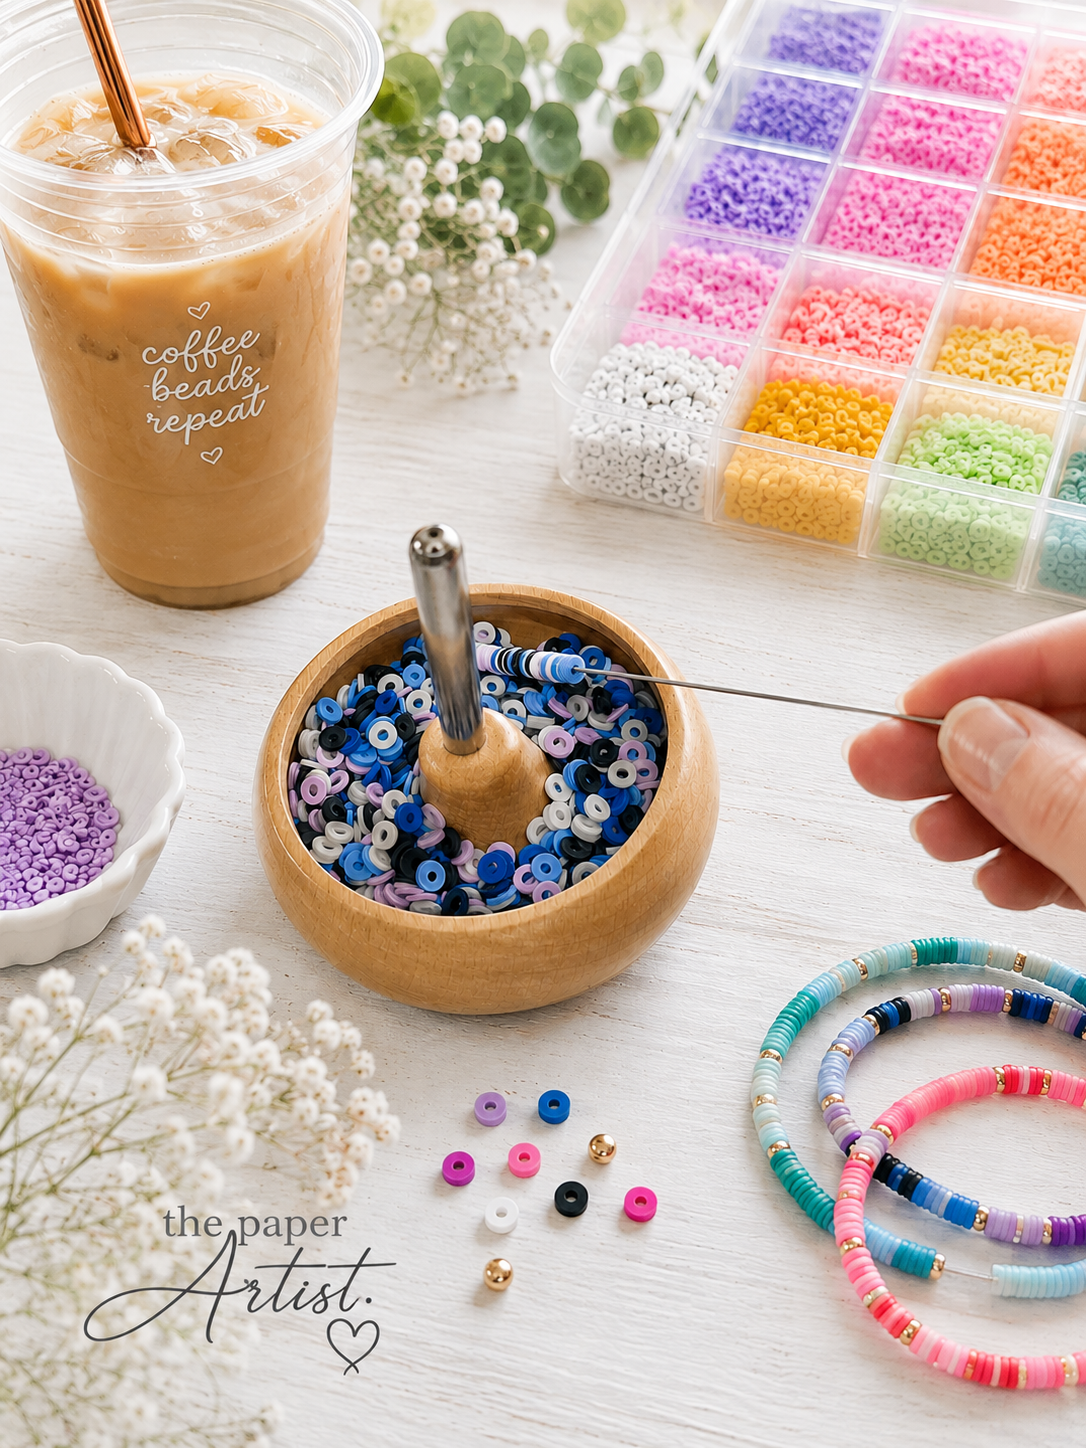
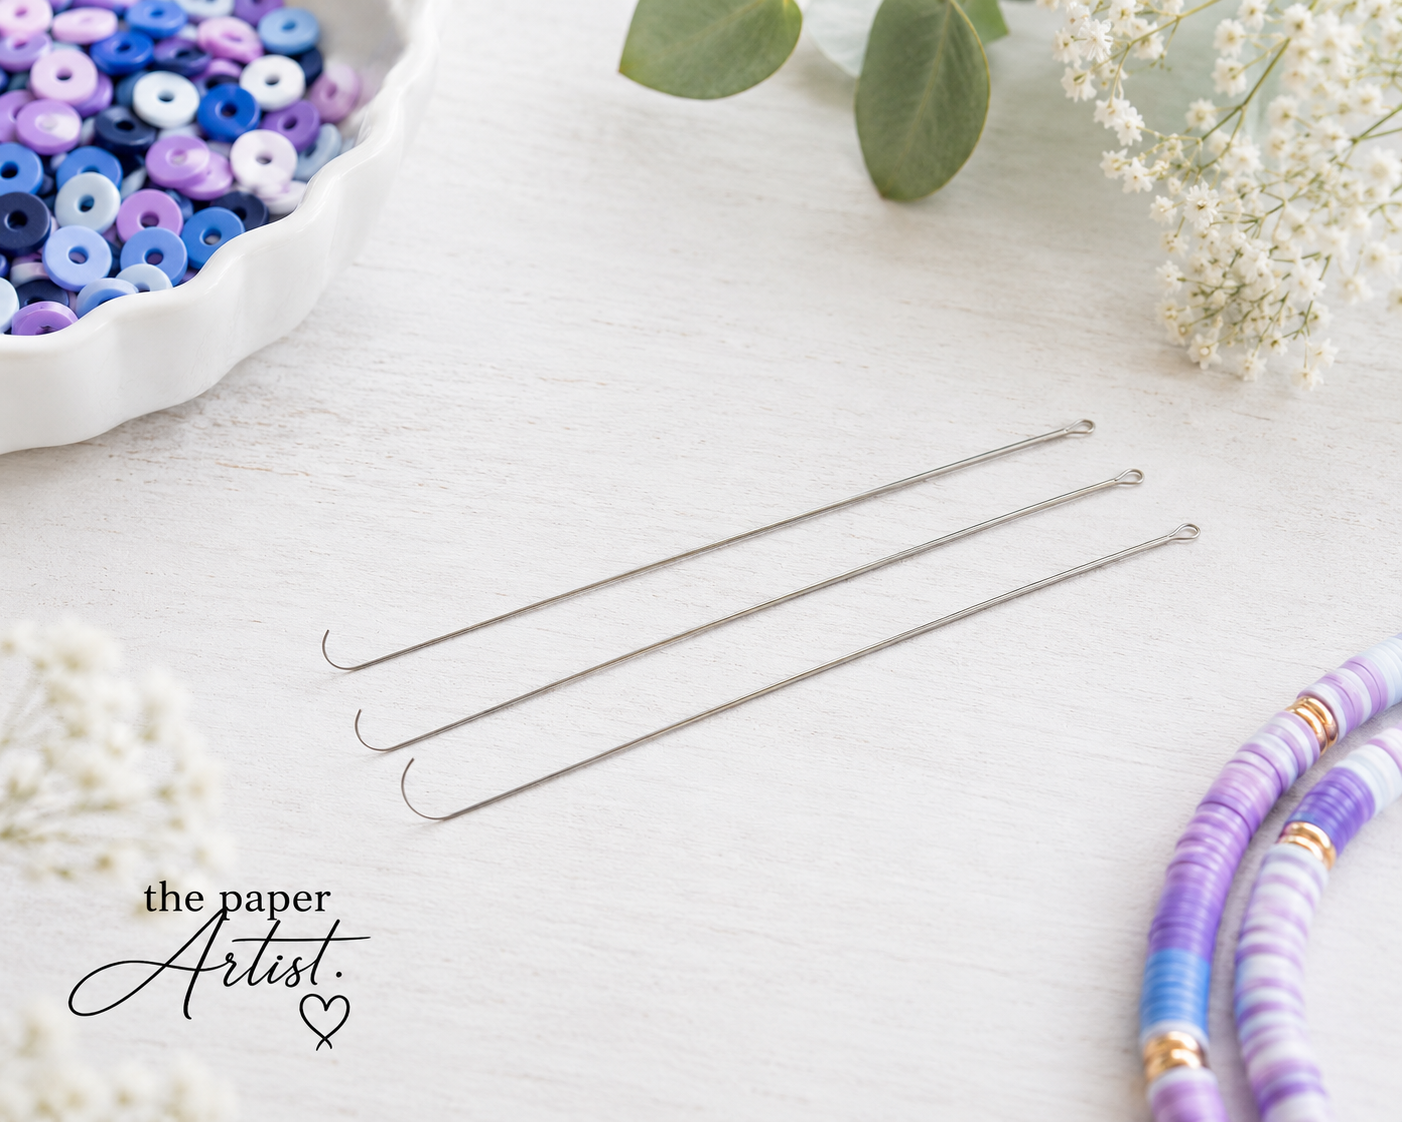
Mine is the traditional style of bead spinner — essentially a small wooden bowl that rotates while you hold a curved beading needle against the moving beads.
It's wonderfully low-tech.
No charging cable. No buttons. No Bluetooth connection. No app asking for my email address.
You simply add beads to the bowl, give it a spin and hold the curved needle in the right position.
As the beads move around the bowl, they begin hopping onto the needle.
And I have to admit...
It is ridiculously satisfying.
There's something about watching those tiny flat beads march their way up the needle that makes me think, Well, look at me being incredibly productive.
Meanwhile, I'm basically sitting there drinking iced coffee and spinning a wooden bowl.
Details.
A Few Bead Spinner Tips
Don't completely fill the spinner. The beads need room to move around freely.
Give the bowl a smooth, consistent spin rather than attacking it like you're trying to win a game show.
Hold your needle so the curved end meets the beads as they're travelling around the bowl. Once you find that sweet spot, you'll suddenly see them begin lining themselves up.
And if nothing is happening?
Change the angle of your needle slightly.
There is definitely a little bit of a learning curve, but once you figure it out, it becomes second nature.
And Then There Are Electric Bead Spinners
Yes. Of course we've electrified bead spinning.
Electric bead spinners rotate the bowl for you, leaving you to concentrate on holding the needle and collecting beads.
They're particularly handy if you're making a large quantity of bracelets or doing production-style beadwork.
Do I have one?
No.
Do I particularly want one?
Also no.
I actually enjoy manually spinning the bowl. There's a rhythm to it, and watching those beads collect on the needle is part of the fun for me.
Besides, between the bead spinner, the playlist and the iced caramel coffee, I have a perfectly good system going here.
Let's not introduce machinery where machinery isn't required.
Check out this Electric Bead Spinner Kit - it comes with everything you need to get started!
Let's Talk About the Beading Needle
The needle used with a bead spinner is a little different from the sewing needle hiding in your junk drawer.
Spinner needles are usually long, thin and curved at the end. That curve is what allows the needle to catch the beads as they circulate around the bowl.
Once you've collected a nice section of beads, you simply slide them down the needle and onto your cord.
For regular hand-stringing — particularly when I'm adding letter beads, charms or larger focal beads — a flexible beading needle can also make the job much easier.
Could you make a bracelet without one?
Absolutely.
Will you appreciate having one after you've tried picking up your 63rd tiny flat bead?
Also absolutely.
Now Comes the Fun Part: Choosing Colours
This is probably my favourite part.
I rarely sit down and think:
Today I shall make a blue bracelet.
Nope.
I tend to create bracelets around a feeling, character, season or theme.
Beach.
Back to school.
Retro.
Halloween.
Candy.
Summer.
Fall.
Bright and ridiculous.
Soft and pretty.
Whatever happens to be bouncing around in my head at the time.
One of the easiest ways to start designing your own combinations is with two colours.
Pick colours you already know work together and create your bracelet.
Then add a third.
Suddenly the exact same two colours can have an entirely different personality.
Add a fourth colour and you've created something different again.
It's one of my favourite ways to experiment because you're not reinventing the entire bracelet every time. You're building on a colour combination that already works.
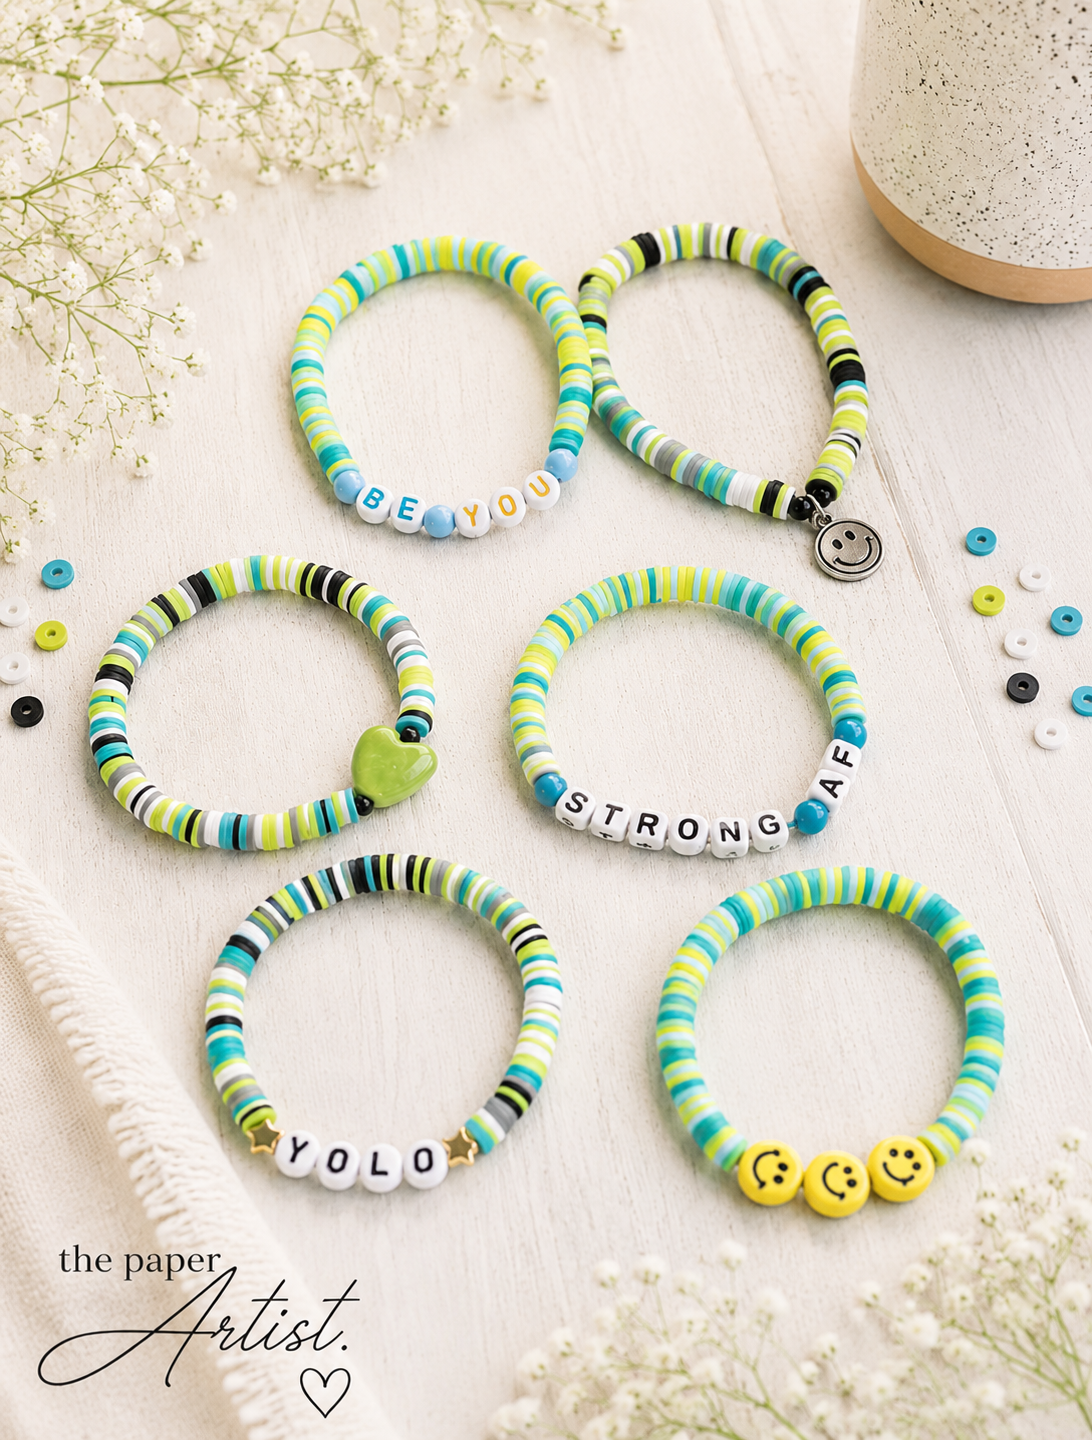
When You're Stuck, Start With Something
You don't need to stare at a colour wheel until inspiration strikes.
Look around.
A favourite character can give you a colour palette.
So can a photograph.
A sunset.
A favourite sweater.
A package of candy.
The beach.
A school backpack.
A season.
Even a coffee cup.
Pick two or three colours you see together and start there.
Sometimes the best combinations are the ones you wouldn't have chosen if you'd been trying too hard to make everything coordinate perfectly.
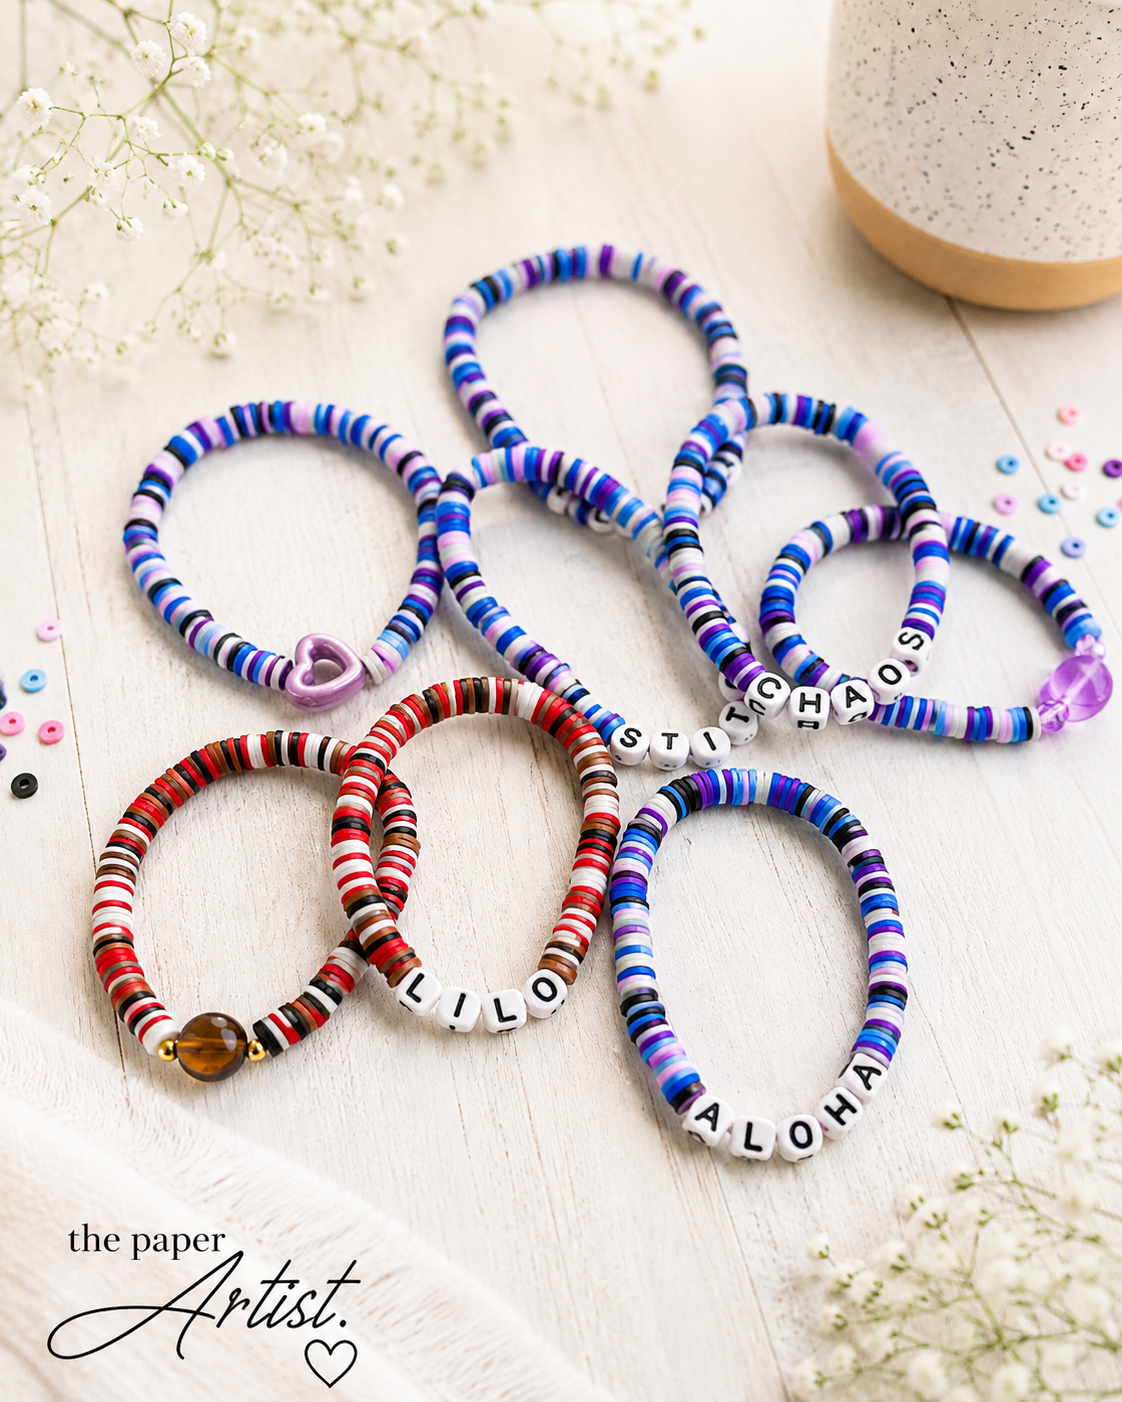
A “Stitch” Theme
Letter Beads Change Everything
This is where friendship bracelets become even more personal.
Names are an obvious choice, particularly for kids and back-to-school bracelets, but letter beads can be used for so much more.
Try:
Favourite sayings
Funny little phrases
Inspirational words
Trending words
Initials
Best-friend combinations
School or team themes
Seasonal words
A simple bracelet suddenly becomes your bracelet.
And there is something wonderfully nostalgic about letter beads.
Apparently we never really outgrow spelling things with beads.
Nor should we.
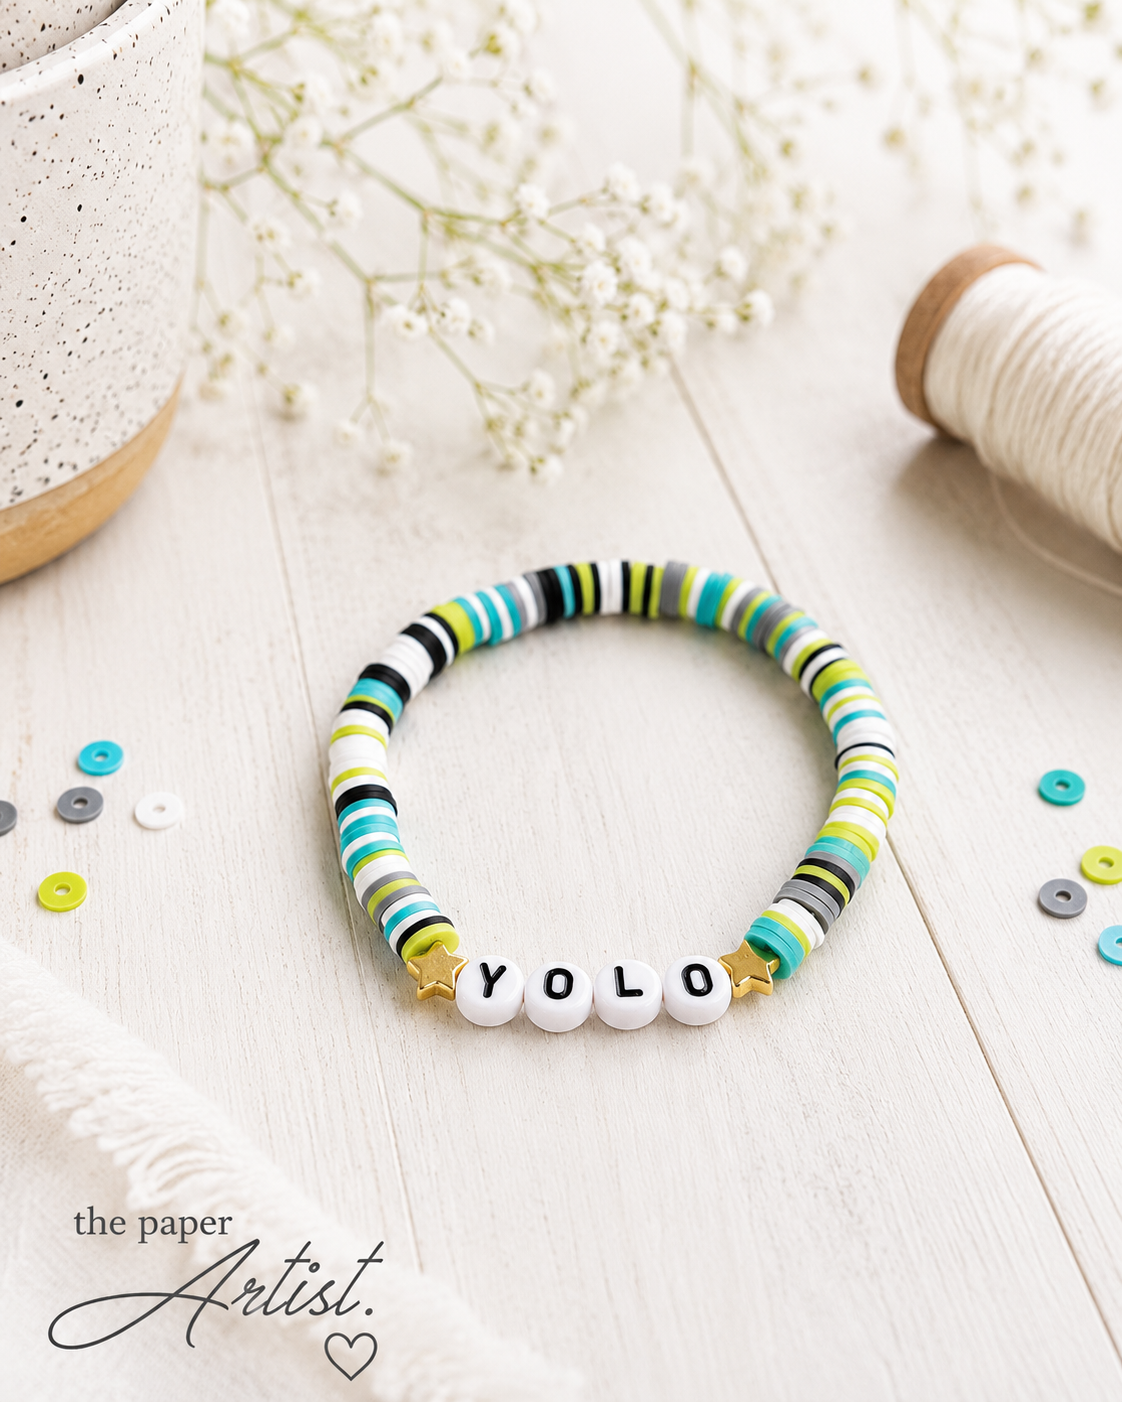
You Only Live Once
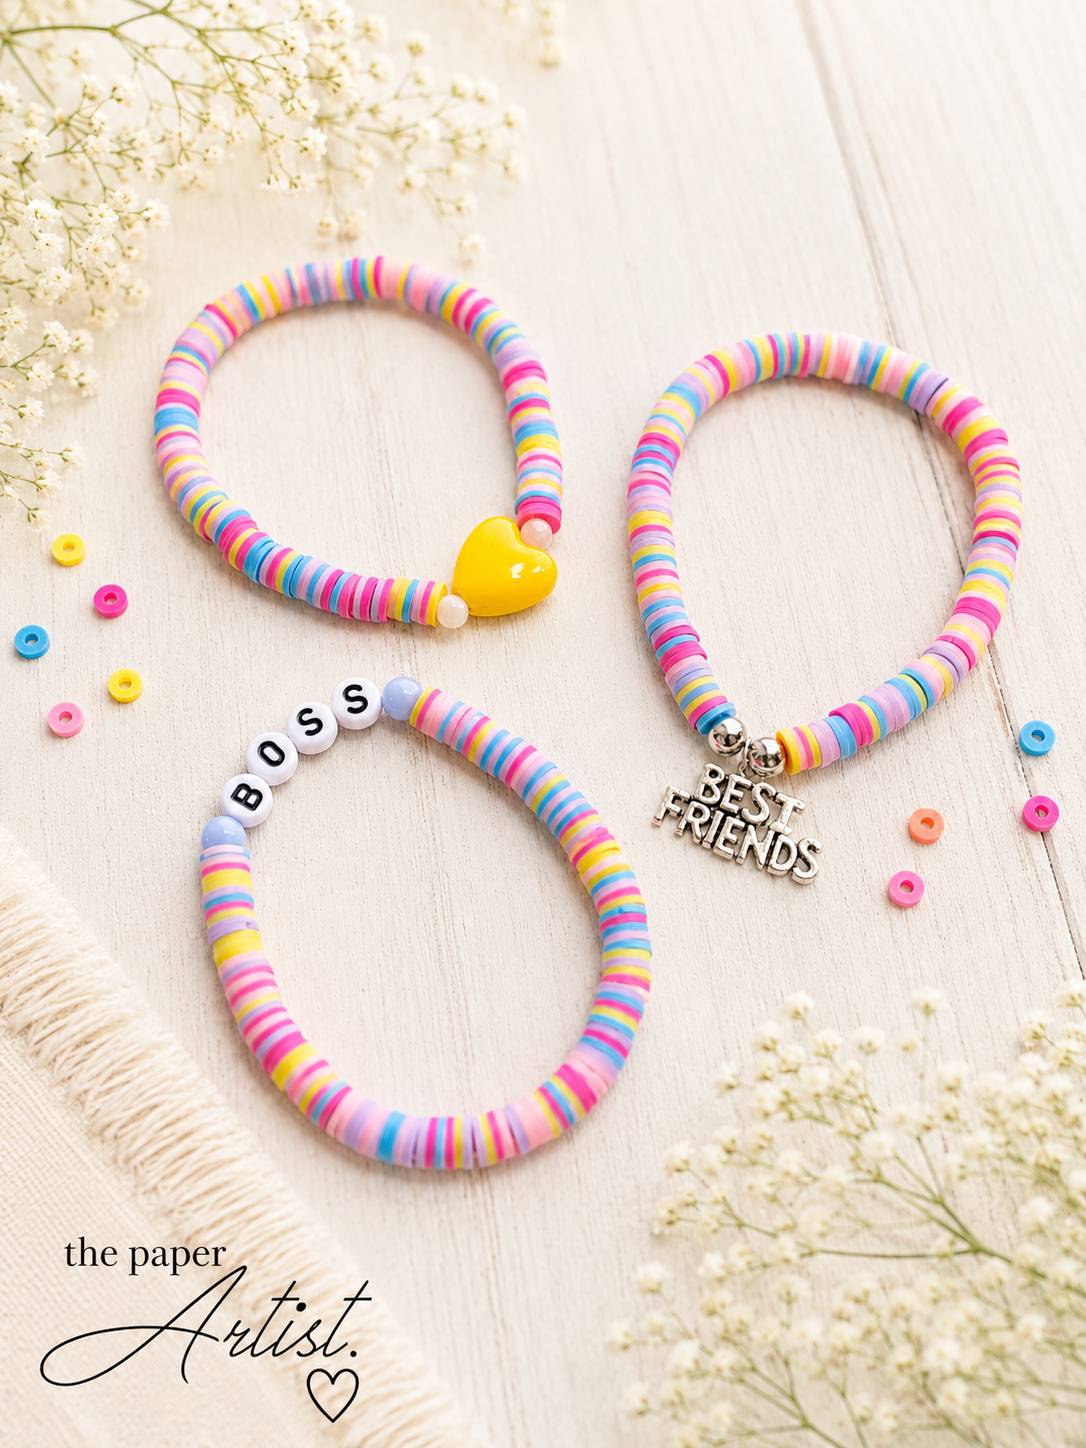
Add a Charm or Focal Bead
You can also change the entire look of a basic heishi bracelet with one focal element.
A little cherry.
A flower.
A heart.
A smiley face.
A butterfly.
A seasonal charm.
One interesting bead placed in the centre can take a bracelet from a simple colour combination to a full theme.
That's often how I design mine. I choose the focal element first and then start pulling colours that coordinate with it.
And before long I've emptied six containers onto the desk and somehow we're making four bracelets instead of one.
Craft math.
There Is No Age Limit
One of the things I love most about these bracelets is that they really don't belong to any particular age group.
Kids love them.
Teenagers love them.
Adults love them.
I can quite happily be wearing the same style of bracelet as my eight-year-old granddaughter and neither one of us needs to reconsider our fashion choices.
The colours, words and charms might change depending on who's wearing them, but the basic bracelet works for just about everyone.
They're fun.
That's the entire point.
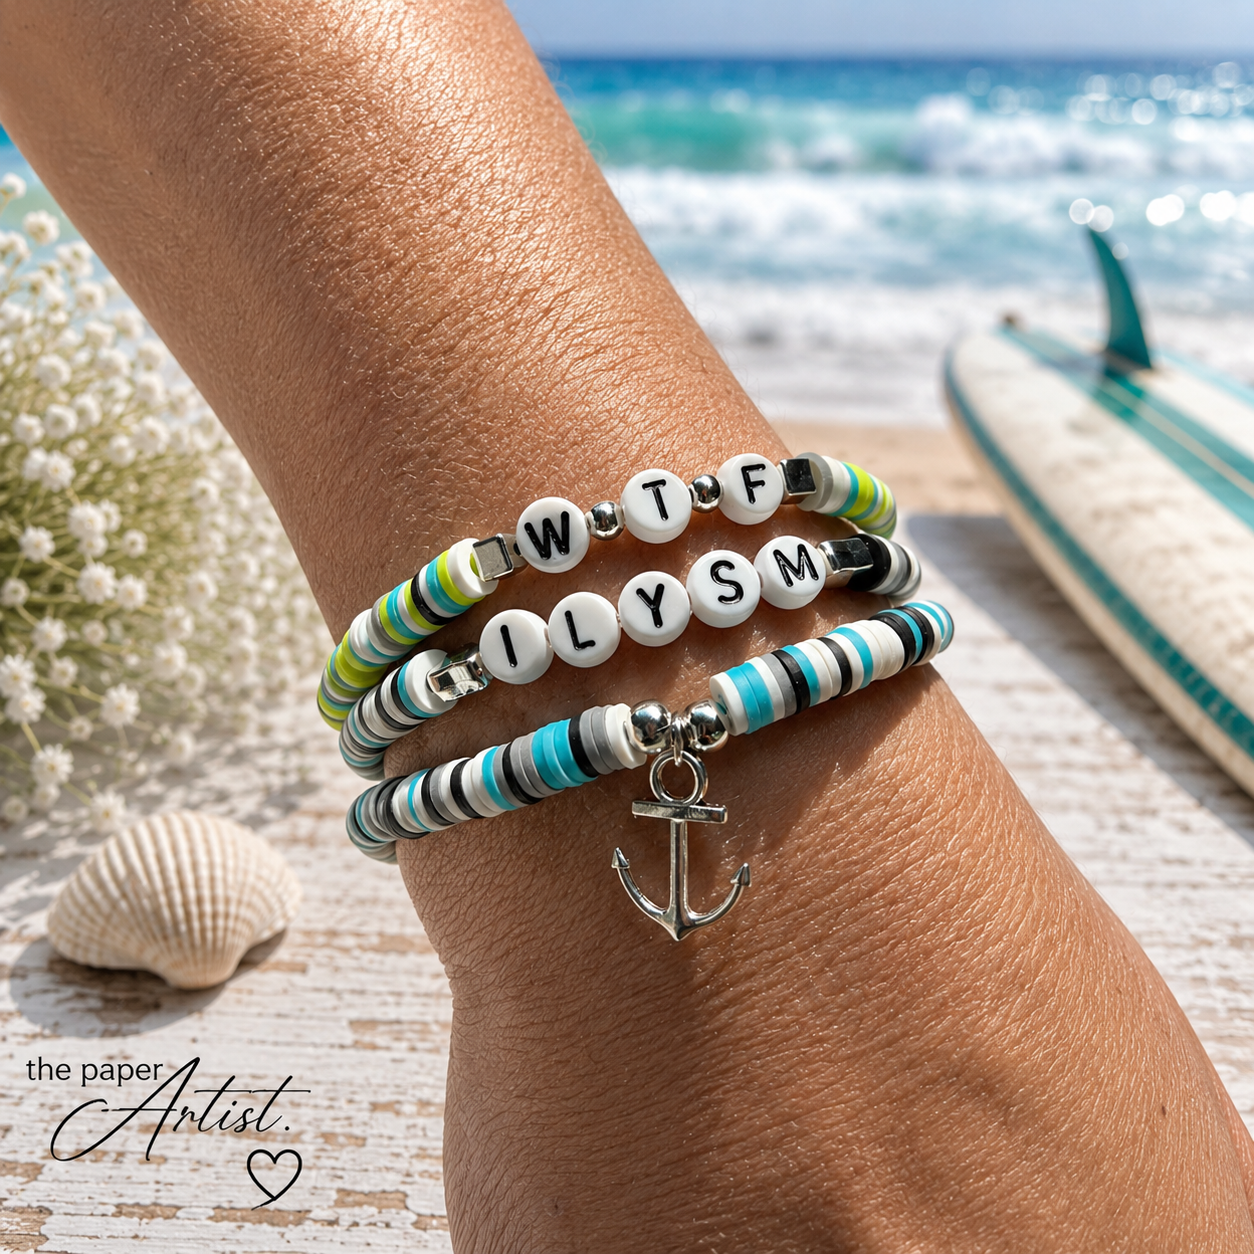
And Then We Stack Them
Because obviously one bracelet was never going to be enough.
Stacking is where these really become addictive.
You can create two or three bracelets that coordinate without making them identical.
Maybe one has the word.
One carries the main colour combination.
One has the charm.
Together they tell the story.
You can also create stacks around a theme — beach, school, Halloween, friendship, summer, fall — or simply combine bracelets because the colours look fantastic together.
One of my favourite tricks is adding a seed bead bracelet into a stack of heishi bracelets.
The smaller beads break up all those flat discs and add another texture, which makes the whole stack look a little more interesting.
It's an easy way to make a bracelet stack feel collected rather than perfectly matched.
The Great Heishi Bracelet Replenishment Has Begun
And that brings us back to my craft room this week.
The shop needs a fresh supply of bracelets, and I'm particularly interested in playing with some back-to-school combinations — personalized names, fun words, bright colour palettes and stacks that kids can mix, match and trade.
Although, as we've established, the kids may have to fight some of us grown-ups for them.
I'll be sharing the new bracelets as they come off the bead spinner, along with some of the colour combinations, themes and stacks I create along the way.
So consider this your starting point.
The bead containers are open.
The playlist is on.
The Stretch Magic is ready.
And somewhere nearby is an iced caramel coffee that I will inevitably forget about until half the ice has melted because I got distracted by beads.
Let the spinning begin.
