
Sometimes the best crafting adventures begin with something you forgot you owned.
Grab your coffee, pull up a chair, and join me at the craft table. Today we're making a bracelet from a mystery box of jewelry findings that apparently has been hiding in my craft room for years.
Where did this box come from?
Excellent question.
I haven't the foggiest idea.
A Little Treasure Hunt in My Craft Room
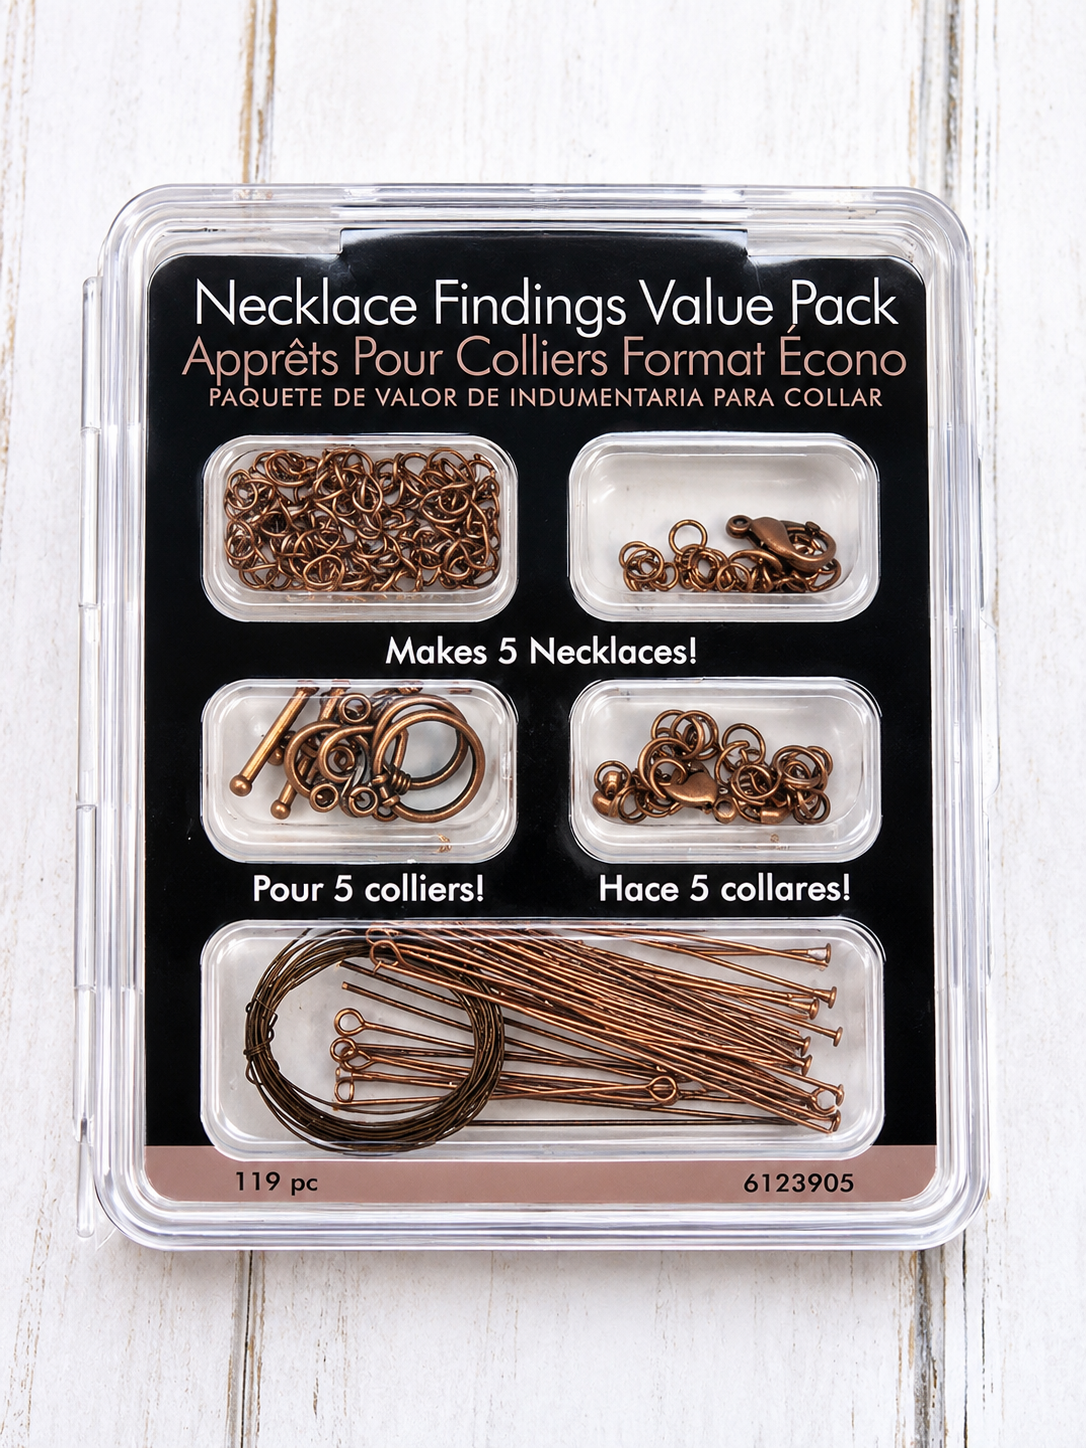
While rummaging through a drawer containing some old stamping supplies, I came across a little box of jewelry findings.
It had clearly been opened before, and some of the contents had already been used. I suspect I picked it up at a local secondhand store at some point, although I couldn't tell you exactly when.
But I do have a theory about why I bought it.
And I think my granddaughter is responsible.
You see, once upon a time, I decided I needed to learn how to make beaded bracelets so I could teach my granddaughter.
Sounds innocent enough, doesn't it?
Well, apparently that one little decision opened the floodgates to an entirely new crafting obsession.
Beads, elastic cord, findings, charms, tools, and more beads.
And here we are.
So, if you're wondering who's responsible for this whole beaded bracelet mess, I'm pointing directly at my granddaughter.
I suspect that mystery box came home with me during those early days, when I was buying supplies for a craft I hadn't even learned how to do yet.
Because naturally, that's how we crafters operate.
A Little Copper, Some Pretty Beads & an Idea
Looking through the box, I found some lovely copper-colored chain, eye pins, and toggle clasps.
Now, here's where things got interesting.
Despite all the bracelets I've made since discovering this beading adventure, I'd never actually used this particular type of clasp before.
Not once.
I suppose I'd been quite comfortable with my stretchy bracelets and familiar jewelry-making techniques.
But I do enjoy stepping outside my comfort zone occasionally.
After all, how else are we supposed to learn something new?
I selected some beautiful beads in shades of green, blue, and soft earthy tones. I loved how they looked against the warm copper-colored findings.
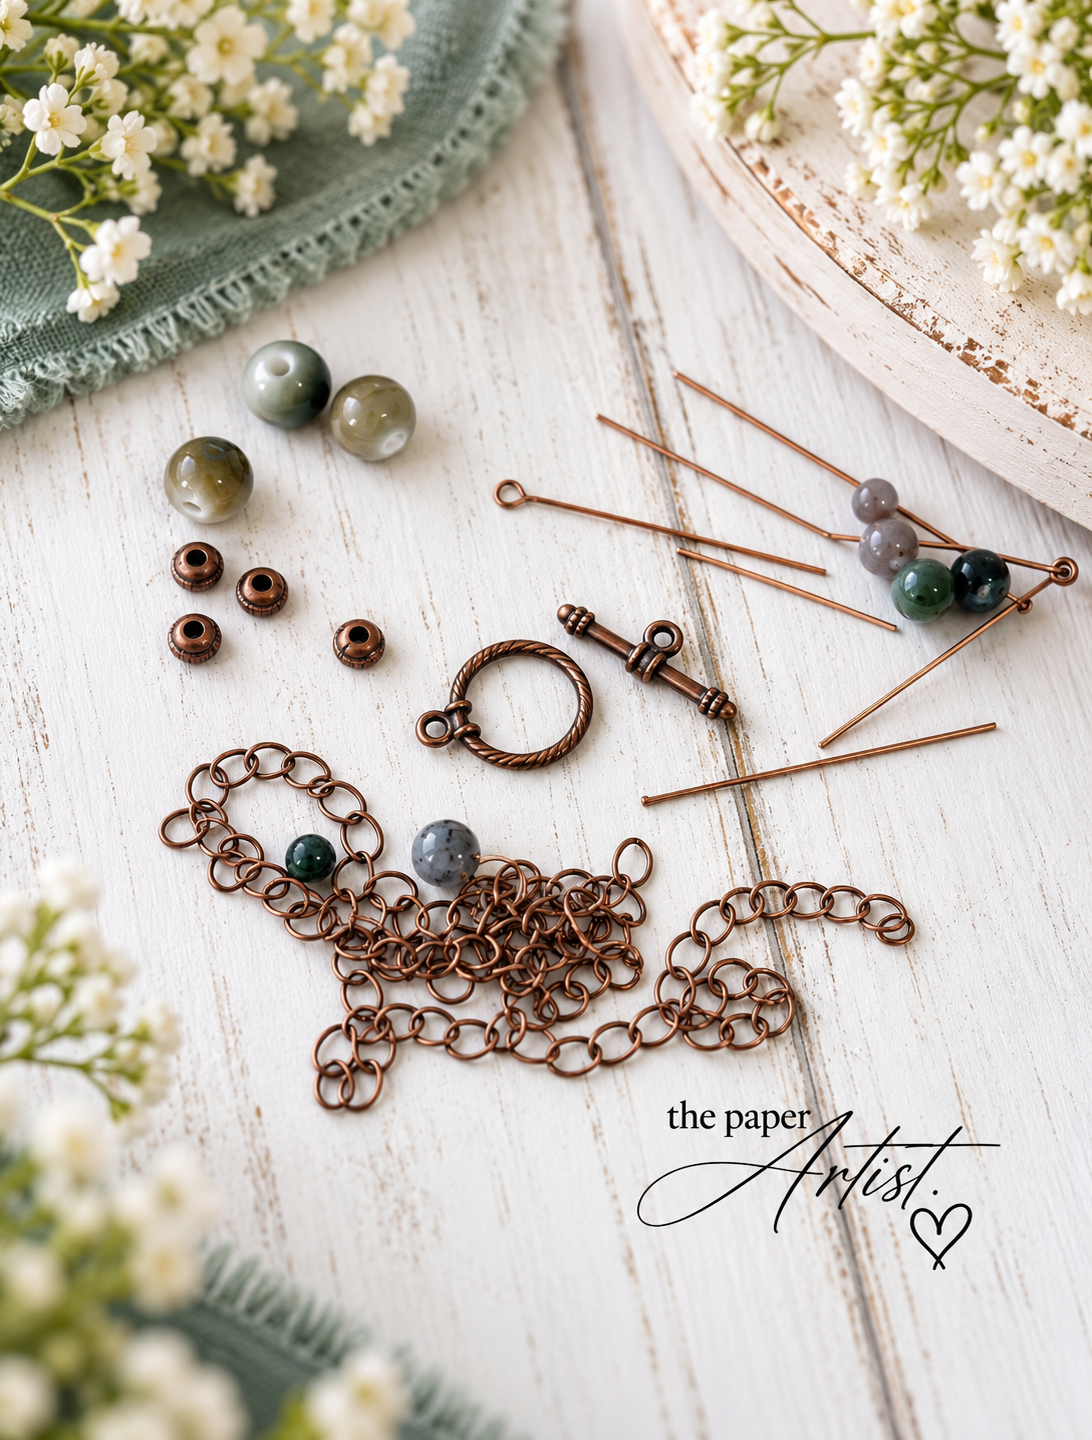
And then an idea popped into my head.
What if I created little beaded sections using eye pins, then connected those sections with short lengths of chain?
Now, I'm certainly not claiming to have invented a new jewelry-making technique.
I'm sure someone, somewhere, has made a bracelet using this very same idea.
But I hadn't seen one myself, and I was rather impressed that my little brain had come up with something different!
So, I started threading beads onto eye pins, creating loops at the ends, and joining the beaded sections together with copper chain.
I added the toggle clasp and admired my handiwork.
Well, would you look at that!
I had made a bracelet.
And a rather pretty one, if I do say so myself.
There was just one tiny problem.
Well, That Almost Worked!
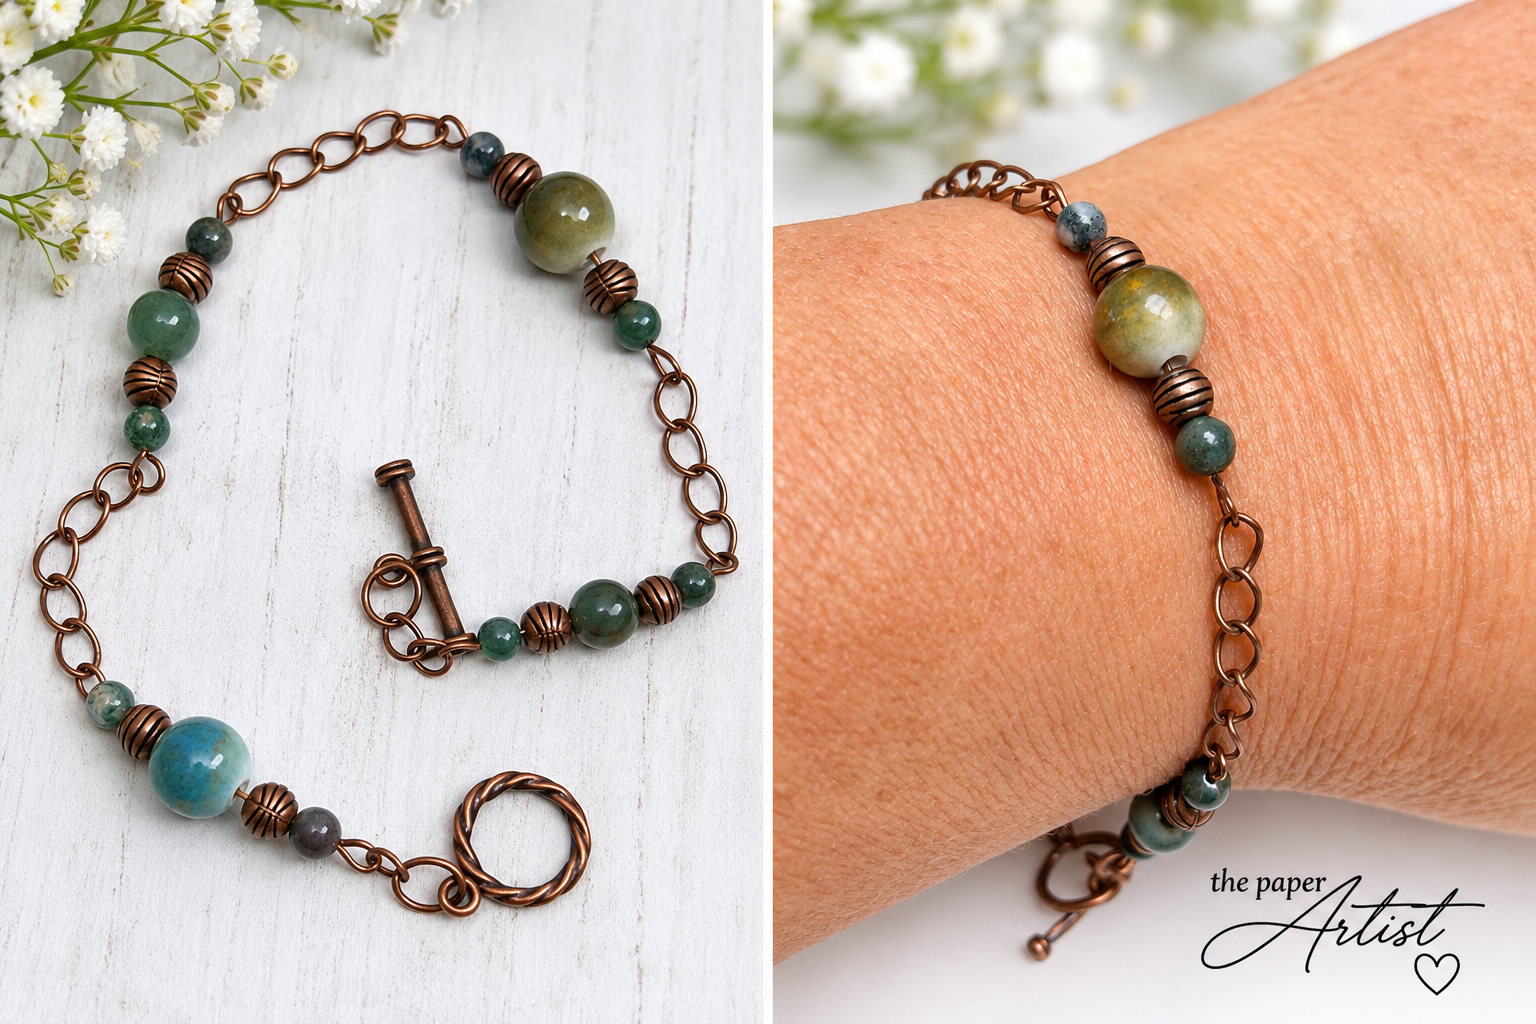
See how there are to many links between the beaded eye pins?
I finished the bracelet, admired it for a few minutes, and slipped it onto my wrist.
Well.
Apparently, I'd designed a bracelet for someone with considerably larger wrists than mine.
It was too long.
Not just a little too long, either.
I'd been so pleased with the idea of connecting those pretty beaded sections with chain that I hadn't paid enough attention to how much length those little links were adding.
And they were adding up!
Now, I could have conveniently skipped this part of the story and shown you only the beautiful finished bracelet.
But where's the fun in that?
Besides, I think it's important to show that handmade projects don't always turn out perfectly on the first attempt.
Sometimes you need to make adjustments.
Sometimes you need to start over.
And sometimes you simply need to admit that you've been a little too generous with the chain.
Fortunately, this was an easy fix.
I went back to the craft table, removed some of the links between the beaded eye pin sections, and shortened the bracelet without changing the overall design.
A little adjustment here, a little adjustment there, and suddenly everything looked much better.
Imagine that.
A bracelet that actually fits!
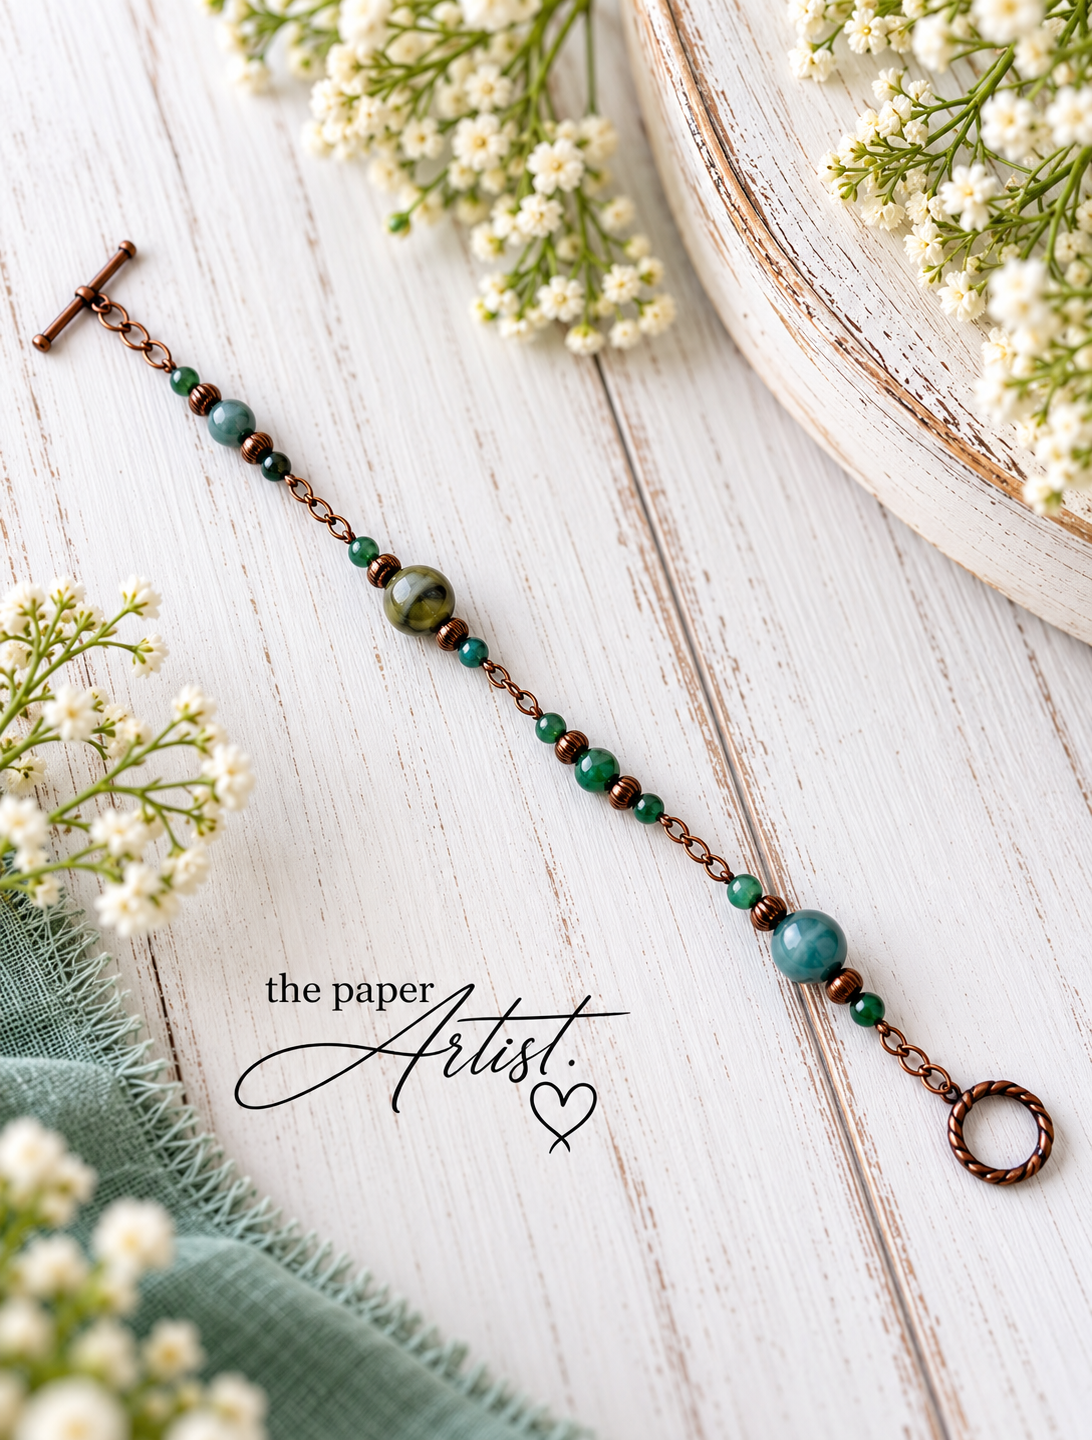
After Adjusting the Link sections.
A Little Tip From My Craft Table
If you're making a bracelet using individual beaded sections connected by chain, keep an eye on the total length as you work.
Those little chain links might not look like much individually, but they add up quickly.
Here are a few things I learned along the way:
Measure as you go. Lay your bracelet beside a ruler or measuring tape before attaching the clasp.
Keep your spacing consistent. Using similar lengths of chain between the beaded sections gives the bracelet a more balanced appearance.
Allow for the clasp. Toggle clasps contribute to the finished length, too.
Try it on before calling it finished. What looks perfect lying on the table might feel quite different around your wrist.
Don't be afraid to make adjustments. Removing a few chain links can make all the difference.
And perhaps the most important lesson?
You don't always need to change your design when something isn't working. Sometimes you just need to adjust the proportions.
The Finished Bracelet — And I Love It!
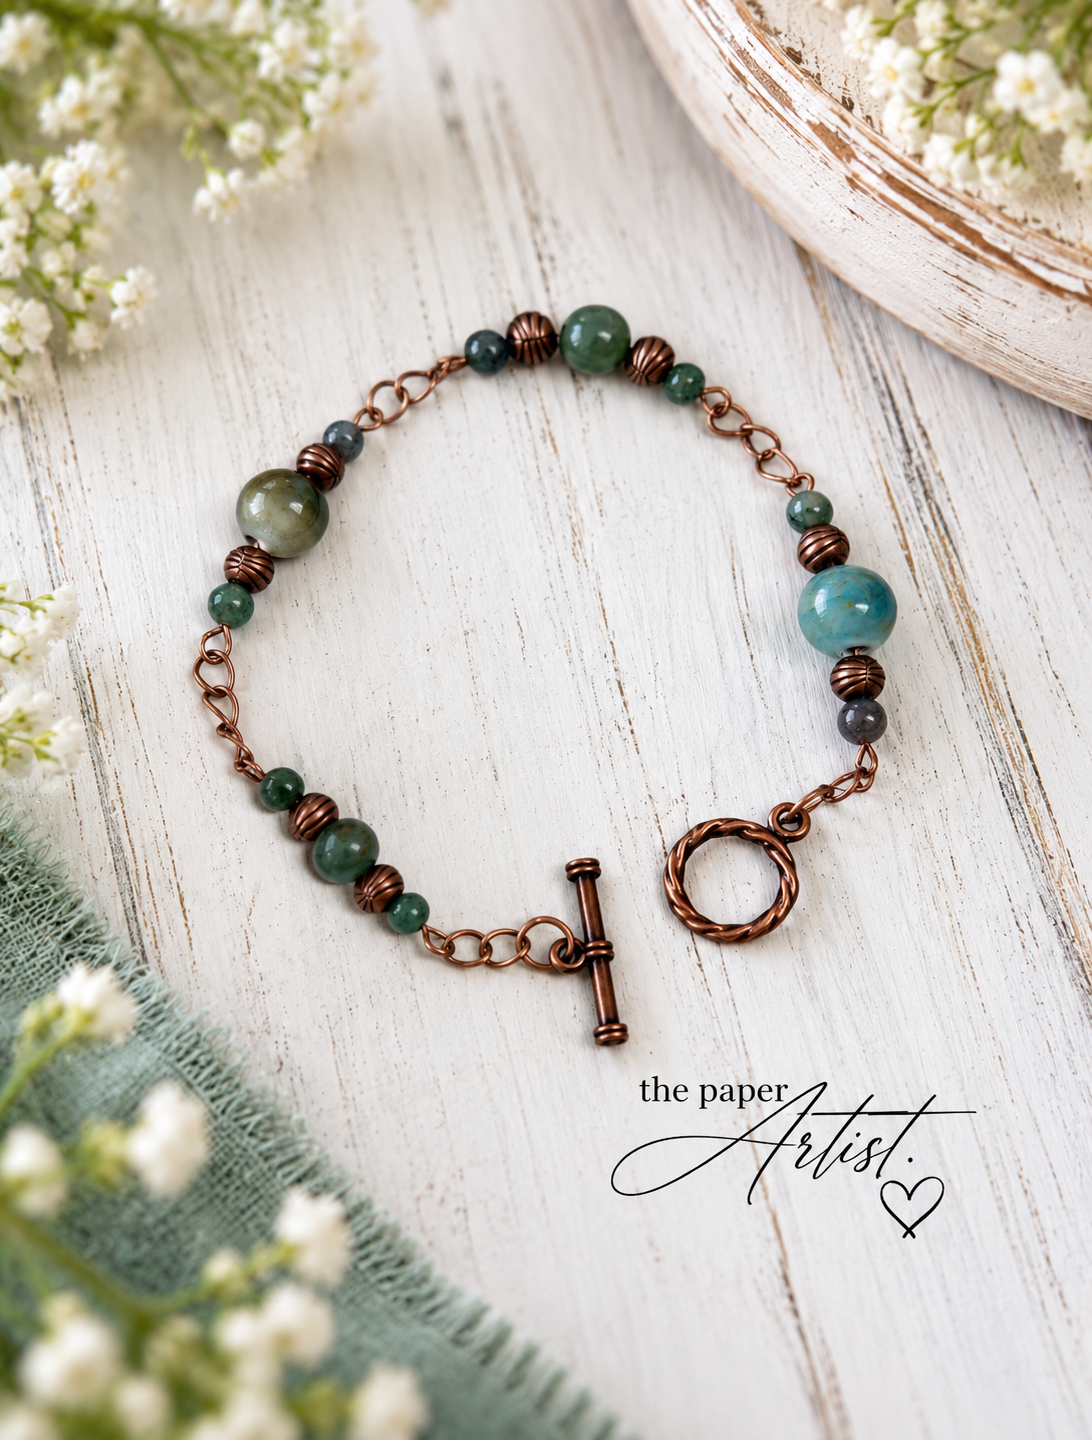
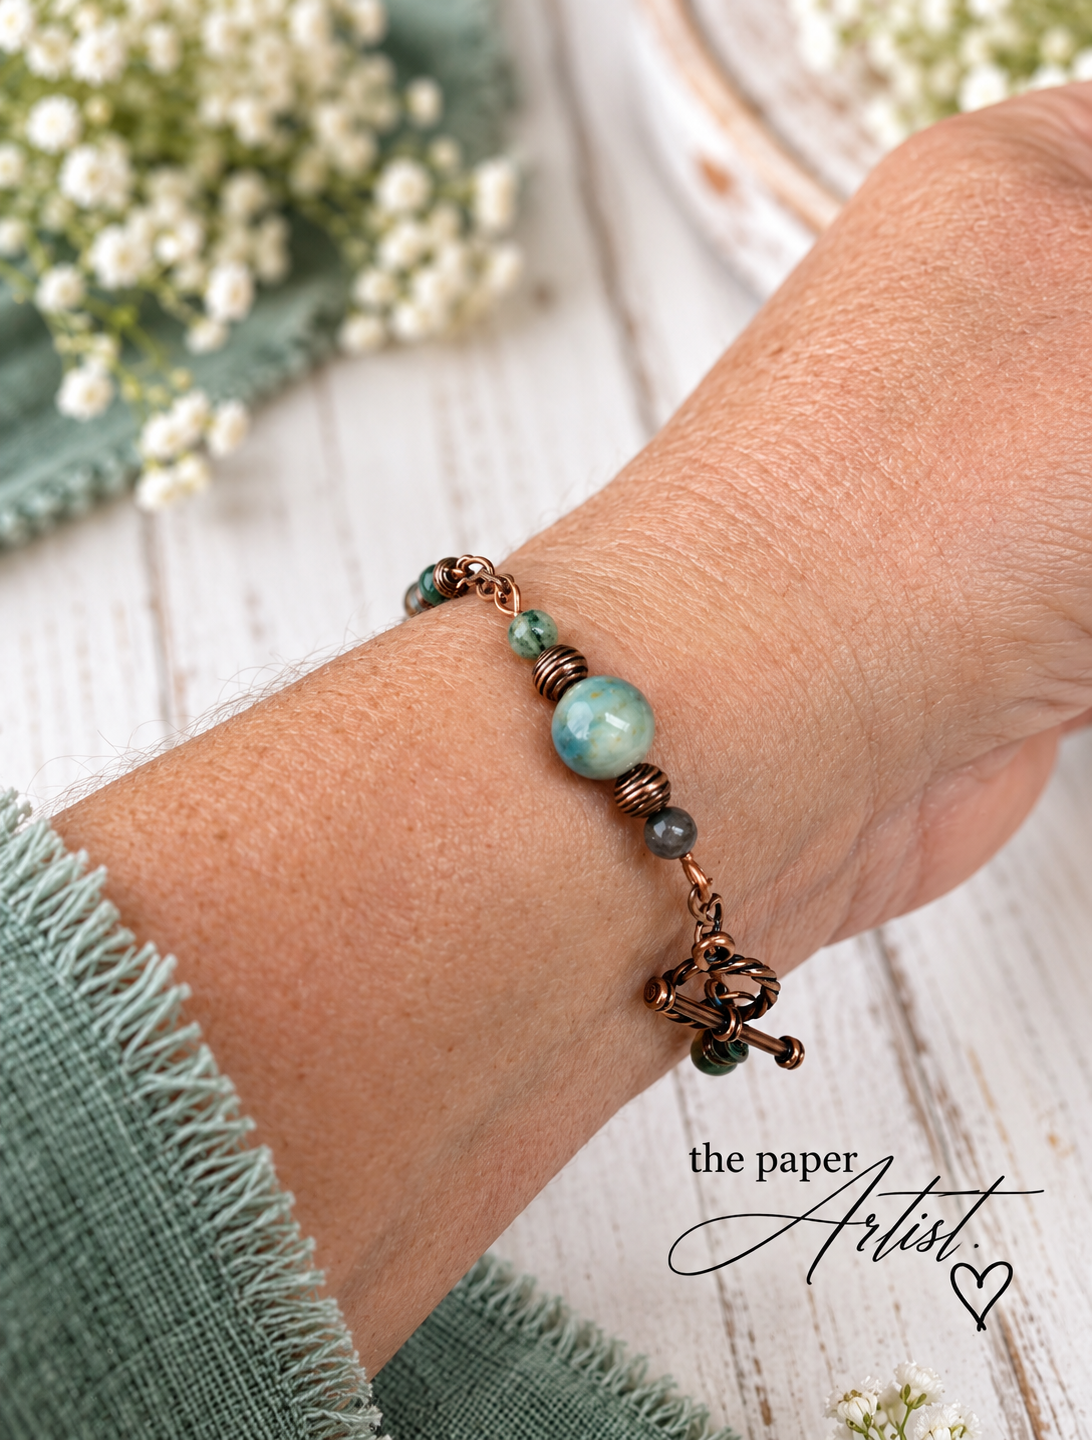
Once I'd shortened those chain sections, I was absolutely delighted with the result.
I love the combination of the green and blue beads with the warm copper-colored findings.
The chain gives the bracelet a delicate, slightly vintage feel, while the toggle clasp adds a lovely decorative touch.
And there's something especially satisfying about creating a piece of jewelry using supplies that have been tucked away and forgotten for who knows how long.
This bracelet is quite different from the stretchy bracelets I've been making, and I think that's part of why I enjoyed the project so much.
I tried something new.
I made a mistake.
I fixed it.
And I ended up with something I'm genuinely proud of.
Not a bad afternoon at the craft table!
Sometimes You Just Have to Give It a Try
One of the things I love most about crafting is that there's always something new to learn.
It doesn't matter how many cards, bracelets, notebooks, or other little creations I've made. There's always another technique waiting to be explored.
And sometimes the inspiration doesn't come from a tutorial, a Pinterest board, or a carefully planned project.
Sometimes it comes from opening a drawer and discovering a mystery box.
So, if you've got a few forgotten supplies tucked away somewhere, perhaps it's time to dig them out.
You never know what you might create.
And if your first attempt doesn't turn out quite the way you imagined?
Well, welcome to the club.
We've got coffee, craft supplies, and apparently a few extra chain links.
Now tell me, have you ever rediscovered forgotten craft supplies and turned them into something wonderful? Or do you have a mystery box of your own hiding somewhere?
I'd love to hear about it!
Coffee in hand & something always on the craft table,
Julie — The Paper Artist
