
Girls With Attitude - Birthday Card
Little Girls, Big Attitude… Big Eyelashes!!
These little girls with a big attitude and playful big lashes have made their way onto another card front today.
This card features a fun fold layout which only gives this little miss even more sass!

The card layout is a faux step card and I’ll get into the measurements and how to for that in just a quick minute - this layout is such a fun design and perfect anytime you are working with an image that might be narrow and tall, though you could use this design with any image, it really adds “uummphhh” to a long slender image.
I had chosen an image from Polka Doodles Rebel Collection, I had printed it a few days ago as an image that I wanted to work with and since forgot what I had planned for it other than a birthday theme. And yes…I truly forgot it’s intended purpose - busy life or old age, I’m not sure… however it happened.
That being said.. the image was there sitting before me on my desk as I thought “hmm.. how am I going to make this image into a memorable card?”
When a sudden thought came into my head and I remembered a tutorial I had done a quite some time ago, like a few years back even. Not only had I done this tutorial once, but actually 4 or 5 times using different images when I was a Stampin’ Up demonstrator. So I searched back through my tutorials since I could grasp the basic concept of the card fold however the exact measurements were completely lost to me. I ended up finding it on a post in a previous blog that I had that still lives, but is not the blog I use today.
Perfect… I found the measurements and still ended up adjusting them just a bit.
Often we do that… change up measurements because they better suit the intent and purpose in the moment.
So all of the above was the process to get to the layout for this card. The layout, I still had to figure out the design, colors and all that goes with.
So… as I said above, the image itself was from Polka Doodle - I’ll link the image below and the link for the background paper since I ended up using a digital paper from Polka Doodle as well.

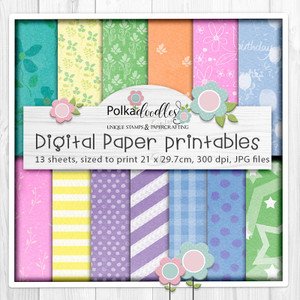
Aren’t these just gorgeous papers?!
I can’t even express how much I love all of the digital papers available from Polka Doodles! There is just always something that will make my projects just perfect!! They are so easy to download, I only need to print what I need, when I see a design that is just right - poof it’s just magically there and ready to work with! I love it!
So up there.. in the top right corner of this paper pack is the piece of paper that I used to create this card.
It was already printed and lingering on my desk from another project that I had chosen 2 papers for and only ended up using one. Since I like to use up what I have printed and sitting on my desk that pretty much made the paper choice for me. It’s a Sunday afternoon and I just want to create and not put a lot of thought into what I’m creating this card with - you know like I do on a Tuesday!
Given that I’ve now chosen the pattern paper for this card which happens to be pretty much blue… that then tells me that there are definitely going to be some other blue elements to the design of this card.
Which led to the coloring of the image. So blue… ok I colored all of this sassy little girls clothing components blue.

“Hmmm” the clothing is blue, the pattern paper is blue - I’m going to need another player on this card as far as color goes! The flower on her hat will need to be something other than the color blue.
Pink?! No, pink would clash with her skin tone. I know.. let’s try yellow… yellow looked completely out of place. But now that I have yellow on the flower what can I change it to that will work over the yellow?
Orange it is!! And orange was the perfect choice! I think - what do you think?? Let me know in the comments below.
I fussy cut this sassy little chic out and adhered it to the card front. The image does come with a cutting file for cutting machines, it’s just easier for me to fussy cut a small image. She is popped up with foam tape onto the card.
The orange flower looked beautiful, however to balance this card out it was going to need some other elements of orange. So birthday… hmmm… balloons. I grabbed a random balloon die cut from a stack on my desk cut out 4 balloons using white cardstock. I colored 2 in orange and used the remaining 2 white ones ( after cutting off the balloon strings ) as a highlight behind the colored balloons, also as some added stability for the balloons since they are hanging off of the popped out section of this card layout. I glued one down flat and used foam tape on the other one to create some dimension.
The Sentiment - “Birthday Girl” seemed perfect. This sentiment came from Polka Doodles - Rebel Messages with Attitude ( digital sentiments). This sentiment pack gives you 33 sentiments for 4 bucks!! That’s my kind of sentiments! Bold, sassy and affordable!

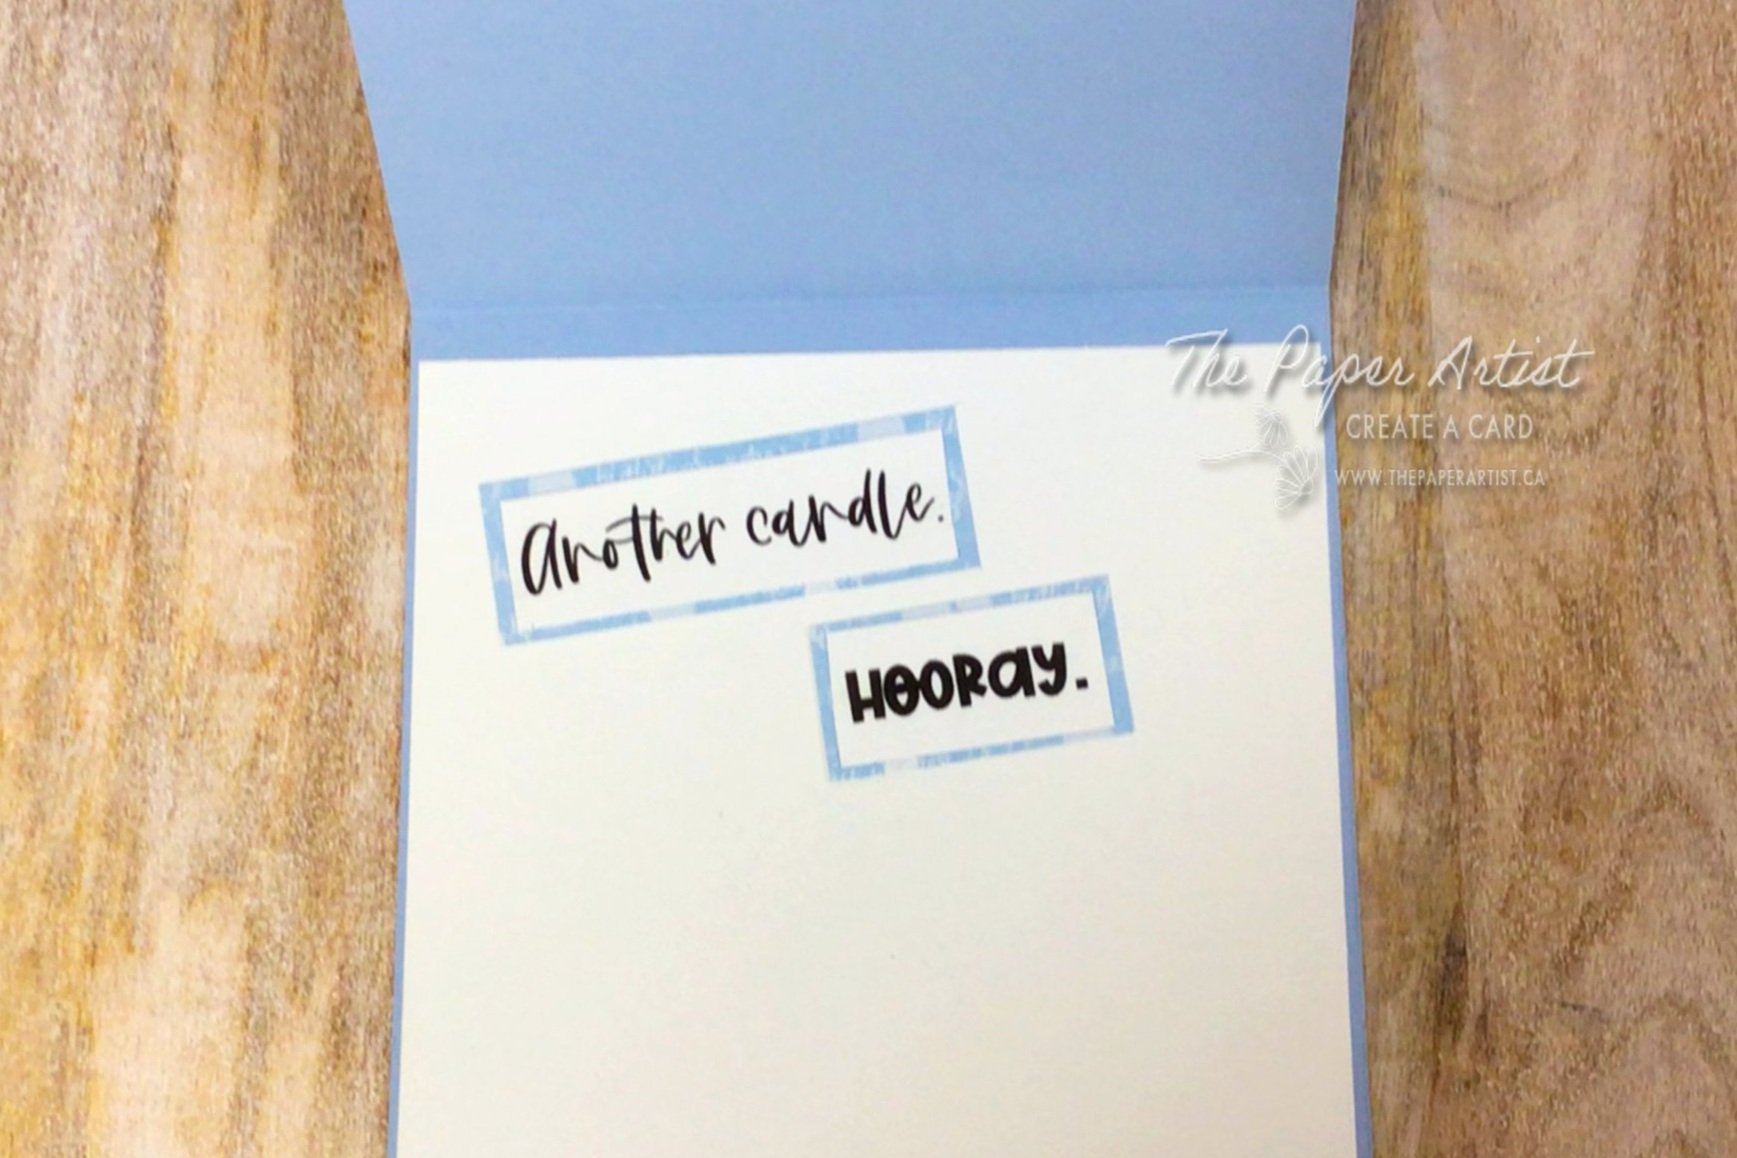
I chose “Another candle. Hooray.” for the card inside with a the tiny tid bit of paper that was left after creating the card front and just a slight touch of sarcasm.
The math on that project was genius!!
I added a few orange colored sequins that were floating around in my stash… and by floating I mean rustling around in a drawer being overlooked every time I searched for just the perfect bling to finish off a card.
I added a few details to the image and balloons with a white gel pen and glitter pen to the flower and balloons… and I was left with a beautiful card I can send off to some little chic with a big attitude on her birthday.

Or perhaps the card will land in the Card Shoppe for someone to purchase for some sassy little rebel gal.
If you have not been to the Card Shoppe it lives in the top right corner of every page on this website or you can click the link here.
Even if you are not looking to purchase greeting cards, but you love to make them - it’s where I post my slightly loved stamps, dies and papercraft products. I have a huge sale coming up on used product. So watch for that!
The Moment you have been waiting for…
Measurements for the Faux Step Card Layout:
Cardstock - 4 1/4 x 11 Scored @41/2, 9,10
Cardstock - 8 1/2 x 2 1/2 Scored @3
White Cardstock - 2 3/8 x 4 7/8
White Cardstock - 4 3/8 x 4 1/8 ( card inside )
Pattern Paper - 2 1/4 x 4 3/4
2 @ 7/8 inch x 4 1/2
If you have any questions about this card, how to put the layout together, or the products - just pop a message in the comments below and I’ll be happy to get back to you.