
Apparently, even notebooks need jewelry!
If you read my recent post about my two handmade Christmas notebooks, you'll remember that I finished them with pretty patterned papers, pockets, tags, and plenty of little details.
Or at least I thought I had finished them.
But there they sat on my craft table, looking all festive and adorable, and I couldn't help thinking they needed just one more thing.
A little jewelry!
Because apparently, making the notebooks themselves wasn't enough. Now I was going to accessorize them.
And since I already had the beads, findings, and a perfectly good excuse to spend more time at my craft table, why not?
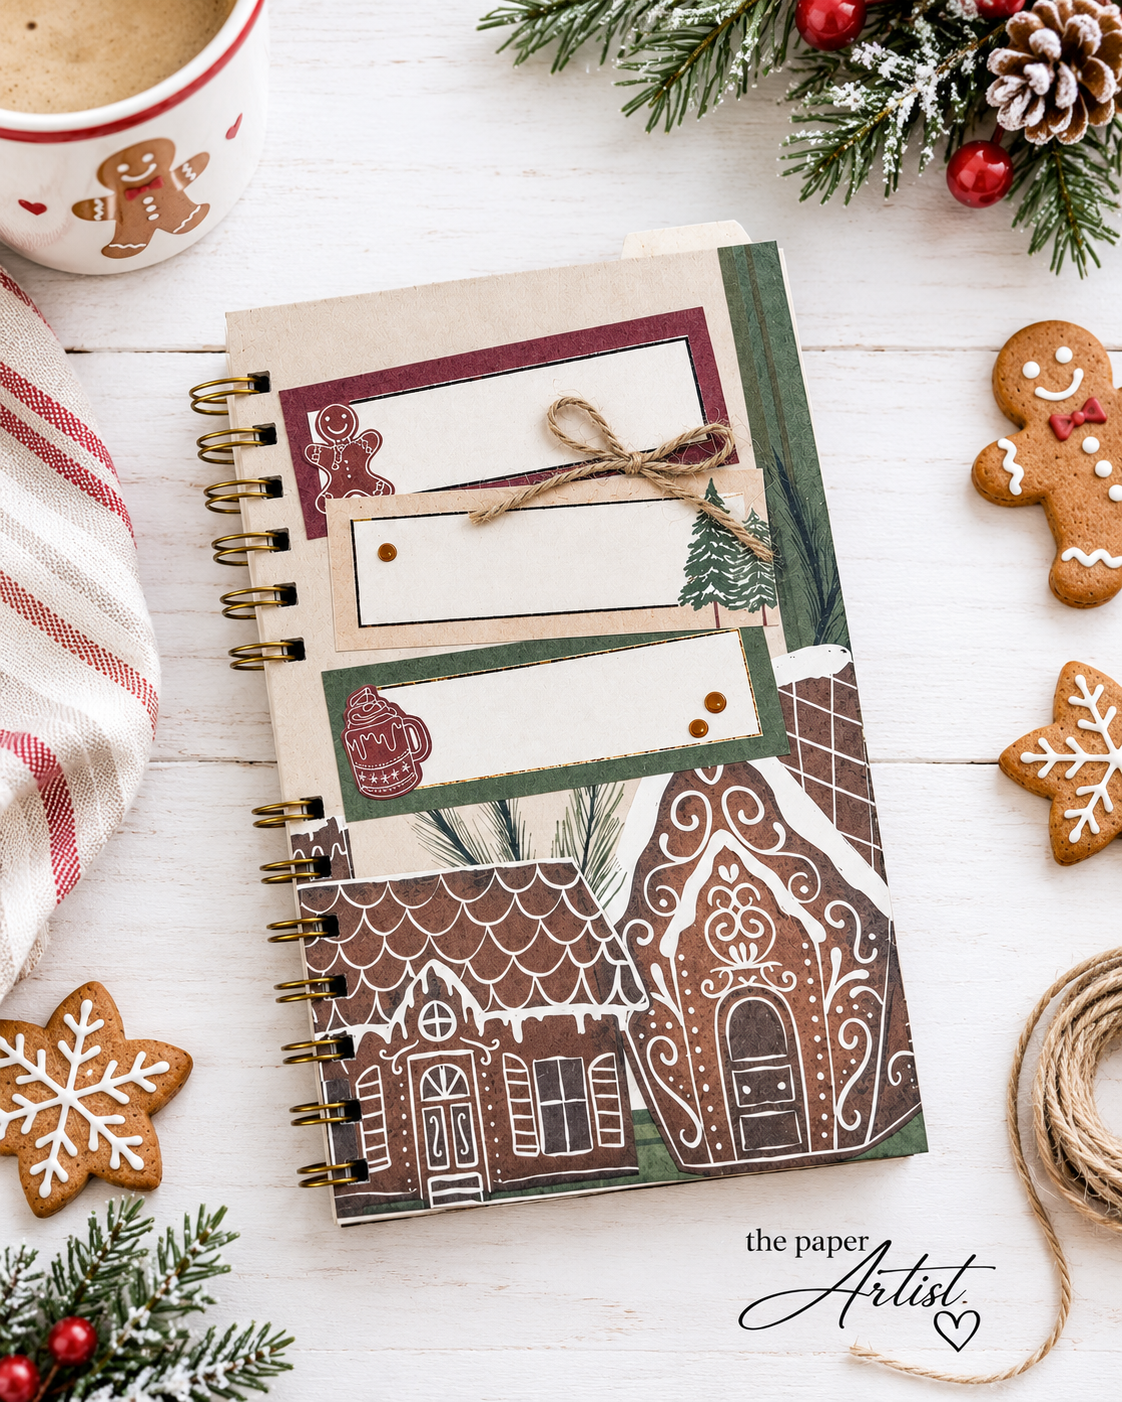
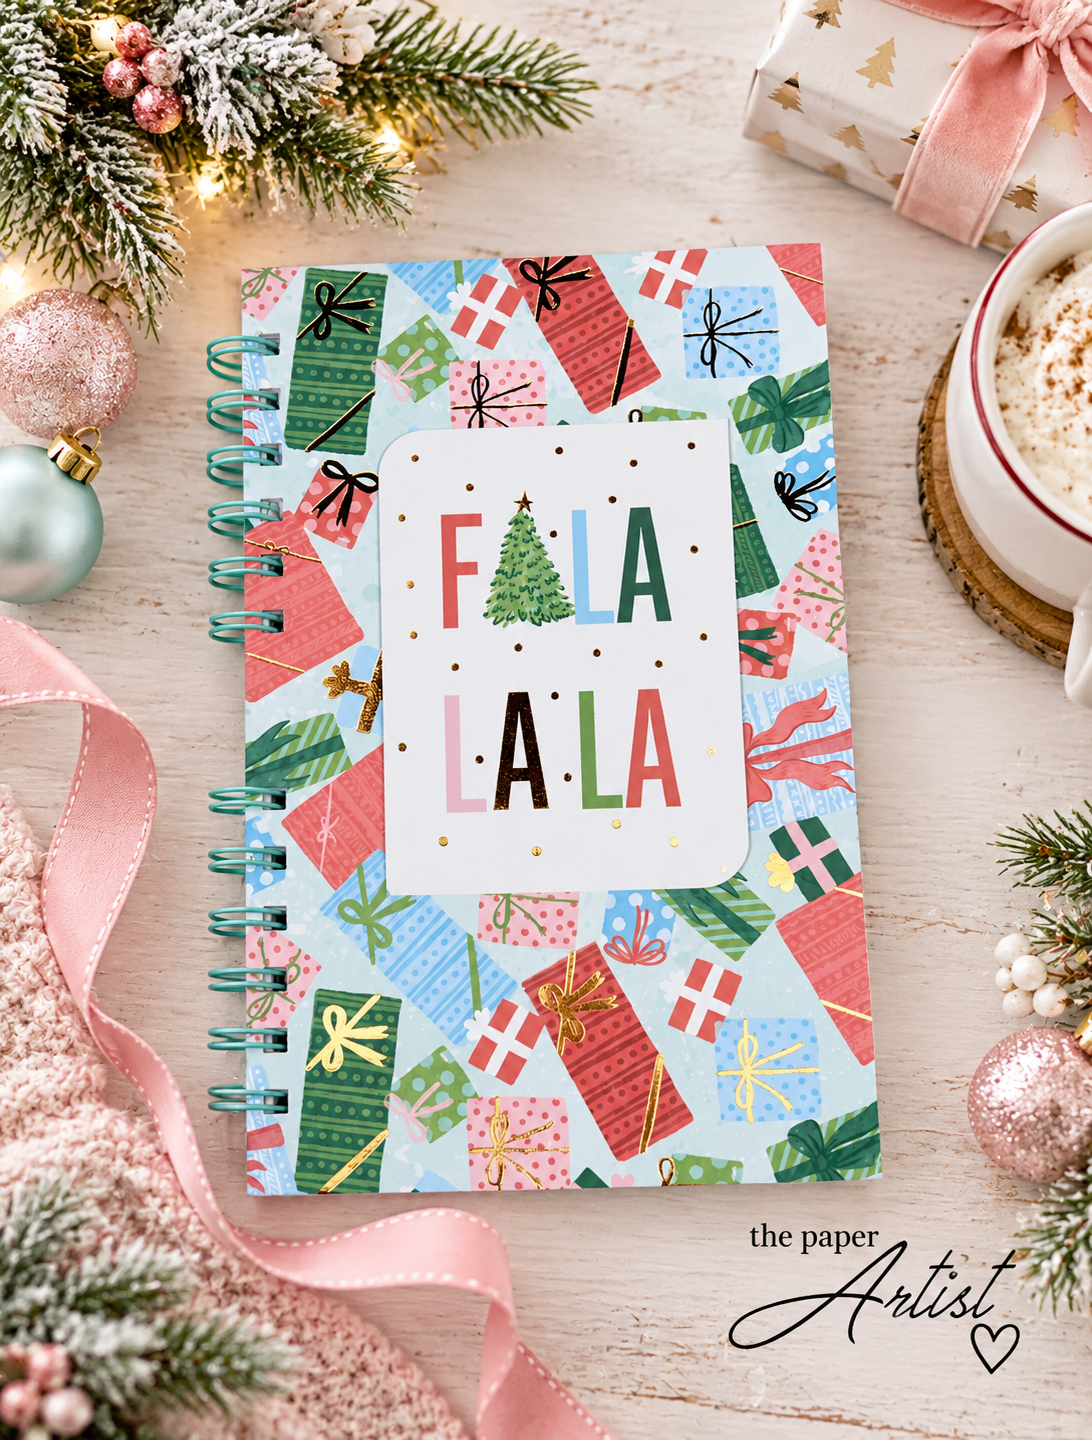
Two Notebooks, Two Very Different Personalities
The first notebook has a traditional gingerbread Christmas theme, with warm browns, rich greens, and a lovely vintage feel.
The second is all about cheerful pastel Christmas colors, pretty presents, and a little Fa La La holiday happiness.
I wanted each notebook charm to complement its design without looking exactly like the other.
And interestingly enough, I approached choosing the beads for each one a little differently.
The Gingerbread Notebook: Starting With the Star of the Show
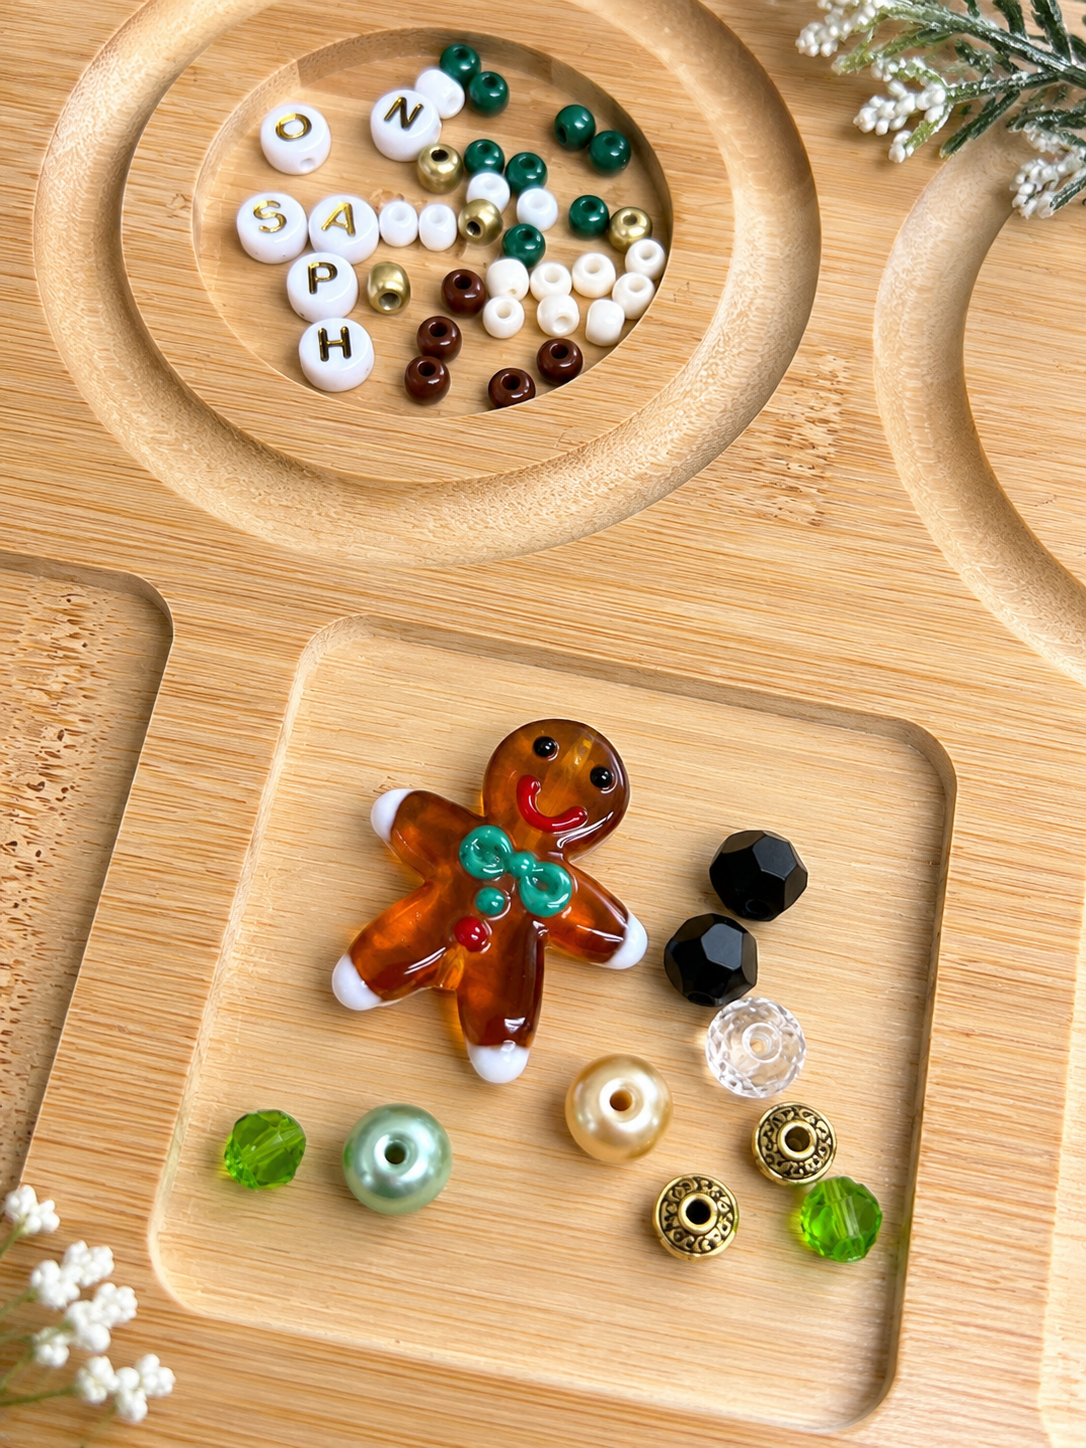
For this charm, I already knew exactly where I wanted to start.
That adorable little gingerbread man!
He was just begging to be turned into a charm, so I used a head pin to give him a loop for attaching to the rest of the design.
With my little gingerbread fellow ready to go, I started choosing beads that coordinated with the notebook.
I pulled together warm browns, creamy whites, greens, a little black, and touches of gold.
I also wanted to add some personality with letter beads.
And what better thing for a gingerbread man to say than:
OH SNAP!
Honestly, sometimes the beads practically write their own jokes.
I arranged everything on my bead board first, playing with the order and spacing until I liked the combination.
This is one of my favorite parts of making charms. Nothing is permanent yet, so I can move beads around, change my mind, and decide that something needs just one more little gold accent.
Or three.
The Fa La La Notebook: Letting the Paper Choose the Beads
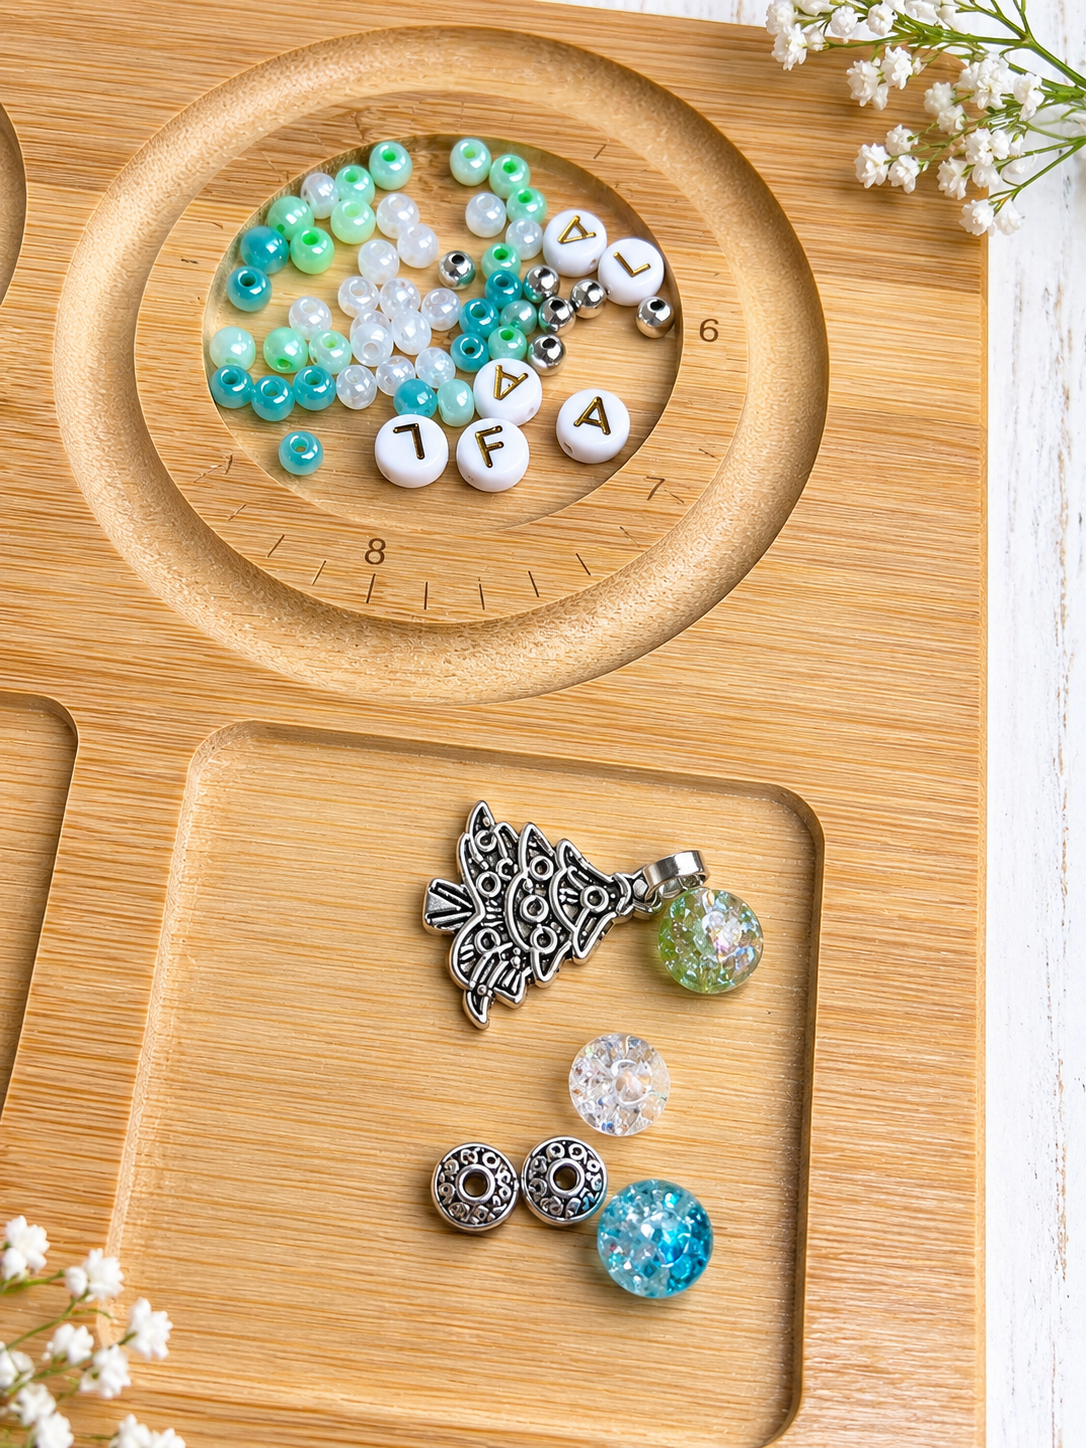
For the second notebook, I took the opposite approach.
Instead of starting with a focal charm, I started with the colors of the patterned paper.
The notebook has such pretty pastel shades that I wanted the beads to carry that same cheerful Christmas feeling.
I selected soft aqua, mint, white, and iridescent beads, then added metallic accents in gold and silver.
I also had a lovely little Christmas tree charm that seemed absolutely perfect for this project.
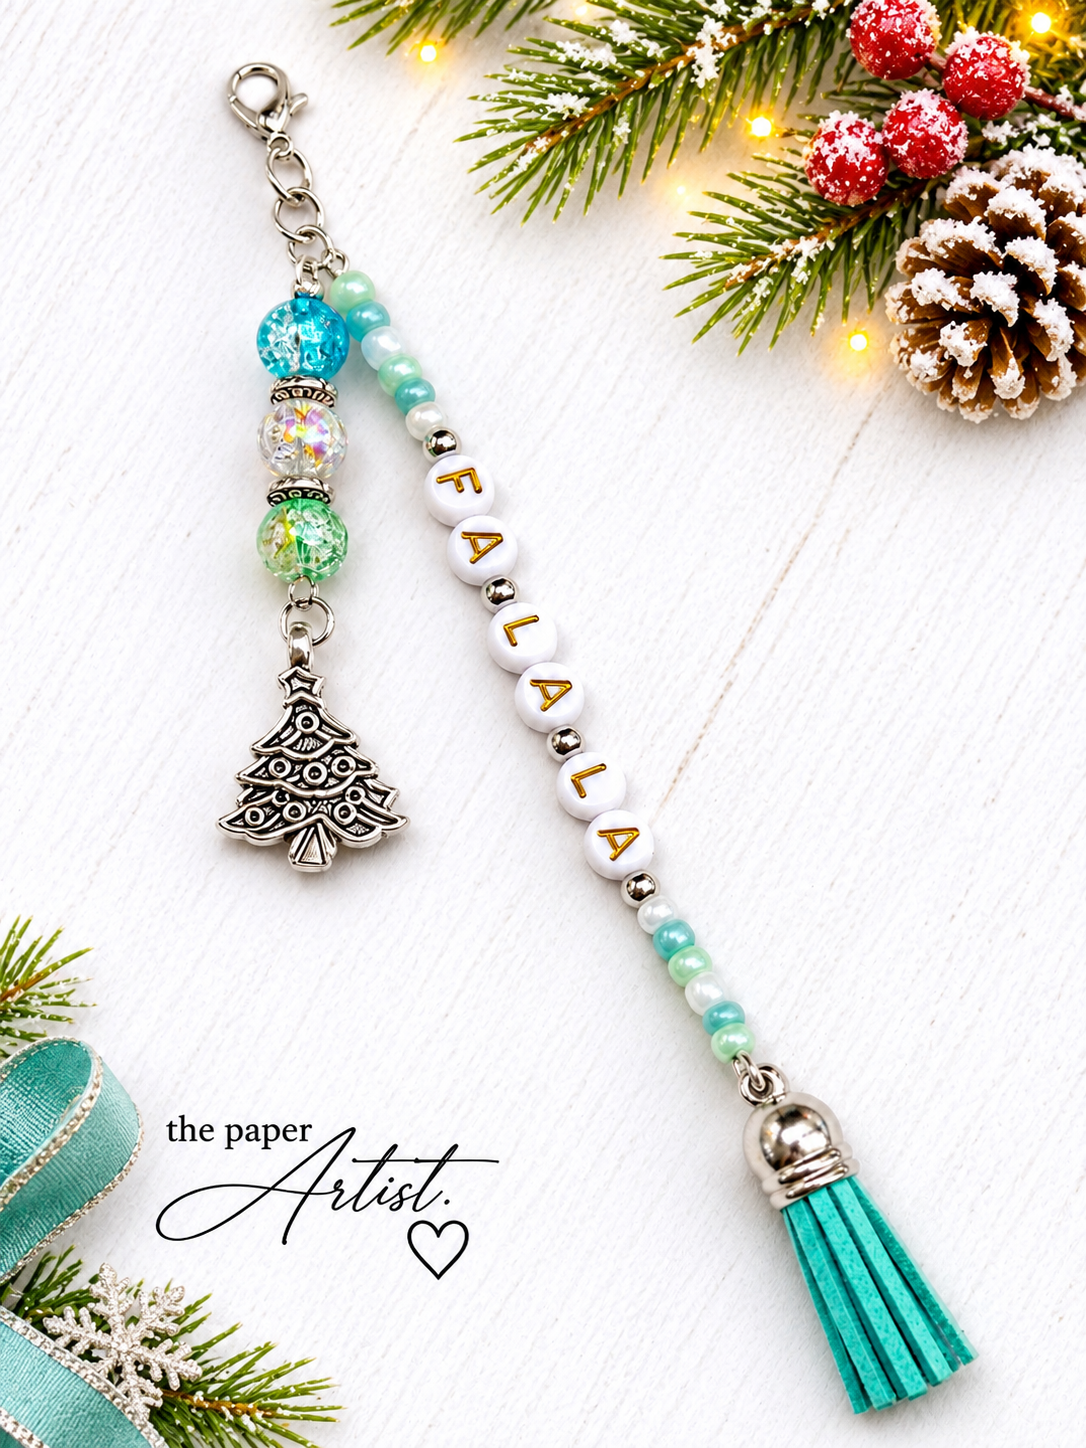
And since the notebook already had a Fa La La theme, it only made sense to spell out FA LA LA with letter beads.
A little turquoise tassel finished everything off.
The result is completely different from the gingerbread charm, but that's exactly what I wanted.
One is warm, traditional, and a little cheeky.
The other is light, playful, and full of pastel Christmas sparkle.
Making the Charms: Eye Pins, Head Pins, and Wire
Now for the actual construction!
Although the two charms look quite different, I used many of the same basic jewelry-making techniques for both.
The biggest difference was the length of the letter-bead sections.
Using Eye Pins for OH SNAP
For the gingerbread charm, I used eye pins to create the beaded sections.
Eye pins already have a loop at one end, making them handy for connecting sections of beads with jump rings.
I added my beads, formed a loop at the opposite end, and connected the sections to create the finished dangles.
The gingerbread man himself was attached using the loop I'd made with his head pin.
I like using separate sections because they give the charm a little movement without making it too long or complicated.
Why FA LA LA Needed a Different Approach
The Fa La La charm presented a slightly different challenge.
That longer section of letter beads was simply too long for an eye pin.
I could have divided the letters into three smaller sections, but I wasn't particularly interested in doing that.
Two sections? Fine.
Three sections? Suddenly my pretty little notebook charm starts resembling a train.
And I was making notebook jewelry, not assembling the Christmas Express!
Instead, I used a longer piece of jewelry wire for the letter-bead section.
That allowed me to keep the arrangement I wanted without adding unnecessary connections.
Sometimes the beads decide which materials you're going to use!
Making the Loops: My Go-To Technique
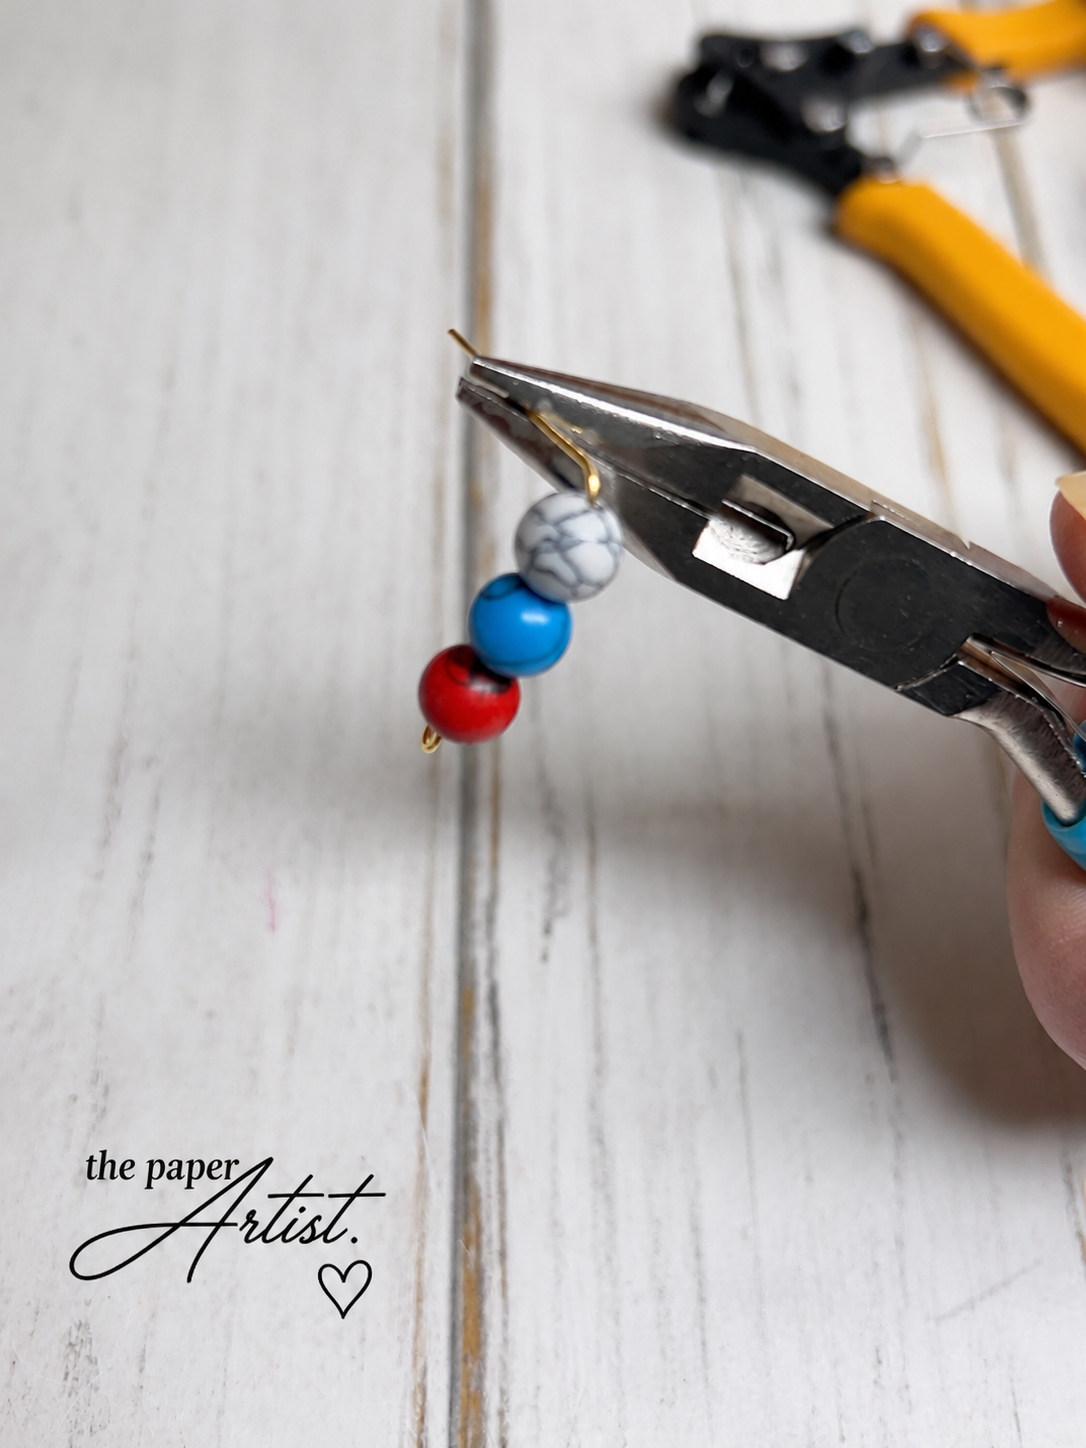
Whether I'm using a head pin, an eye pin, or a suitable piece of jewelry wire, I generally use the same technique to form my loops.
Here's how I do it:
Add the beads. Arrange the beads on the pin or wire in the order you've chosen.
Bend the wire over. Once the beads are in place, bend the exposed wire over on itself, just above the final bead.
Trim the wire. Cut the bent section to approximately ½ inch.
Form the loop. Using round-nose pliers, roll that ½-inch section back around to create a neat loop.
Check the finish. Make sure the loop is properly formed, the connection is secure, and the beads stay in place.
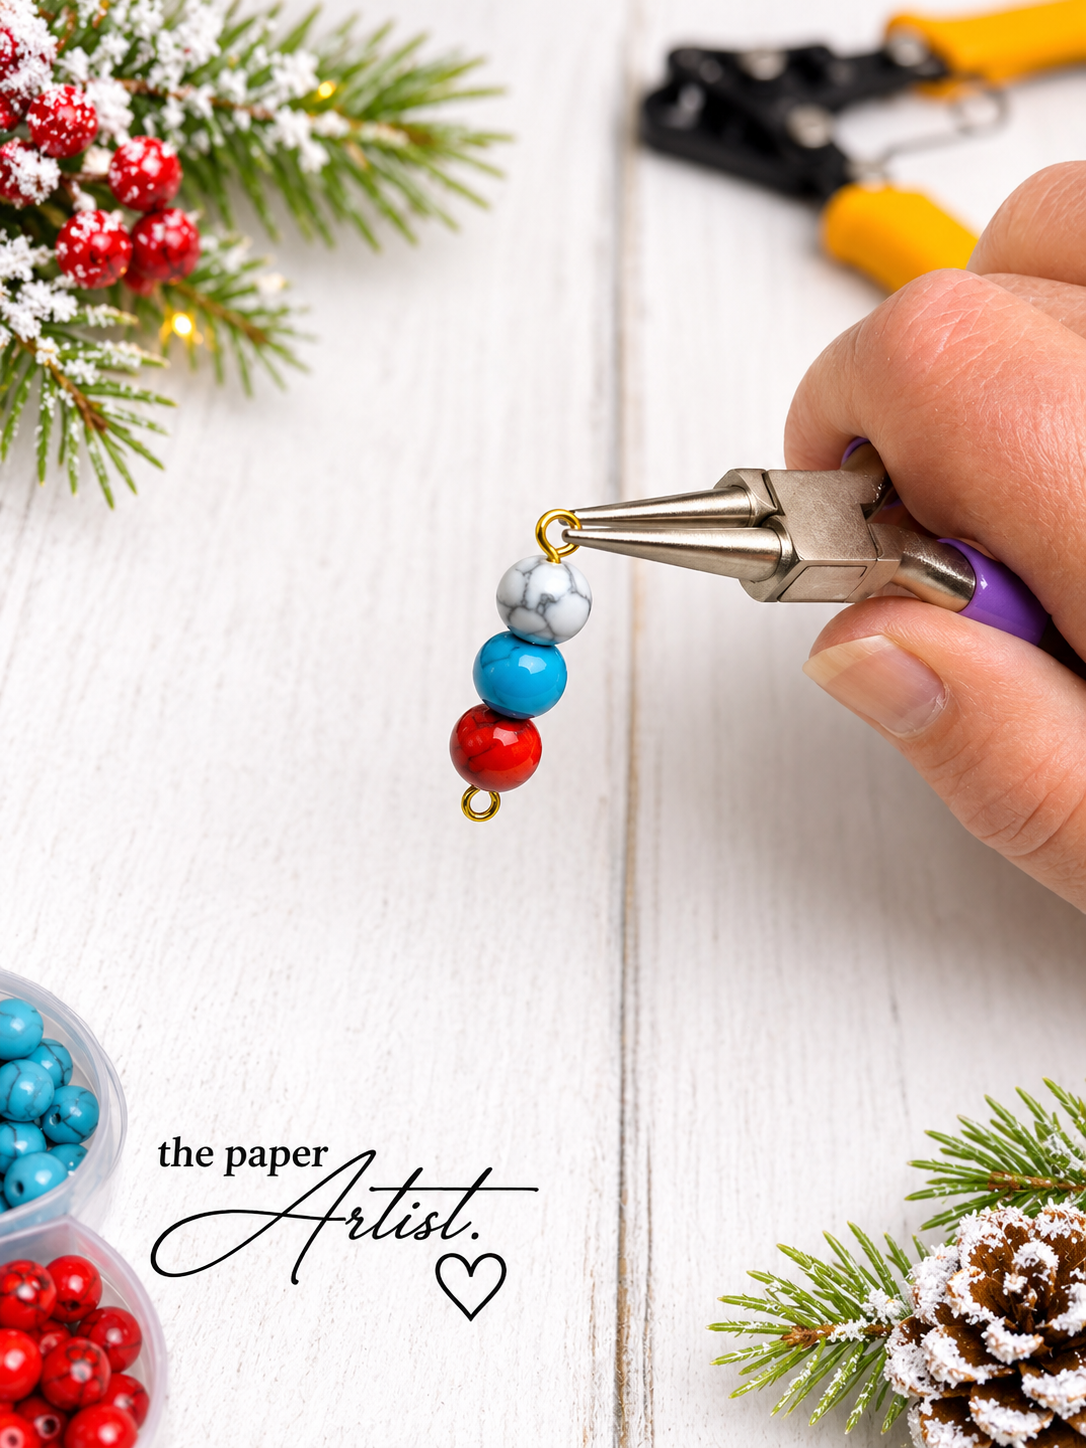
It's a technique I use regularly when making jewelry, and it works beautifully for these little charms.
The important thing is to choose wire that will hold a secure, formed loop. Very flexible beading cable generally requires a different finishing method, such as crimp beads.
Once my beaded sections were finished, I connected the components using the appropriate jewelry findings.
I added lobster clasps at the top so the charms could easily be attached to or removed from the notebook bindings.
And just like that, my notebooks had jewelry!
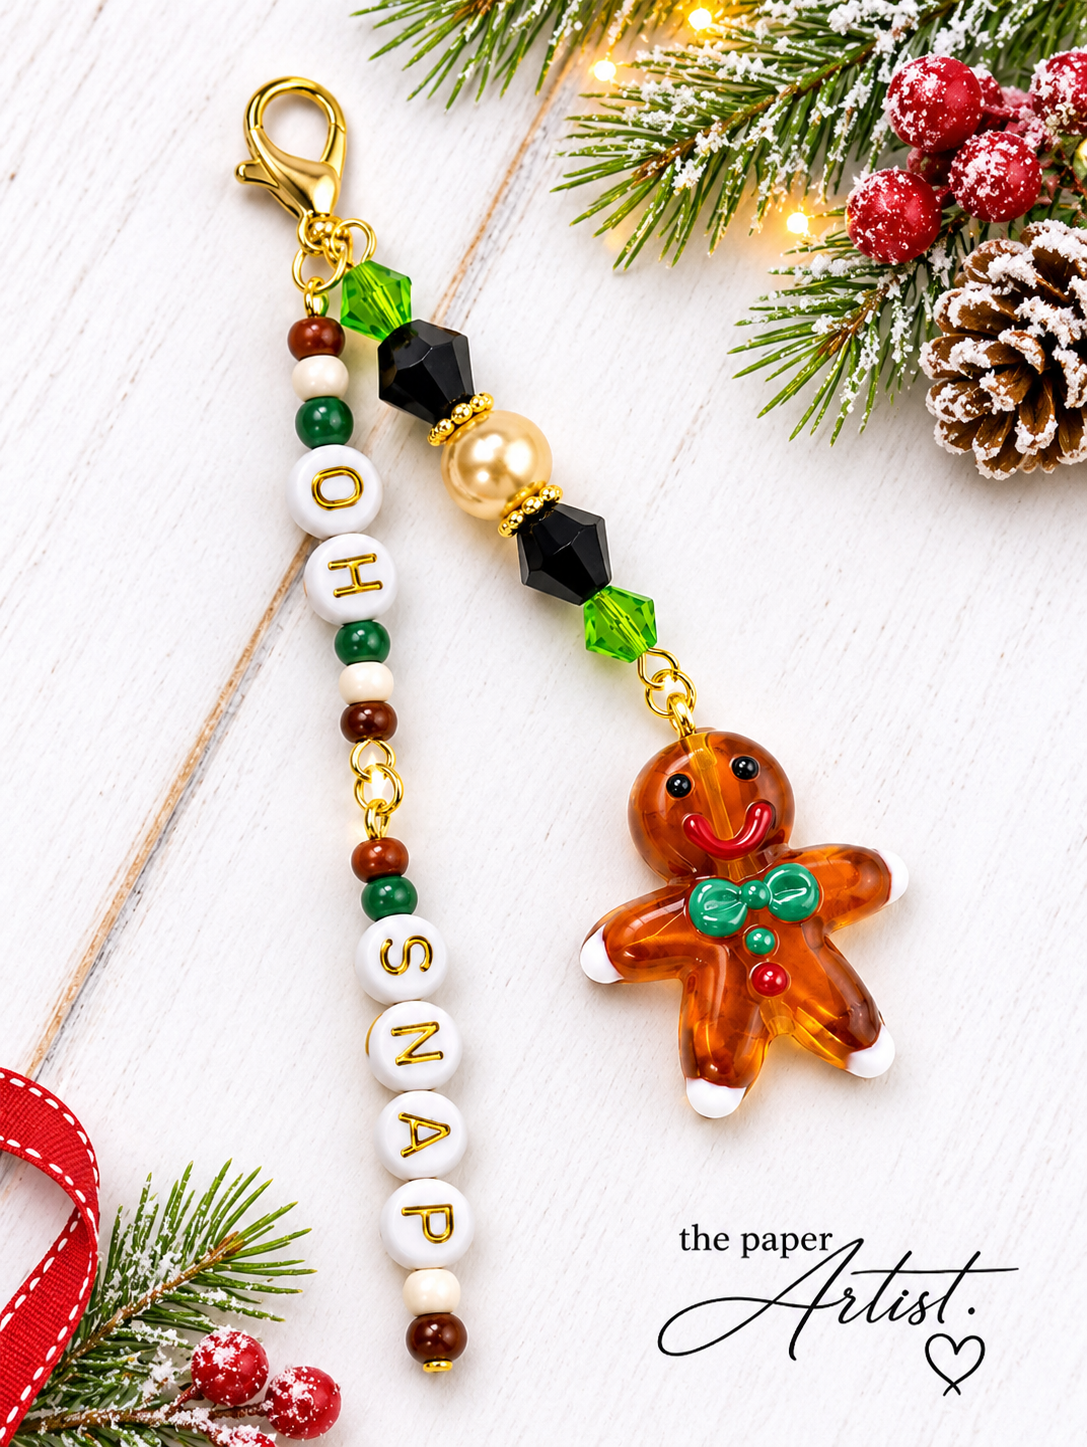
The Finished Gingerbread Notebook
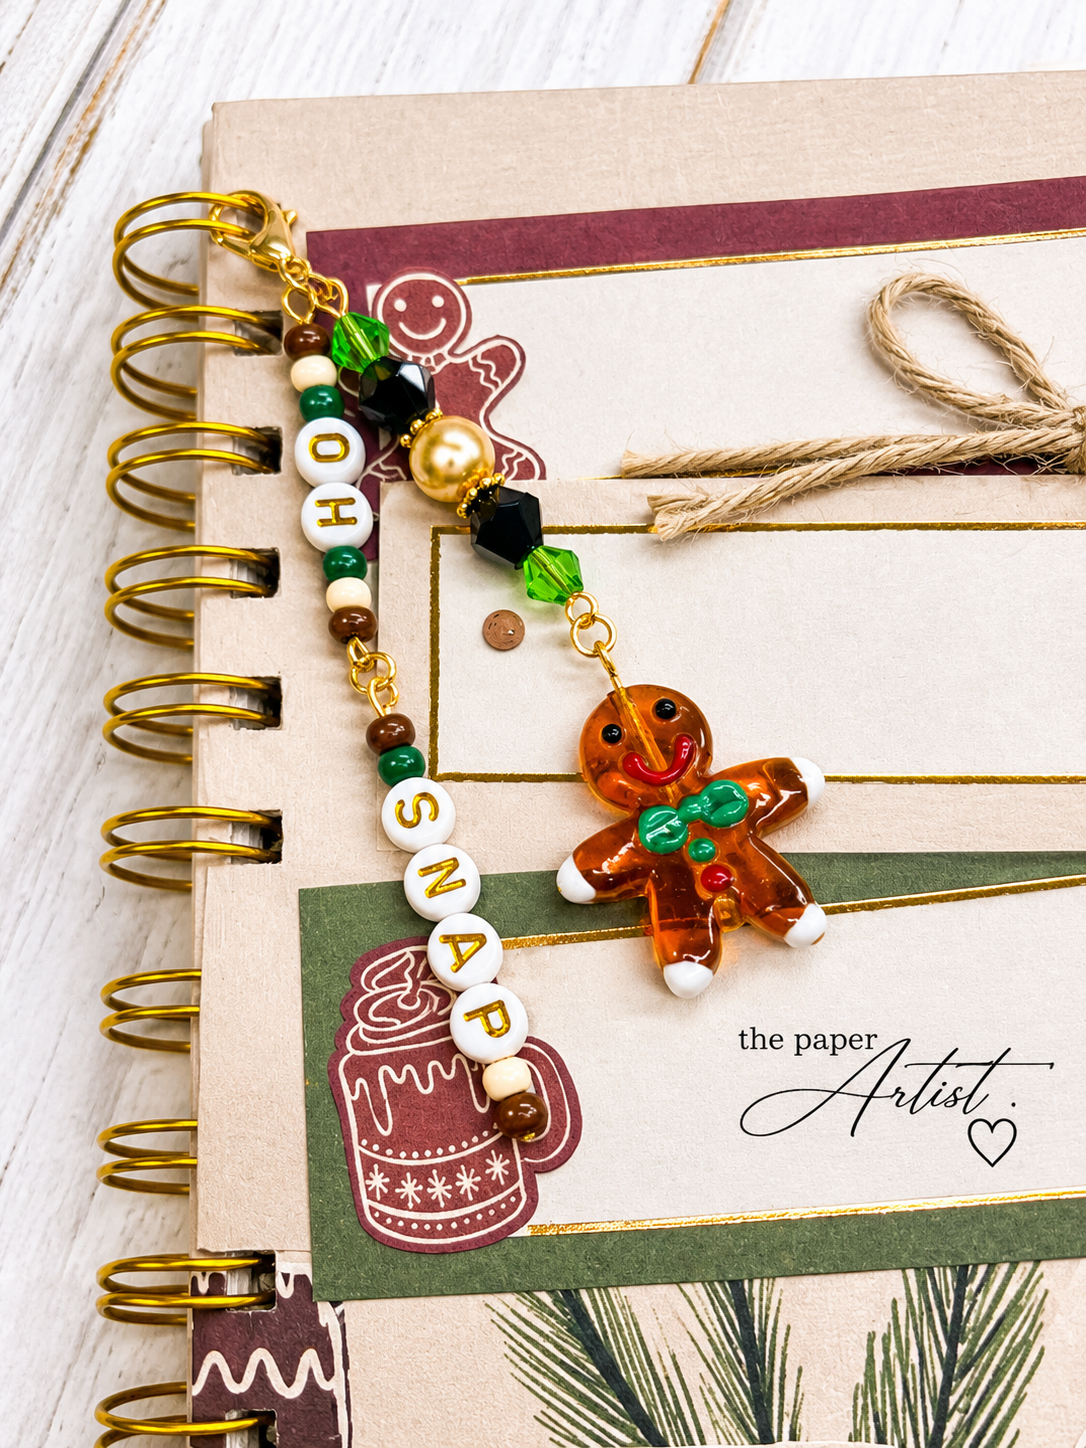
I absolutely love how the finished charm looks hanging from the notebook.
The gold findings complement the warm colors, and that little gingerbread man adds just the right amount of Christmas personality.
The OH SNAP letter beads are the finishing touch.
It's festive, a little funny, and definitely not something you'd find on an ordinary store-bought notebook.
The Finished Fa La La Notebook
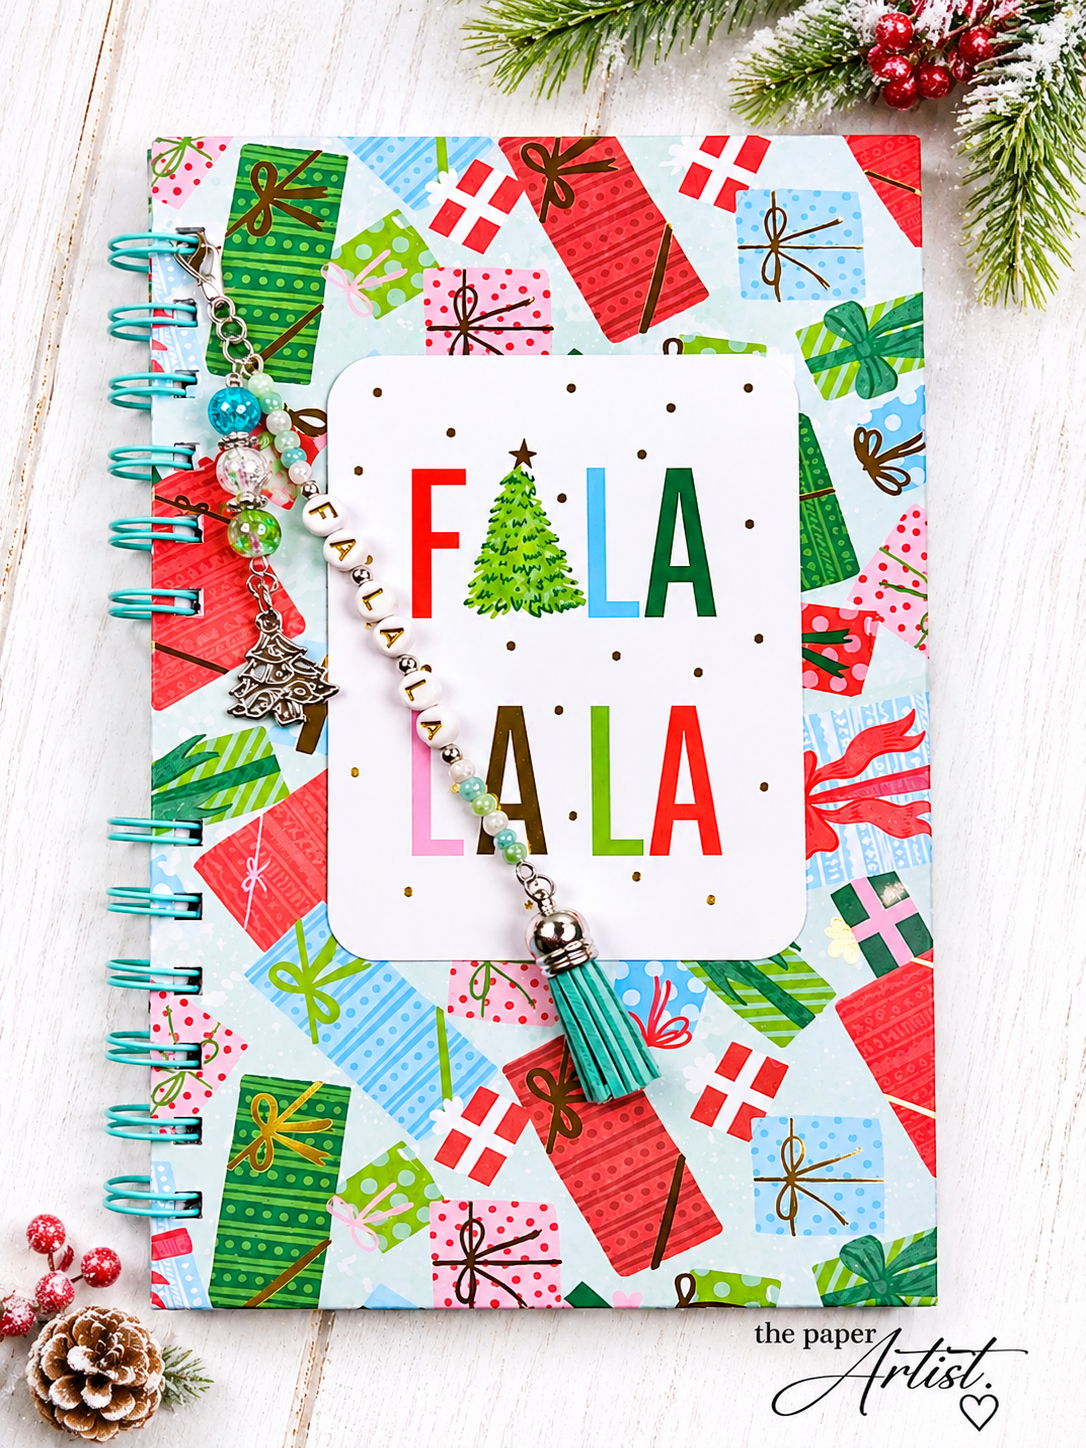
The second charm has a completely different look.
The pastel beads coordinate beautifully with the paper, while the little Christmas tree and turquoise tassel add movement and detail.
I especially like the combination of the letter beads with the larger decorative beads.
It feels cheerful and playful, just like the notebook itself.
A Few Things I Learned Along the Way
If you're thinking about making charms for your own notebooks, planners, journals, or handmade gifts, here are a few things worth considering.
Start with something you love. It might be a focal charm, a favorite bead, or simply the colors in your project. There's no rule that says you have to begin the same way every time.
Lay out your beads before assembling. A bead board makes it easy to experiment with combinations and lengths before committing to anything.
Consider the length of your design. Eye pins are wonderful for shorter sections, but longer arrangements may need a different approach.
Mix textures and sizes. Small seed beads, pearls, crystals, letter beads, and focal charms can all work together beautifully.
Think about how the charm will hang. You want it long enough to be decorative without getting in the way when the notebook is being used.
Make it removable. A lobster clasp is a handy addition because the charm can be moved, replaced, or even used somewhere else.
And finally, don't be afraid to give your projects a little personality.
Not everything has to be serious.
Sometimes a gingerbread man just needs to say OH SNAP!
One More Little Detail Makes All the Difference
I started with two handmade Christmas notebooks.
Then I added pockets, tags, and pretty little paper details.
And just when I thought they were finished, I decided they needed jewelry.
I'm beginning to think that the words “I'm finished” have absolutely no meaning in my craft room.
But that's part of the fun, isn't it?
A few beads, some wire, a little imagination, and suddenly an ordinary notebook becomes something even more personal.
These would make lovely little additions to handmade Christmas gifts, too. You could even create a charm to match the recipient's favorite colors or spell out a special word.
Now, if you'll excuse me, I have a craft table full of beads and a cup of coffee that probably needs reheating.
And possibly another notebook that looks a little underdressed.
Coffee in hand & something always on the craft table,
Julie — The Paper Artist
Missed the beginning of this little Christmas crafting adventure? Before these notebooks got their jewelry, they started as two handmade Christmas notebooks filled with pretty patterned papers, pockets, tags, and festive details. You can read the original Christmas notebook post here to see how the Gingerbread and Fa La La notebooks came together before I decided they needed a little extra sparkle!
