
A Card with Whimsy & Nostalgia
Remember blowing bubbles as a kid?
That carefree activity where joy knew no bounds! It's a simple pleasure—just you, a jar of soapy liquid, and a wand knotted with giggles. As you sat back, you watched those beautiful bubbles float up to the sky, each one a tiny world filled with color and dreams.
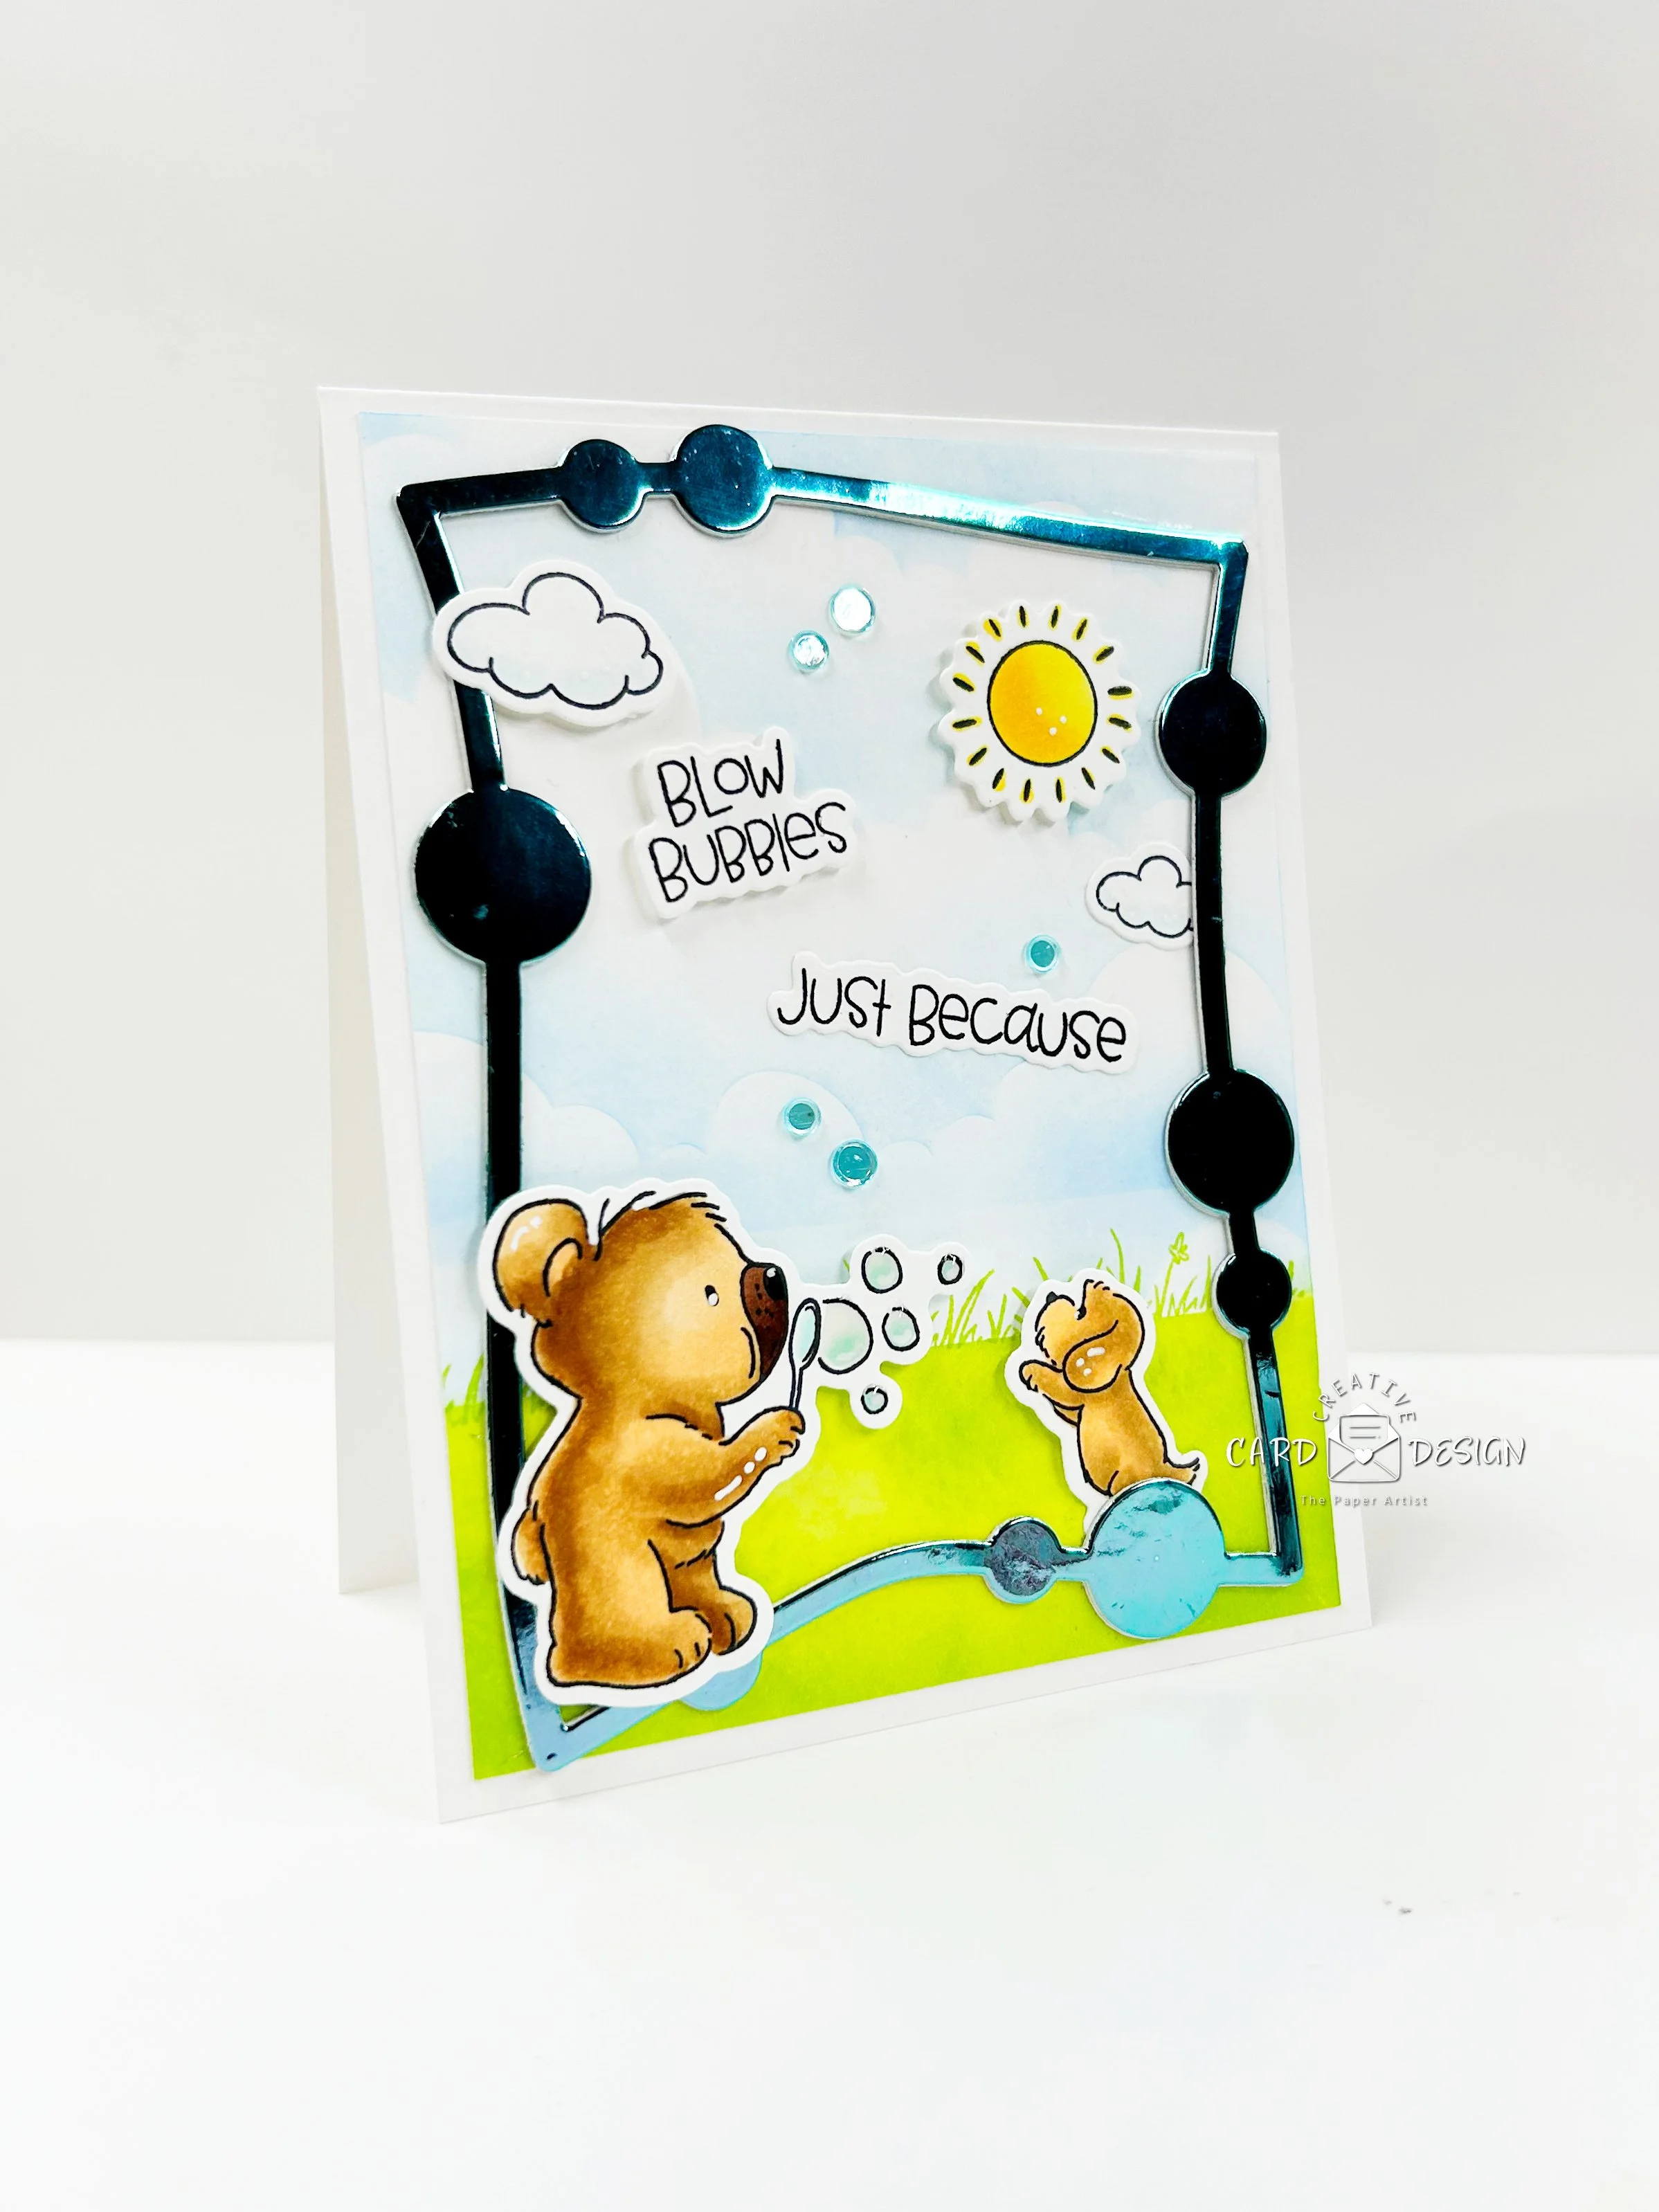
Today's card doesn’t disappoint! Featuring an adorable bear blowing bubbles alongside a playful pup who’s determined to catch every floating orb, this whimsical design perfectly captures the joy of carefree moments. The cheerful scene, a background of fluffy clouds and vibrant green grasses, framed by a whimsical die cut - invites smiles and nostalgic memories.
So Let’s Start with the Background:
Layer of cardstock cut at 4 x 5 1/4”.
Using a piece of mint tape or other masking material - block off the bottom quarter of the cardstock layer.
Use a simple cloud stencil It’s Cloudy paired with Broken China Distress Ink and a blending brush to create fluffy clouds onto the top 3/4 of the card layer.
To create the bottom section of the card: remove the mint tape and place it masking off the line where the clouds started. Using Twisted Citron Distress Ink and a clean blending brush blend the green ink into the bottom section of the cardstock layer.
Remove the tape.
Next: Grab the longest grass image from the Bear Bubbles Stamp Set & the green ink and stamp a grass line right across that line that is separating the green and the clouds. The little grass blades will be sticking up into the clouds. This looks so realistic!
Background finished!
Next:
Finally the part where we get to play with this super fun stamp set….

Stamp & Color the Bear blowing bubbles, the little dog, 2 clouds, the sun, as well as the 2 sentiments.
You can then fussy cut these images, however I highly recommend the coordinating die set Bear Bubbles Outline Die Set. I know, I rarely ever purchase a die set, however this one was a game changer. It reduced so much time when creating several of these images into different card designs. Plus, the dies also cut out all of the sentiments!
Now just while we are talking about the sentiments - though the images are completely adorable in this stamp set, it was actually the font of the sentiments that sold me. Yes… that fun, playful lettering! Love it!
Ok, so stamp, color & cut the desired images from the stamp set, and just sit them aside until we are ready for them to become part of this magical scene.
Next we are going to bring out the Weird-O Frame Die Set. Now I say set, as it has a little more to it than just a frame die, although today we are just using the die.

The die set has the Weirdo Frame as well as die that cuts out several sized circles and a frame that can be used around those circles/bubbles as well. This frame die set is sure going to be fun for Halloween themed cards.
This card design uses 3 layers of the large die cut frame. 2 in heavy cardstock and the 3rd layer in a metallic teal colored cardstock. This was just a random metallic, I didn’t get it anywhere special - I actually think it was a fun find at a dollar store. Big pad of it and the quality is great!
Glue the 3 layers together using liquid glue and of course, ensuring the metallic layer is on top. This just gives the frame some added height which creates dimension for the intended scene.
Adhere the frame in place onto the cardstock layer.
Now the fun part - Creating the scene!
Using both liquid glue and pieces of cut foam tape, arrange the images onto the cardstock layer (which is now going to become the card front). Adhere some pieces flat with liquid glue and others popped up a little with foam tape, creating a nice dimension to make the scene feel more life like.
Allow the clouds or sun to creep outside of the frame, this just creates a feeling that the scene is bigger than the card front itself. It really opens up the imagination!
Lastly: Add a little bling to finish this card off with This Calls for Confetti - Glazed. These sequins are the perfect pairing for this card, as the glazed teal color mimics the look of the bubbles.
Adding gems or rhinestones to any cards is simply a breeze when using 2 of my favorite tools in the craft room…


No more struggling with messy glue, or fumbling to pick up tiny gems and sequins. Most used tools in my craft room other than of course… a paper trimmer. :)
After securing your embellishments, adhere the card front panel to a card base cut at 4 1/4 x 11, Scored @5 1/2.
That’s it! The card is finished. Stamp an inside greeting & pair with a coordinating envelope!
Sit back and take pride in the super fun card you’ve just created and think about the moments of fun your card will invoke in a reminiscent recipient…
These last few card designs are a vibrant celebration of life and the magic of playfulness! Each card has been crafted to inspire joy, reminding us to sprinkle a little fun into our everyday moments. Whether it's a whimsical birthday greeting or a cheeky note for a friend, these cards invite you to embrace your inner child.
In case you missed this Super Cute Shaker Card
Always keep the whimsy and nostalgia of blowing bubbles in your everyday life!!