
From Dollar Store Legal Pad to Autumn Magic Notebook
This project actually started with a trip to Michael’s.
I spotted several fall 12x12 paper pads on sale for $5.99 each, and at that price, a few of them naturally followed me home. As far as Michael’s crafting supplies go, I still think these paper pads can be one of the better buys when they're on sale. You get a lot of coordinating patterns to work with, and the fall prints in these particular pads were beautiful.
But I did notice something worth mentioning.
I bought paper pads from the same company earlier this summer, and the paper in these newer fall pads definitely doesn't feel like the same quality. It's noticeably thinner and flimsier.
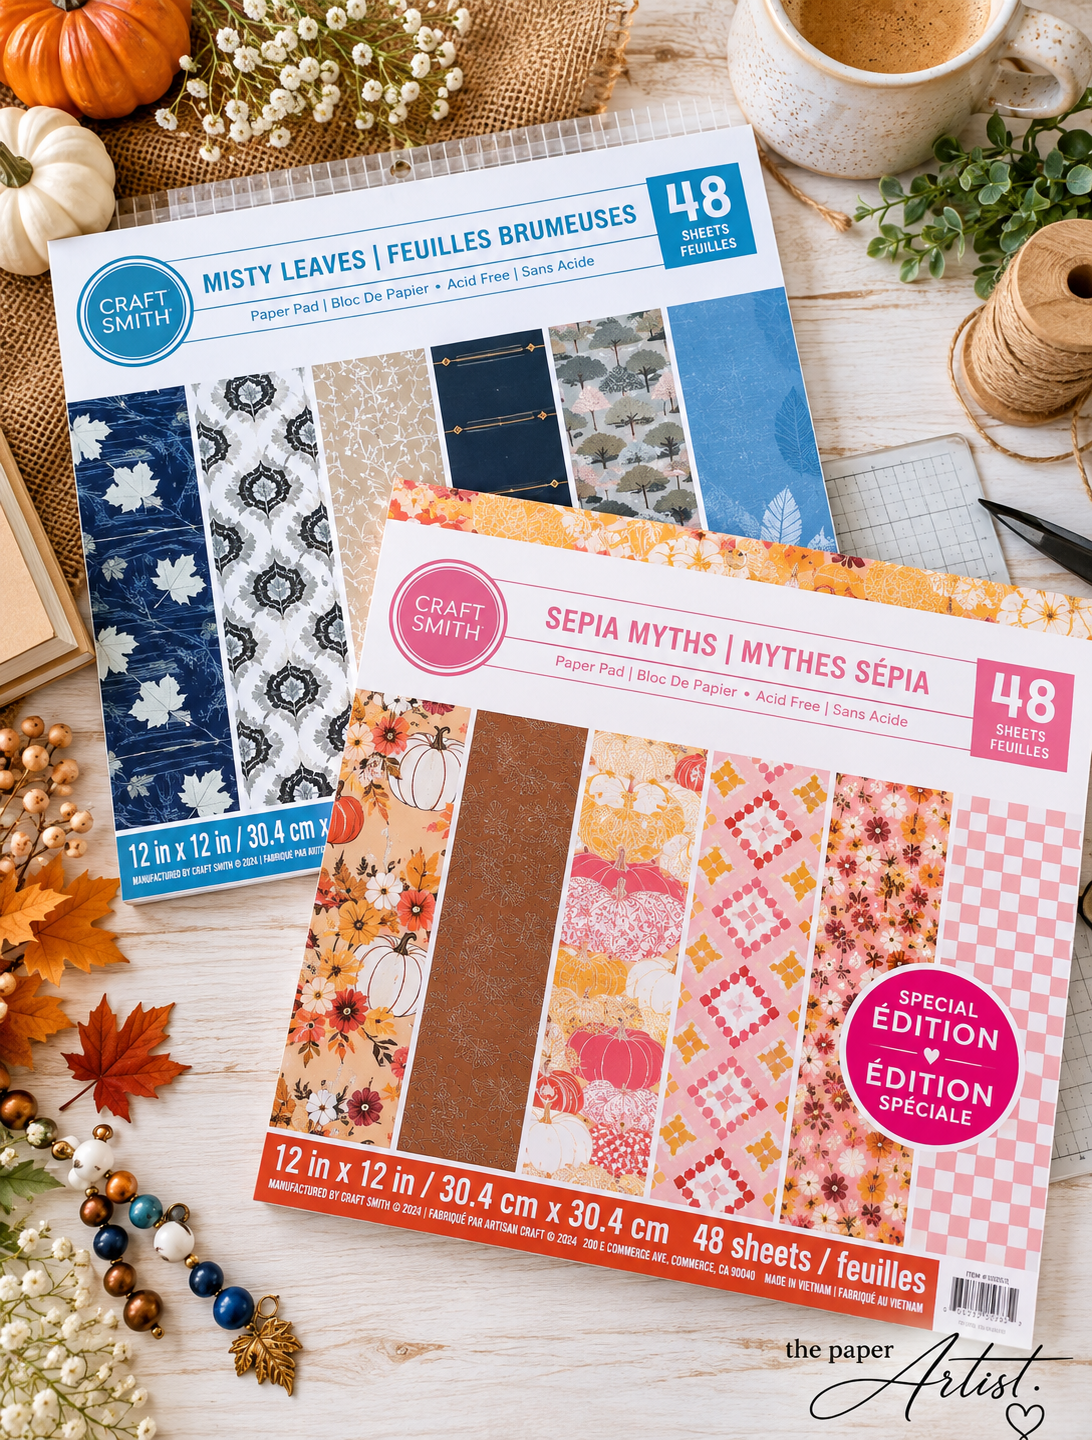
The designs? Still beautiful.
The paper itself? Not nearly as substantial.
That's not necessarily a reason to pass them up — especially at $5.99 — but it is something I'd want to know before buying one. For cardmaking or another project where the patterned paper needs to provide some structure, you may want to reinforce it or layer it onto heavier cardstock.
For this project, however, the thinner paper wasn't much of a problem at all.
Because it was about to be glued to chipboard.
And here's where my little Dollar Tree find gets even better.
One Little Notepad Does a Lot of the Work
The Dollar Tree notepads I used aren't just a source of inexpensive lined paper. When you take one apart, there are actually three pieces of chipboard attached to the note pages.
That means the basic supplies for the notebook are practically sitting there waiting for you.
Two pieces of chipboard become the front and back covers of the full-size notebook — and they're already cut to size.
No measuring and cutting heavy chipboard.
No buying a separate package of book board.
And after making the large notebook, you still have one whole piece of chipboard left over.
We'll come back to that little bonus in a minute.
First, I took the legal pad apart and separated the lined pages from the chipboard. I measured and trimmed the paper to fit the notebook and then started working on those already-cut covers.
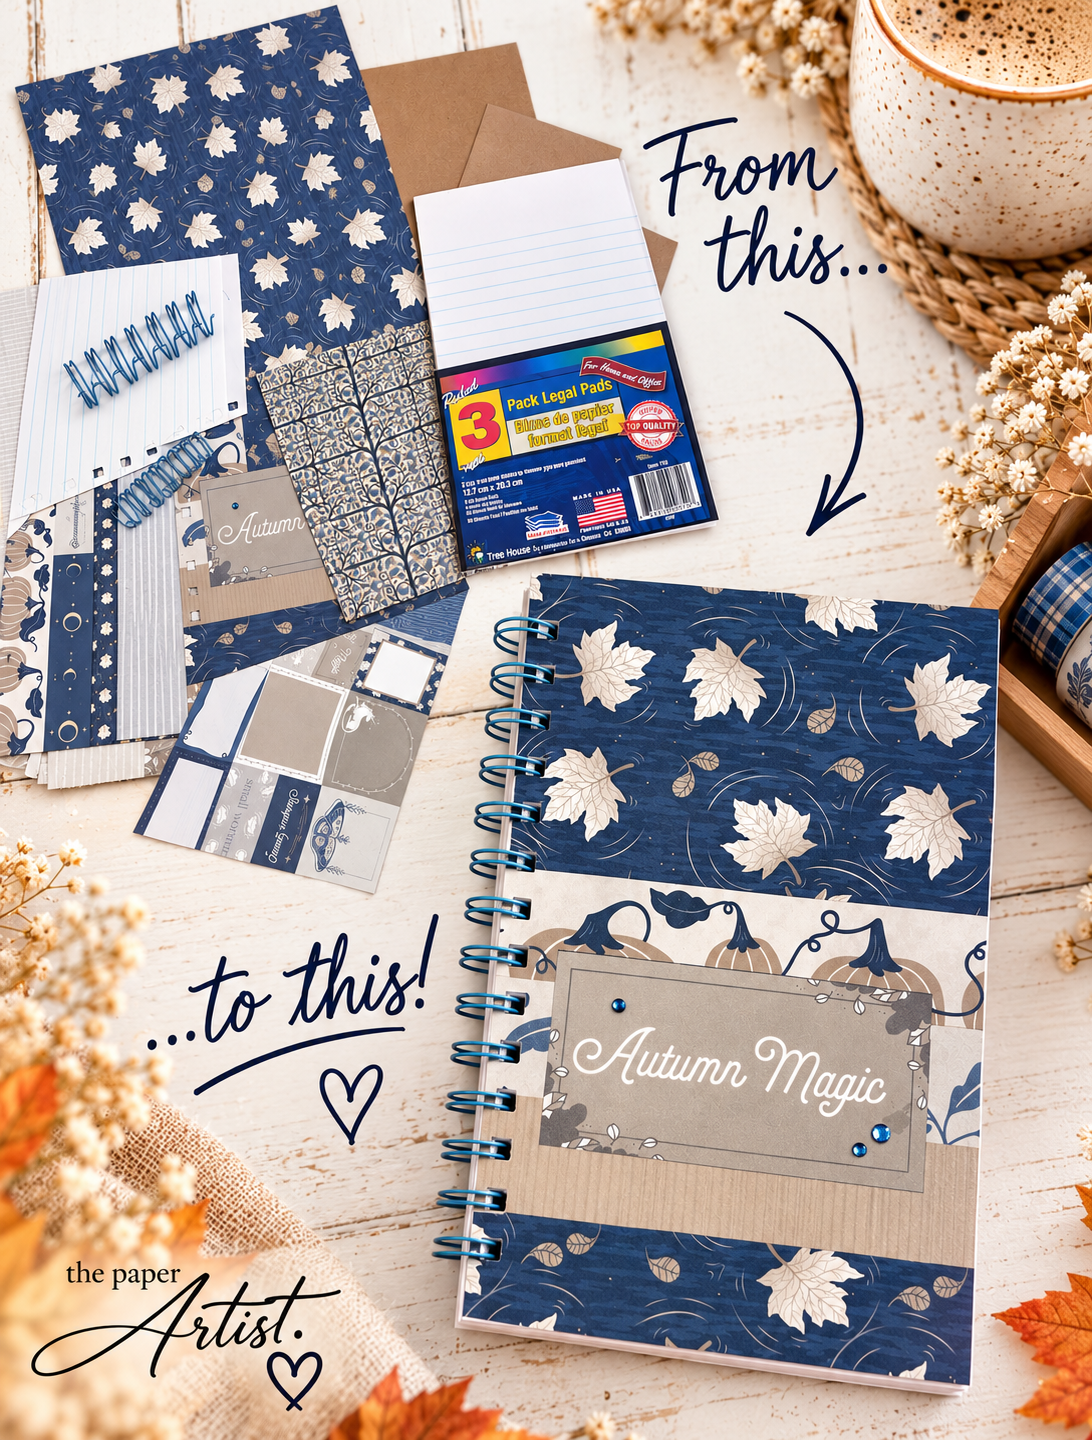
Making the Covers (for a 5 × 8 Inch Notebook)
Since the chipboard was already the size I needed, all I had to concentrate on was making it considerably prettier.
For the outside covers, I cut my patterned paper to:
6 x 9 inches — 2 pieces
The patterned paper is larger than the chipboard so it can wrap neatly around the edges.
For the inside covers, I cut:
4 7/8 x 7 7/8 inches — 2 pieces
These pieces cover the wrapped edges of the outside patterned paper and give the inside of the notebook a clean finish.
Take your time when wrapping the outside covers. Smooth the paper well, get those edges neat and then finish the inside with the smaller pieces.
And this is where that thinner Michael’s patterned paper isn't really a problem. The chipboard is providing all the structure. The patterned paper is there to make it beautiful.
Suddenly our humble Dollar Tree notepad isn't looking quite so humble anymore.
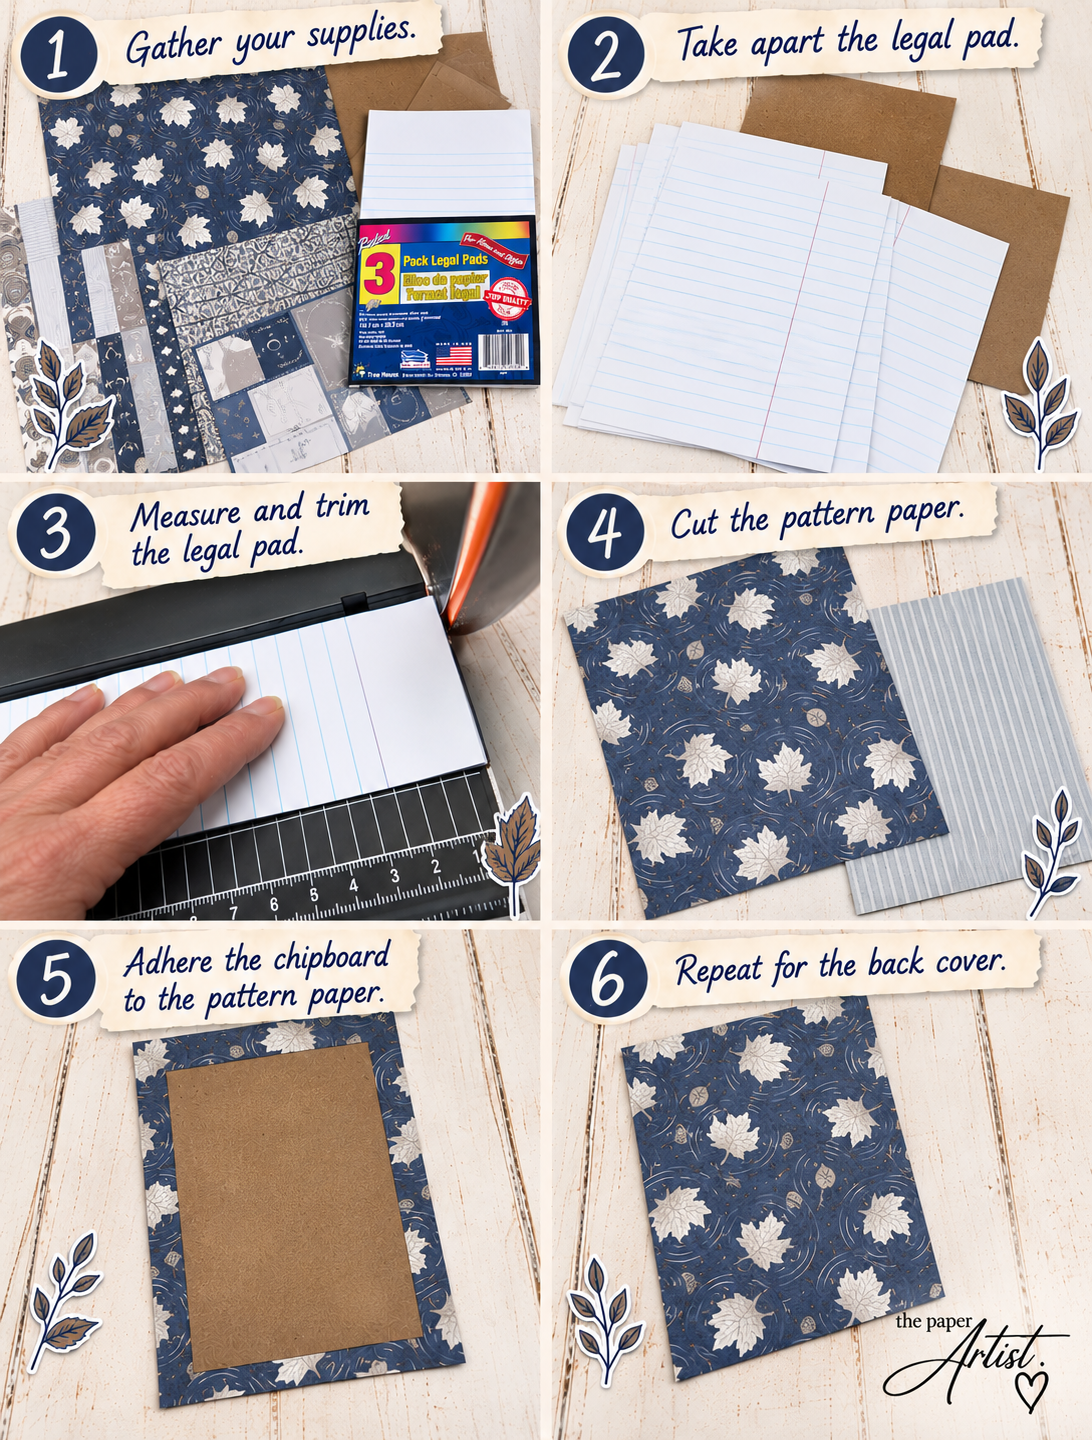
Let's Add a Folder
Because apparently just making a notebook wasn't enough.
I wanted a little folder inside mine for loose notes, receipts, lists, scraps of paper or whatever else inevitably gets shoved into a notebook.
For the folder I cut:
5 x 8 inches — 2 pieces
I placed the patterned sides facing outward and glued the pieces together along the top and bottom edges, creating the folder.
Before assembling everything, I used a 1-inch circle punch to remove a partial circle from the opening. It's a tiny detail, but it makes it much easier to grab whatever you've tucked inside.
Add Some Pockets
I also added pockets using pieces measuring:
4 7/8 x 3 1/2 inches — 2 pieces
I use a 1 inch circle punch to cut a partial circle for an opening at the top of the pocket, before gluing down to the inside of the front and back cover.
These are another easy place to customize your notebook. Make them deeper, use contrasting paper or leave them off entirely.
That's one of my favorite things about making notebooks yourself — once you understand the basic construction, you can make the inside work for you.
Don't Forget the Tab
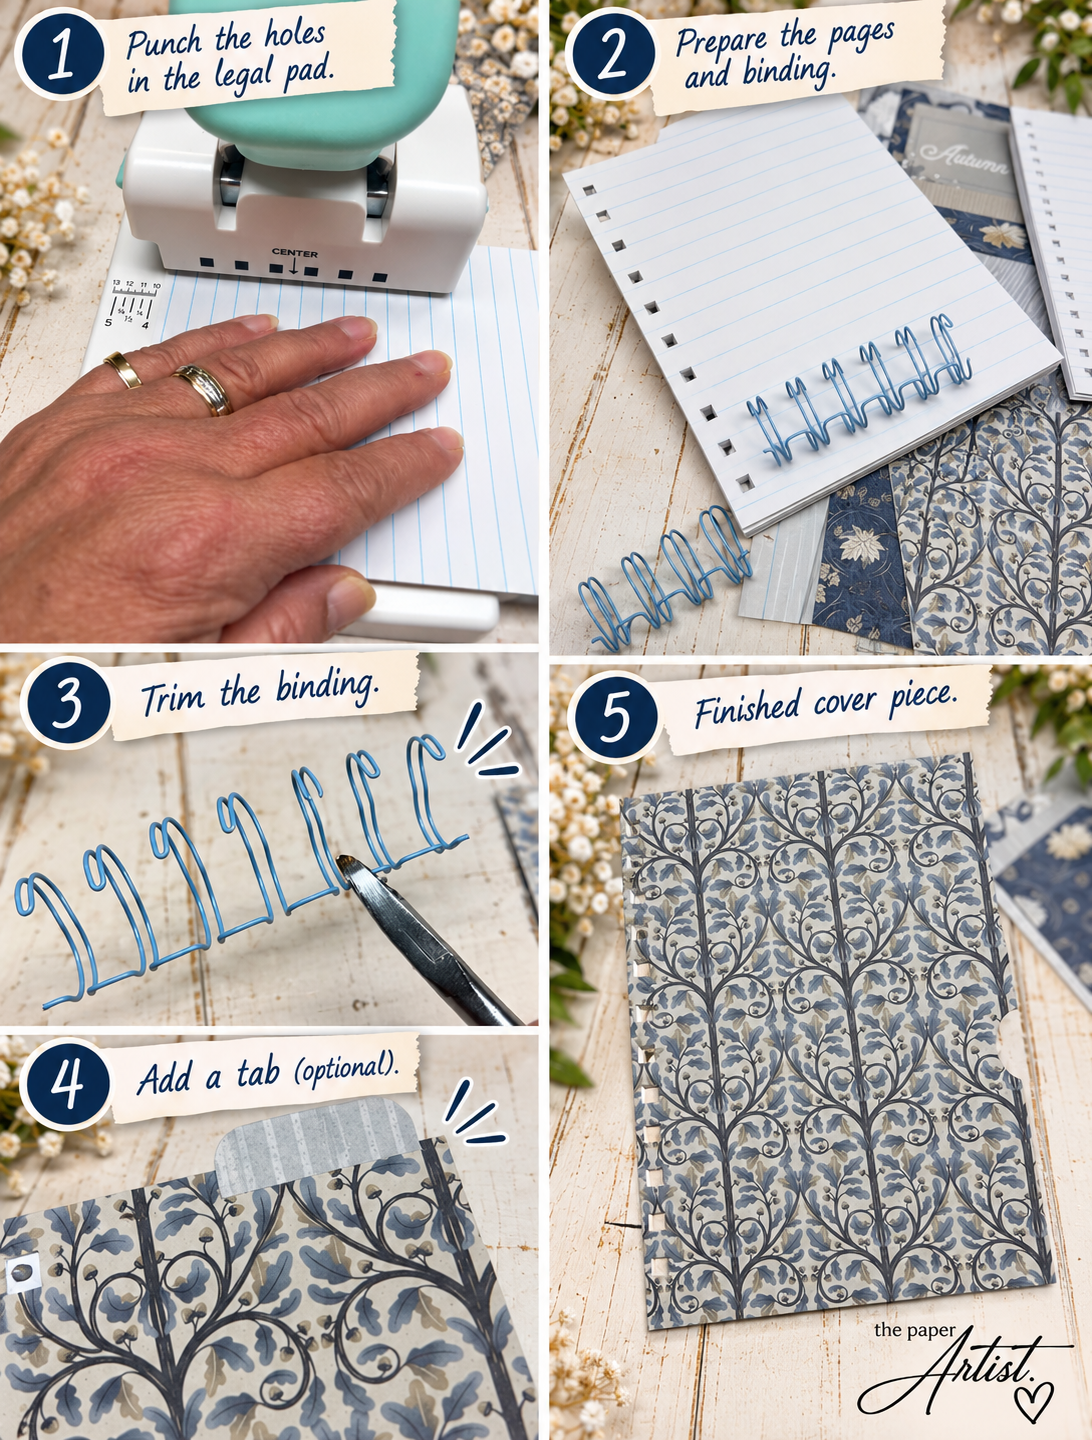
The little folder tab measures:
1 1/2 x 1 1/4 inches
I folded it in half on the short side and used a corner rounder on the two upper corners.
When attaching the tab to the top of the folder, make sure you position it so it doesn't interfere with the opening.
Ask me why I'm mentioning that.
Actually, don't. 😂
Punch, Bind & Watch the Magic Happen
Once the covers, pages, folder and pockets were ready, it was time for my Mini Cinch.
Everything was lined up, punched and added to the coil.
This is probably my favorite stage because all those separate pieces suddenly become an actual notebook.
And of course, I couldn't leave the coil alone.
A handmade notebook needs a little something dangling from it, so I finished mine with a coordinating beaded charm.
Because if there is an available surface where I can add beads, apparently I'm going to add beads.
But What About That Third Piece of Chipboard?
Remember that extra piece?
I certainly wasn't throwing it away.
I cut the remaining chipboard in half to make two small covers (4 × 5 1/2) and turned it into a coordinating mini notebook.
Instead of using the lined legal-pad paper again, I cut recipe cards down to size and used those for the pages.
So one inexpensive Dollar Tree notepad gave me the lined pages and covers for my larger notebook plus the covers for a second mini notebook.
Now we're getting our money's worth.
It's also a fun way to make a coordinating set. The little notebook could be used for recipes like mine, or you could fill it with plain cardstock, scrap paper, shopping lists, little notes — whatever makes sense for you.
From This... to This!
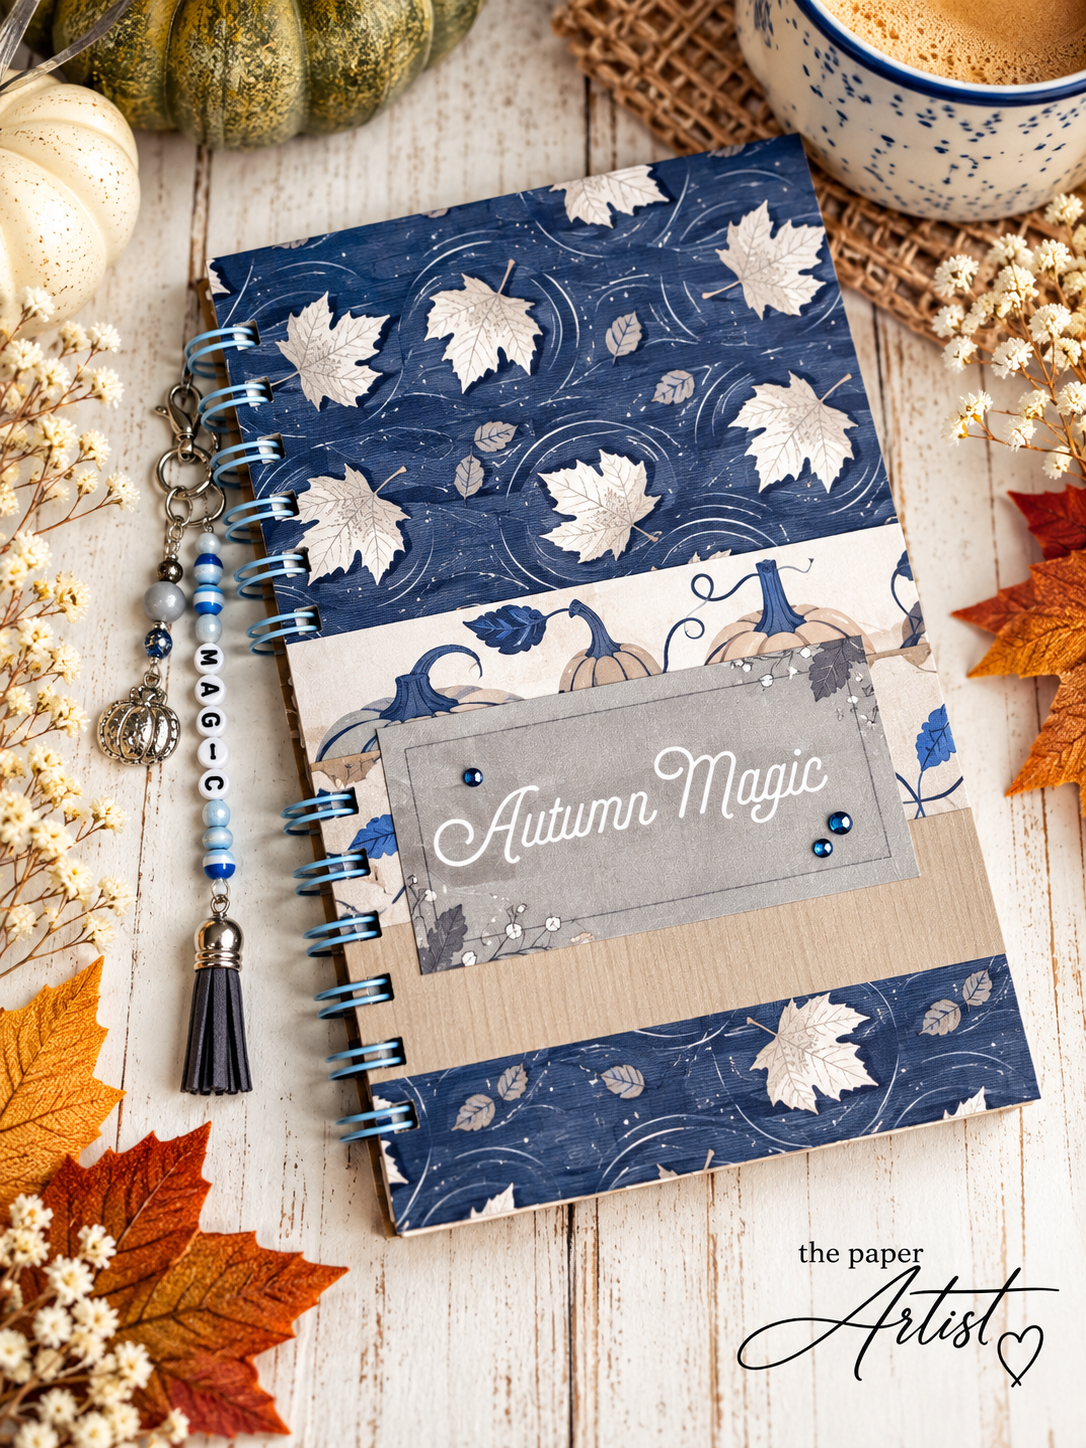
Because I can’t stop myself a dangle charm was added.
What started as a Dollar Tree notepad and a sheet from a $5.99 fall paper pad became a sturdy spiral notebook with covered chipboard, lined pages, pockets, a folder, a tab and a handmade charm.
And the leftovers became another notebook.
That's really the takeaway from this project.
Before buying specialty supplies, take a closer look at inexpensive products you can take apart and repurpose. This particular notepad gave me much more than just paper. The lined pages were usable, the chipboard was already cut to size, and there was enough material to stretch the project even further.
Even the thinner-than-expected scrapbook paper found the perfect job. Once adhered to sturdy chipboard, its lack of weight didn't matter — I could simply enjoy those beautiful fall prints.
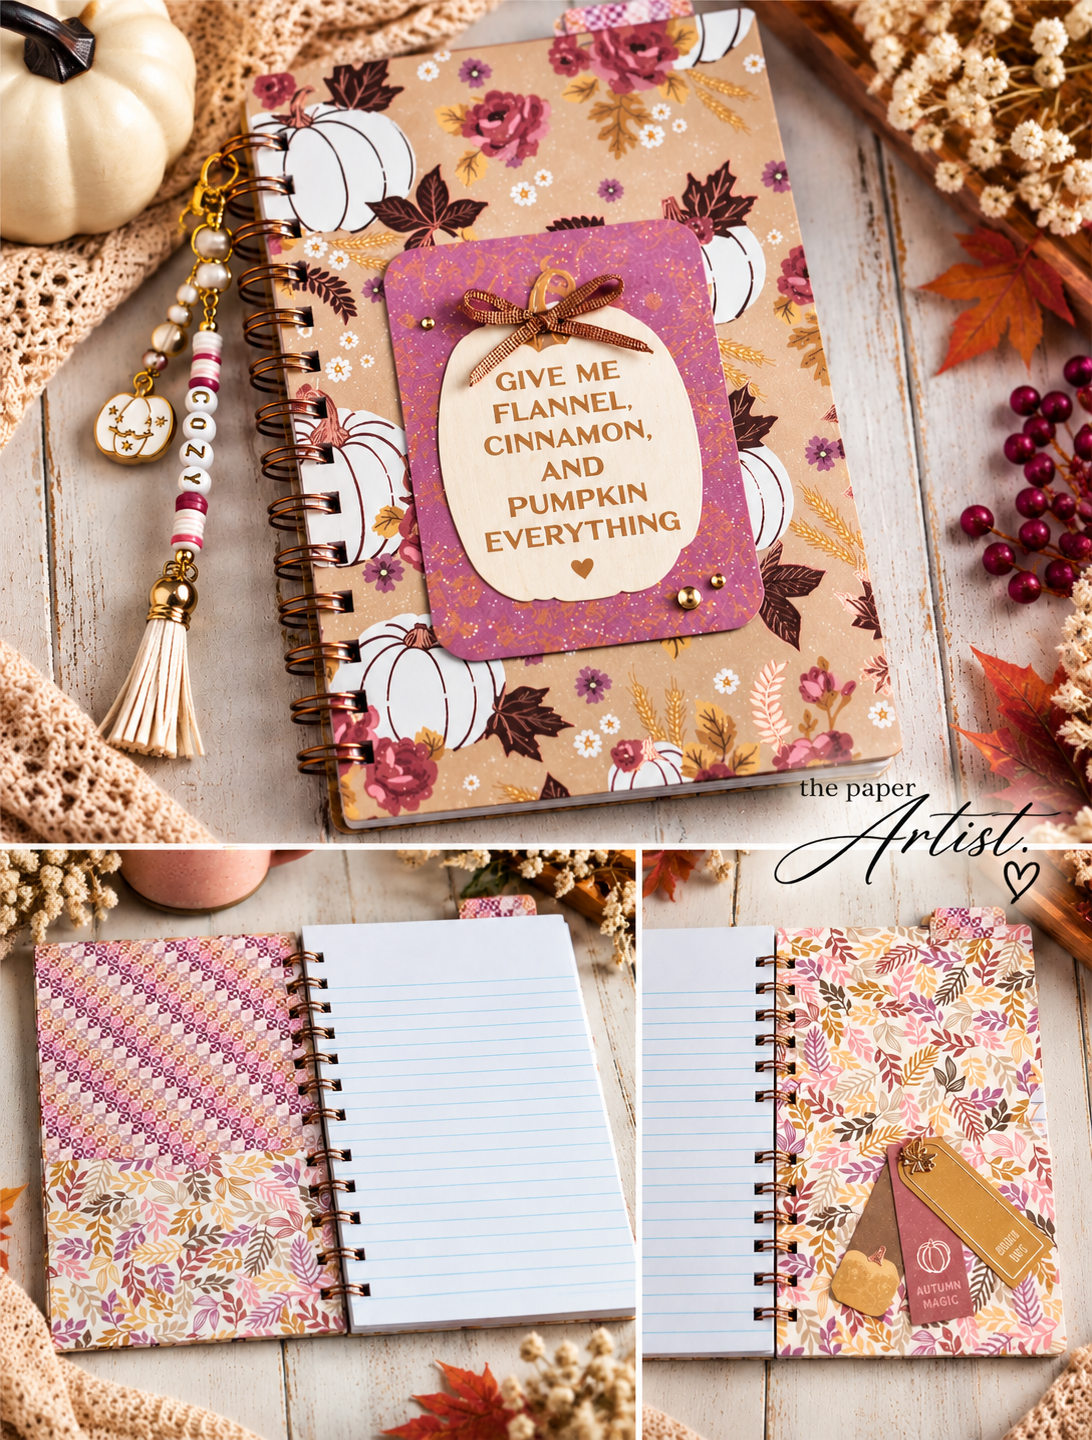
An inside peek at the 2nd finished notebook.
My Measurements at a Glance
Outside cover paper: 6 x 9 inches — cut 2
Inside cover paper: 4 7/8 x 7 7/8 inches — cut 2
Folder: 5 x 8 inches — cut 2
Pockets: 4 7/8 x 3 1/2 inches — cut 2
Tab: 1 1/2 x 1 1/4 inches — fold in half on the short side
Folder opening: partial circle made with a 1-inch circle punch
Those measurements worked for my notebook, but don't be afraid to change them. Use the construction as a starting point and build something that works with whatever inexpensive supplies you find.
Mine became a couple of Autumn Magic notebooks.
Not bad for something that started life as a Dollar Tree notepad.
